I have been sort of forced into a project hiatus, as we moved this week. It is quite amazing to see just how much stuff you can accumulate after living in a home for five years, as well as how much of a process it is to move a mere three miles. As I type, I still have boxes on either side of me, but the kitchen items are largely put away, so that is a good start! A few days prior to moving, I tackled the recipes in the 28th episode of Good Eats, but I am only now getting to writing the post about them. It actually has worked out well since this episode is about pickles and you want to let them sit a bit before really eating them anyway. Plus, I am a huge pickle fan, so this was a fun episode for me to do. My mom and I have made pickles nearly every summer for the past several years, and they are a great way to taste seasonal produce year-round.
AB’s B and Bs
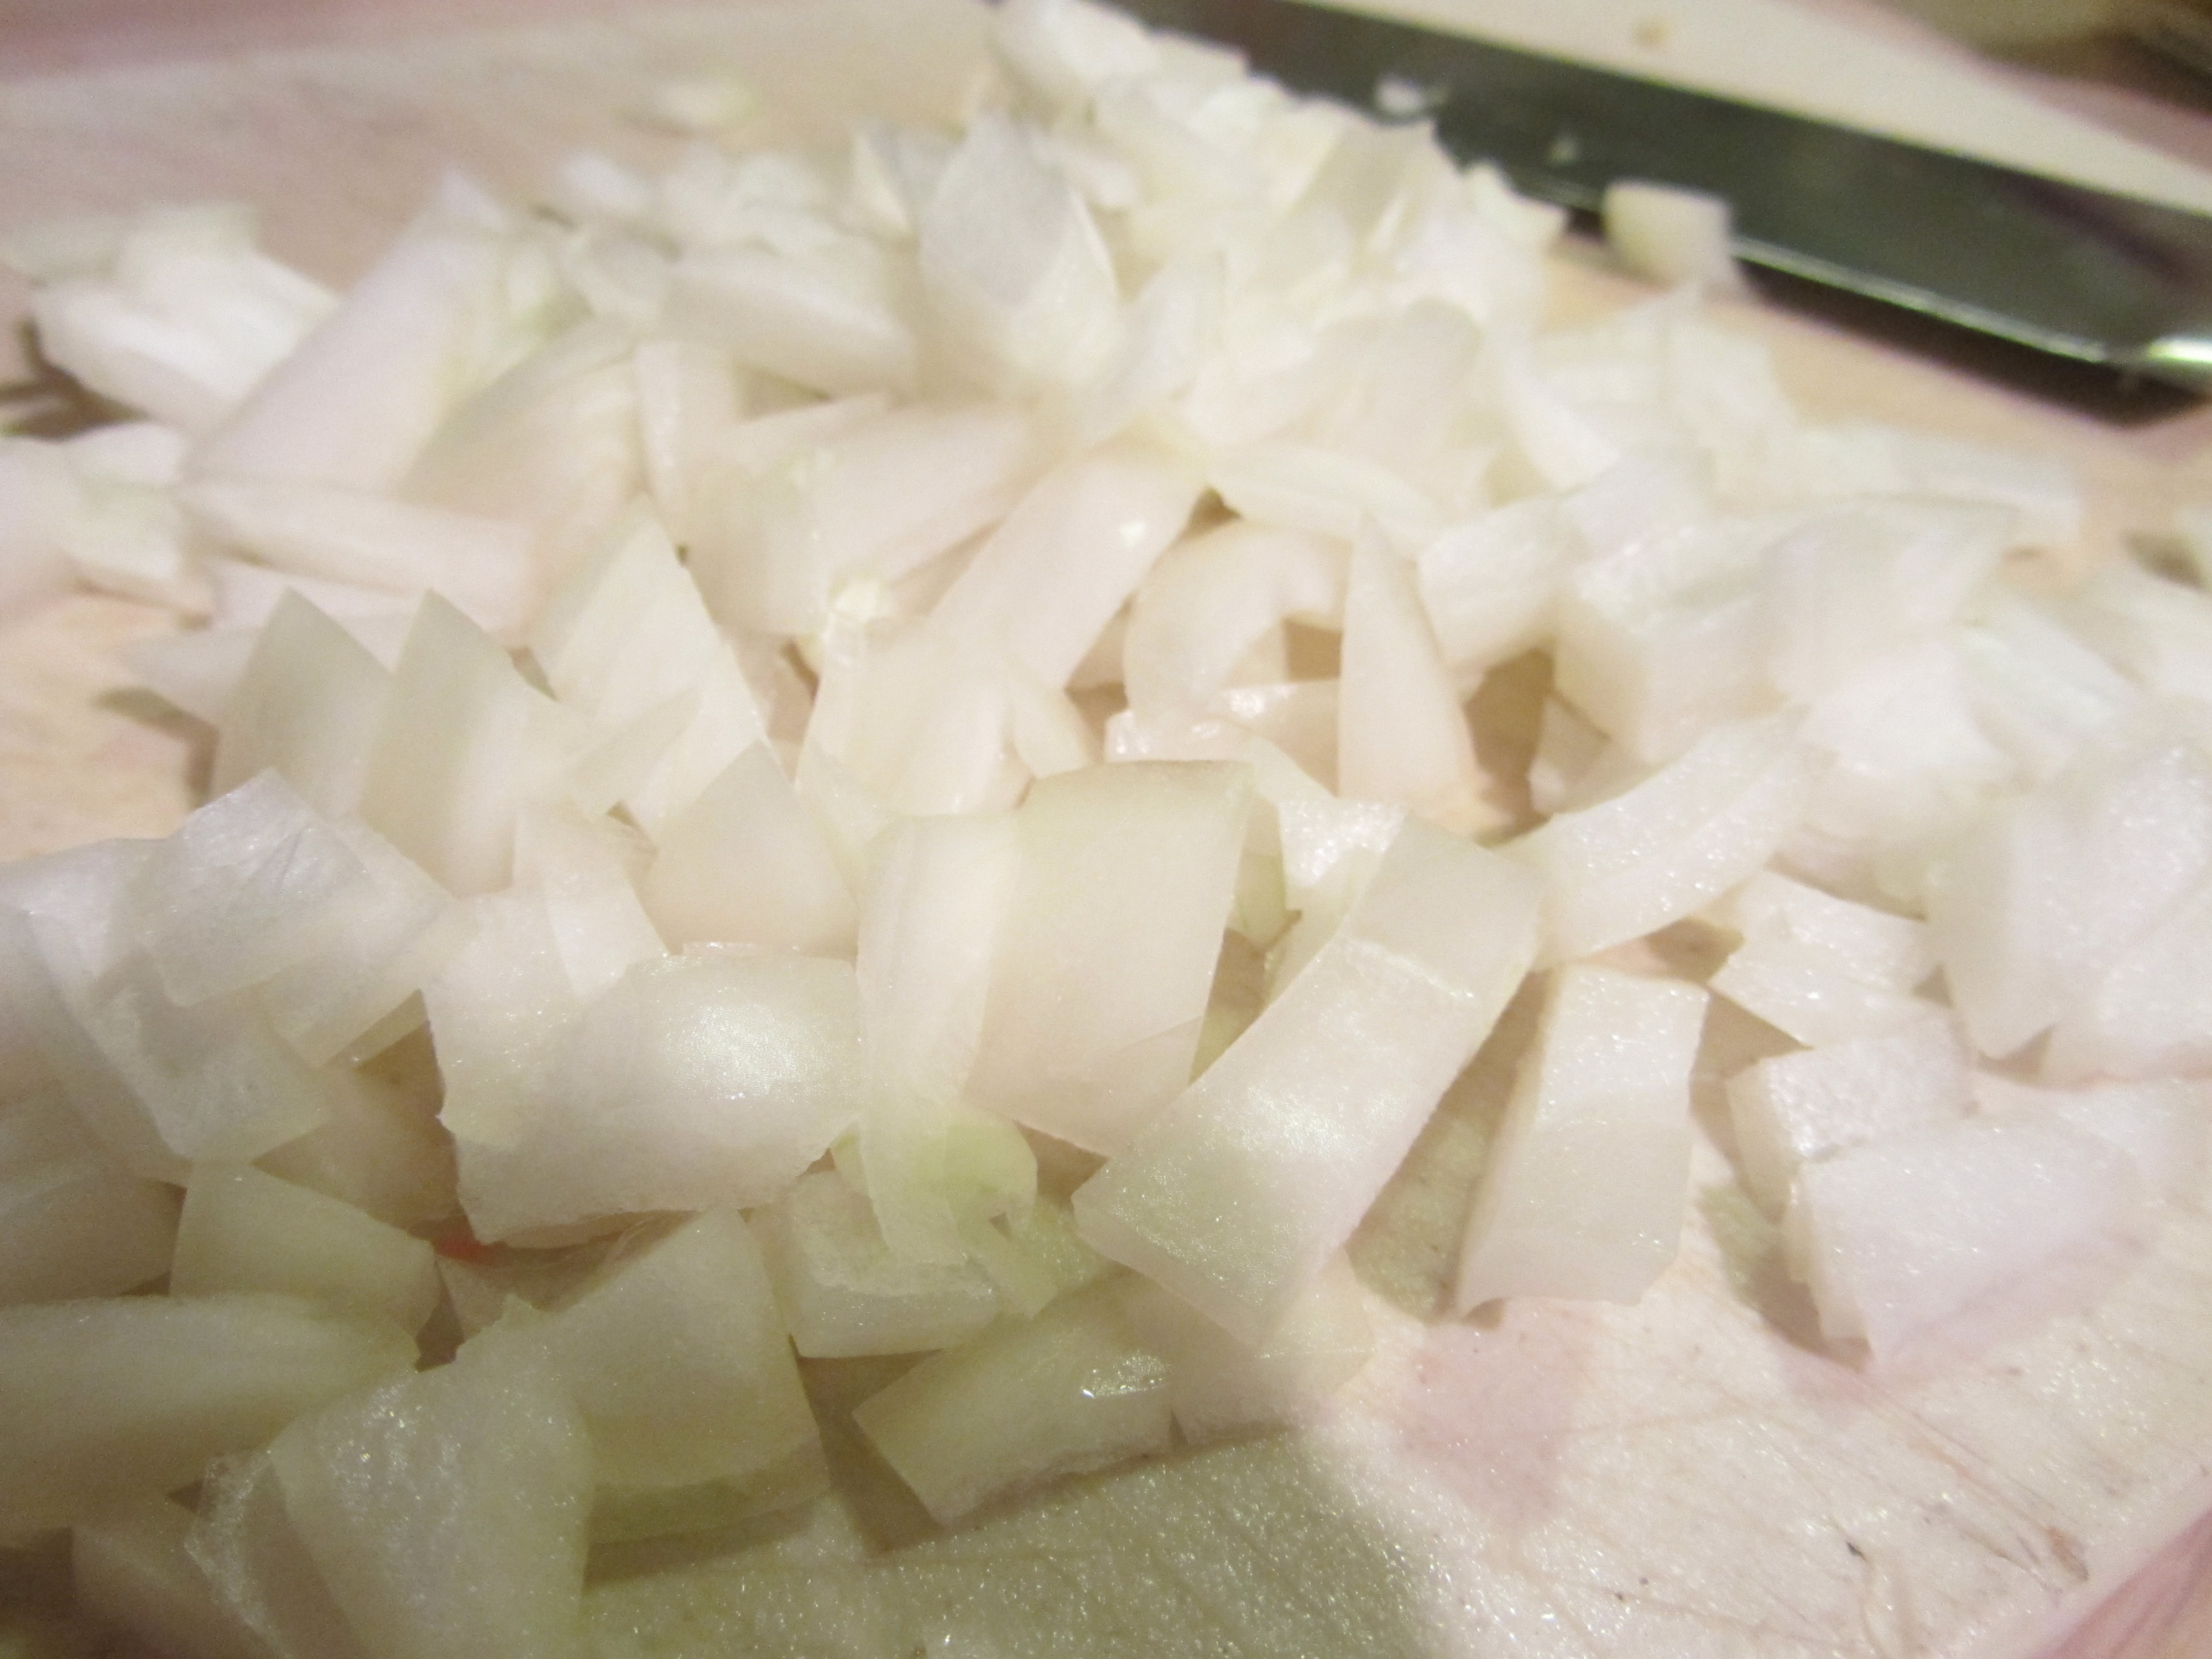
Bread and butter pickles are first up in this episode. While I like pretty much any type of pickle, I tend to prefer pickles that are more on the savory, rather than the sweet, side. To make Alton’s version of these, you combine half of a sliced onion and two thinly sliced cucumbers in a spring-top jar.

Whole cucumber.

Sliced cucumbers in a jar.

Cucumber slices in a jar. Note: I forgot to add the onion to the jar initially, so I ended up adding it after I had put the brine in.
I somehow managed to forget the onion completely, so I added it after my pickles were all completed. Oops. I opted to slice my cucumbers by hand, but a mandolin would always be a great choice. The brine for these pickles is made up of water, cider vinegar, sugar, Kosher salt, mustard seed, turmeric, celery seed, and pickling seasoning. All of these ingredients go into a saucepan, are brought to a boil, and are simmered for four minutes.

Water, cider vinegar, sugar, Kosher salt, mustard seed, turmeric, celery seed, and pickling seasoning make up the brine.

Simmering brine.
Alton says you only need to boil your brine if you are using whole spices, as it results in better spice extraction. Once your brine has simmered, pour it gently over the cucumbers in your jar.

Bread and butters.

AB’s B and Bs.
Let the pickles cool to room temperature before closing the top. You may have extra brine (I did), and you may want to top the jar off after the pickles have cooled. Stick these puppies in the refrigerator, and they will keep for up to two months. I am quite happy with my bread and butter pickles. They have been in their brine for 10 days now, and they are really crunchy and flavorful. They are probably my favorite bread and butter pickles that I have ever had, as they are very well-balanced. They are tart and sweet, but not overly so. They also look pretty in the jar, and would be a great addition to a sandwich. Plus, they take mere minutes to make. Alton has done bread and butters proud with this one.
Kinda Sorta Sours
The second pickle recipe Alton makes in this episode is very similar to his bread and butter pickles, but it is more on the sour/savory side. Again, to begin these pickles, half of a sliced onion and two thinly sliced cucumbers go into a jar. I had run out of spring-top jars, so I used two regular quart canning jars. Note: I had to make additonal brine to fill both of my jars.

Onion in the pickle jar. Didn’t forget it this time!

Thinly sliced cucumber.
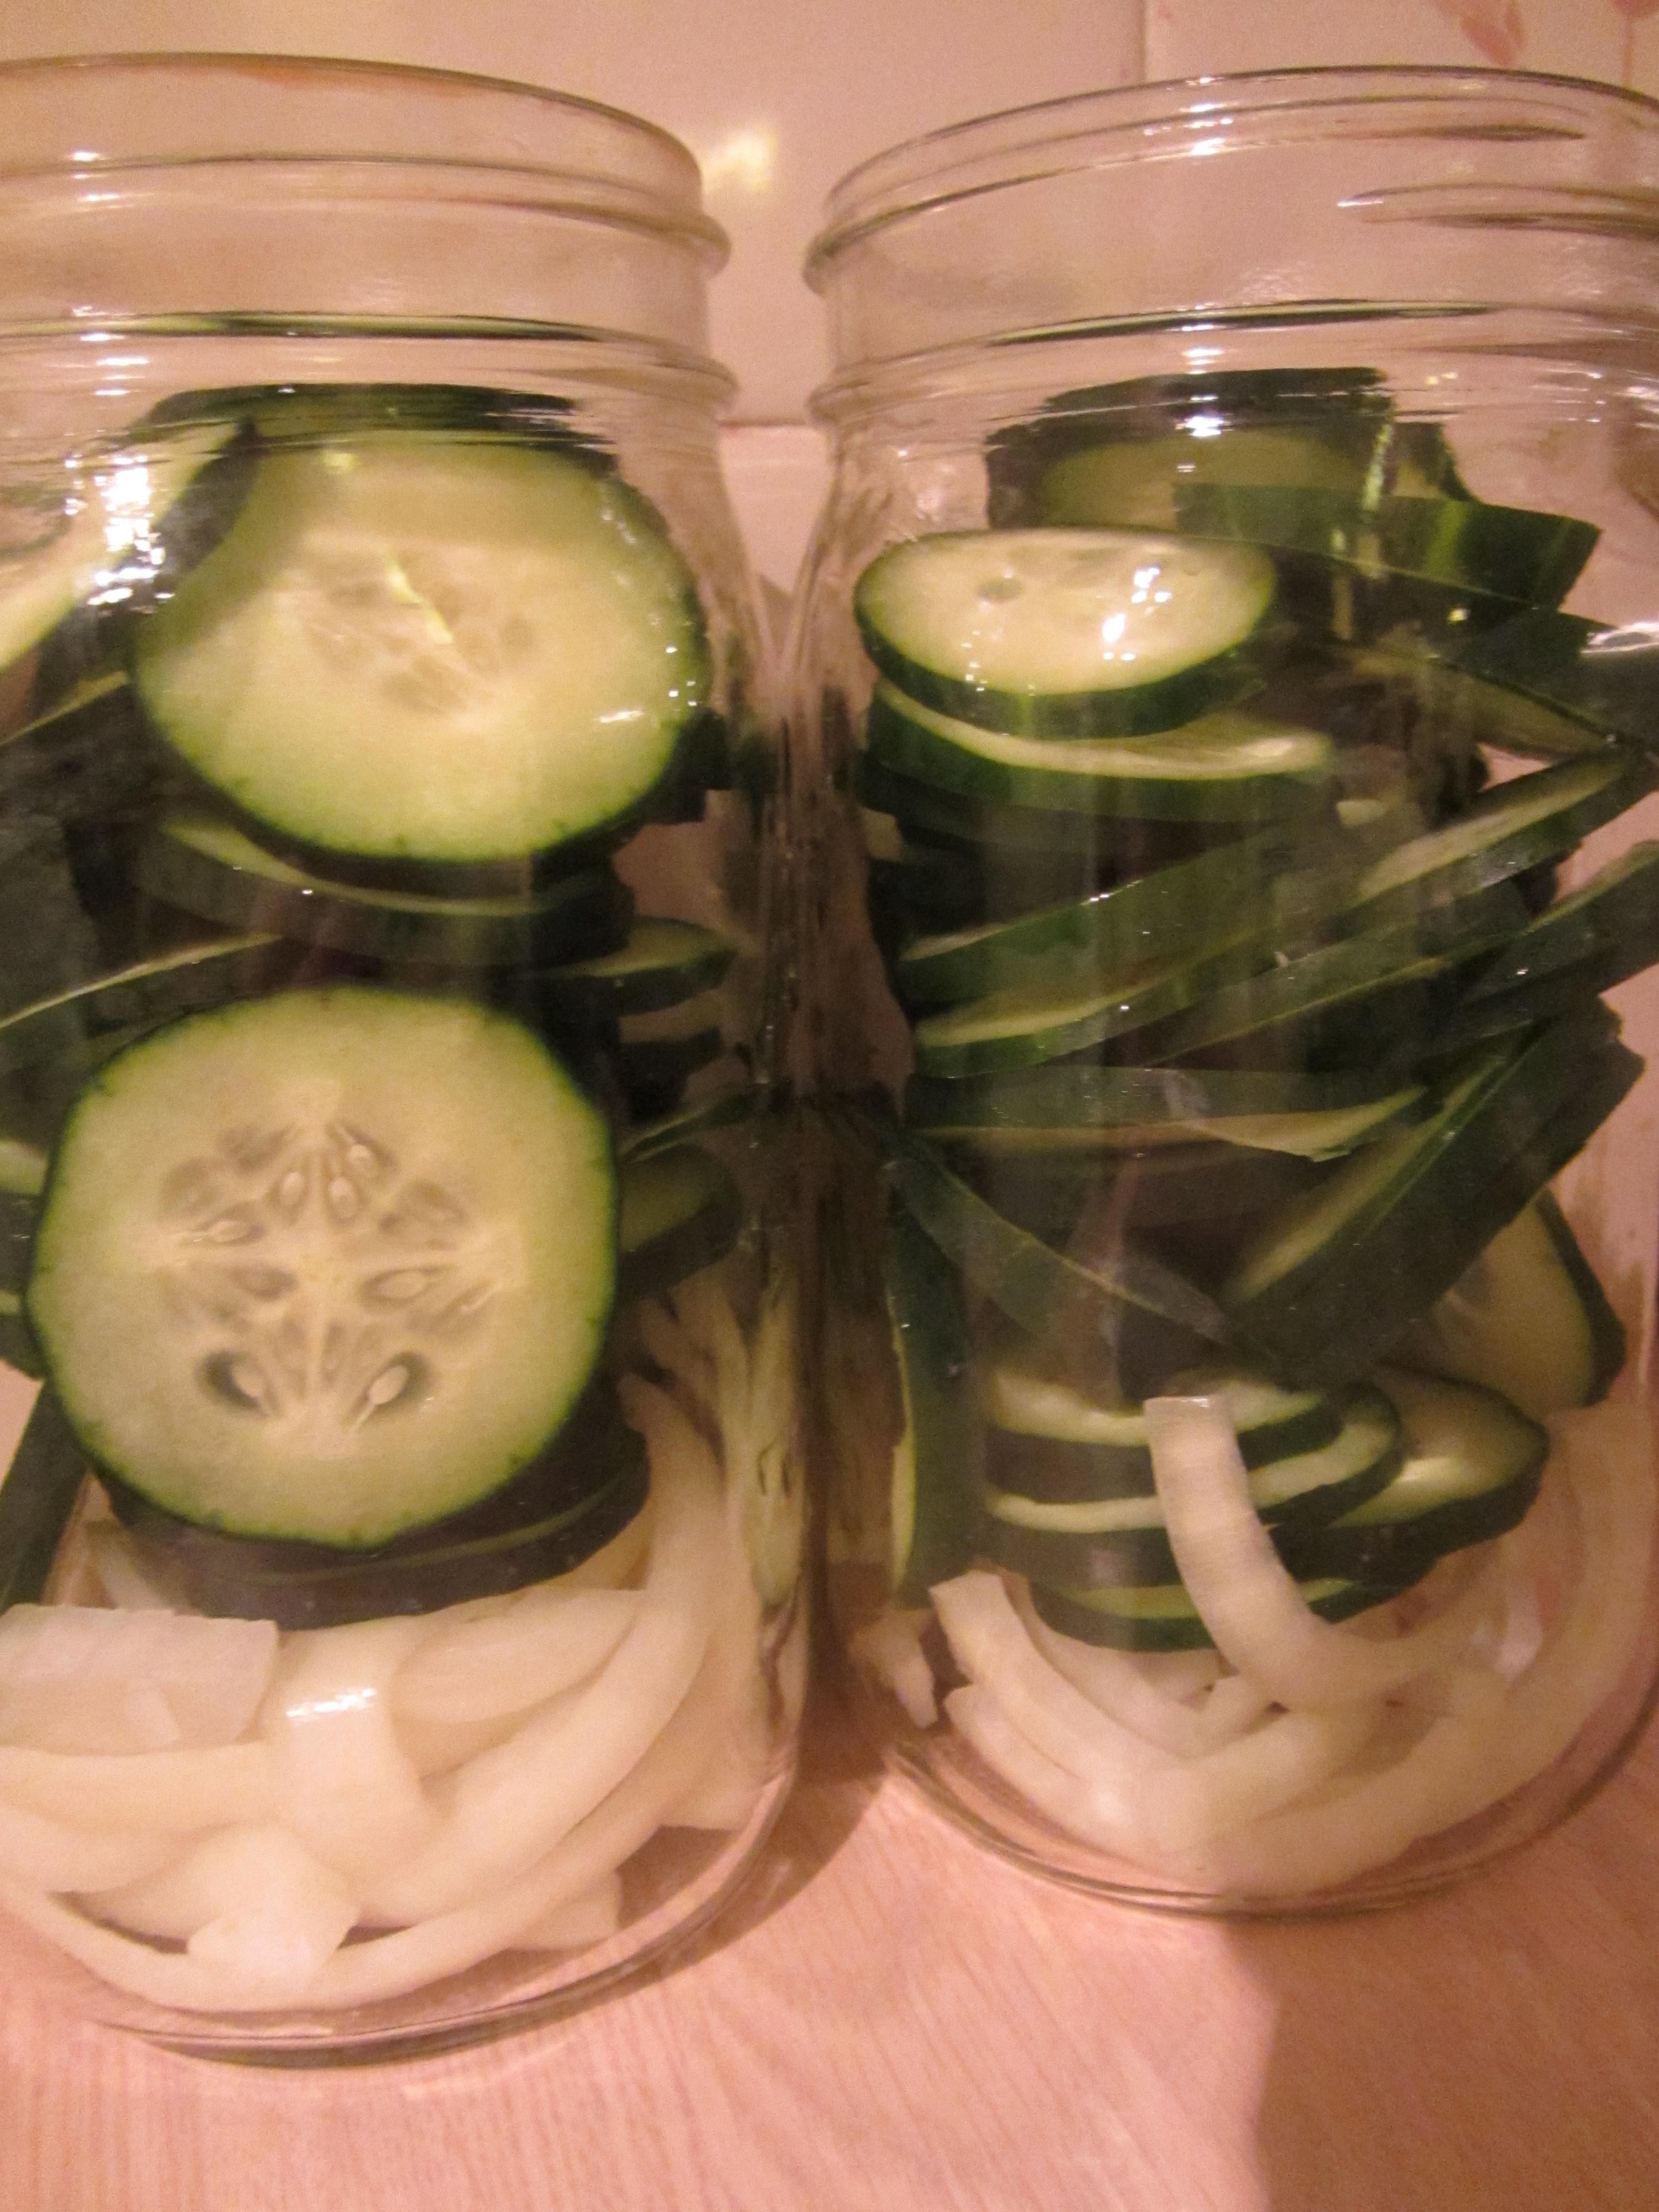
Cucumbers and onion in two quart jars.
The brine this time includes water, cider vinegar, champagne vinegar, sugar, Kosher salt, mustard seed, turmeric, celery seed, and pickling seasoning.

Brine of water, cider vinegar, champagne vinegar, sugar, Kosher salt, mustard seed, turmeric, celery seed, and pickling seasoning.
In contrast to the bread and butter brine, this brine has less sugar, more salt, more mustard seed, less turmeric, more celery seed, more pickling seasoning, and the addition of champagne vinegar. The process is the same, except you add four crushed garlic cloves to the jar before adding the brine to the cucumbers and onions.
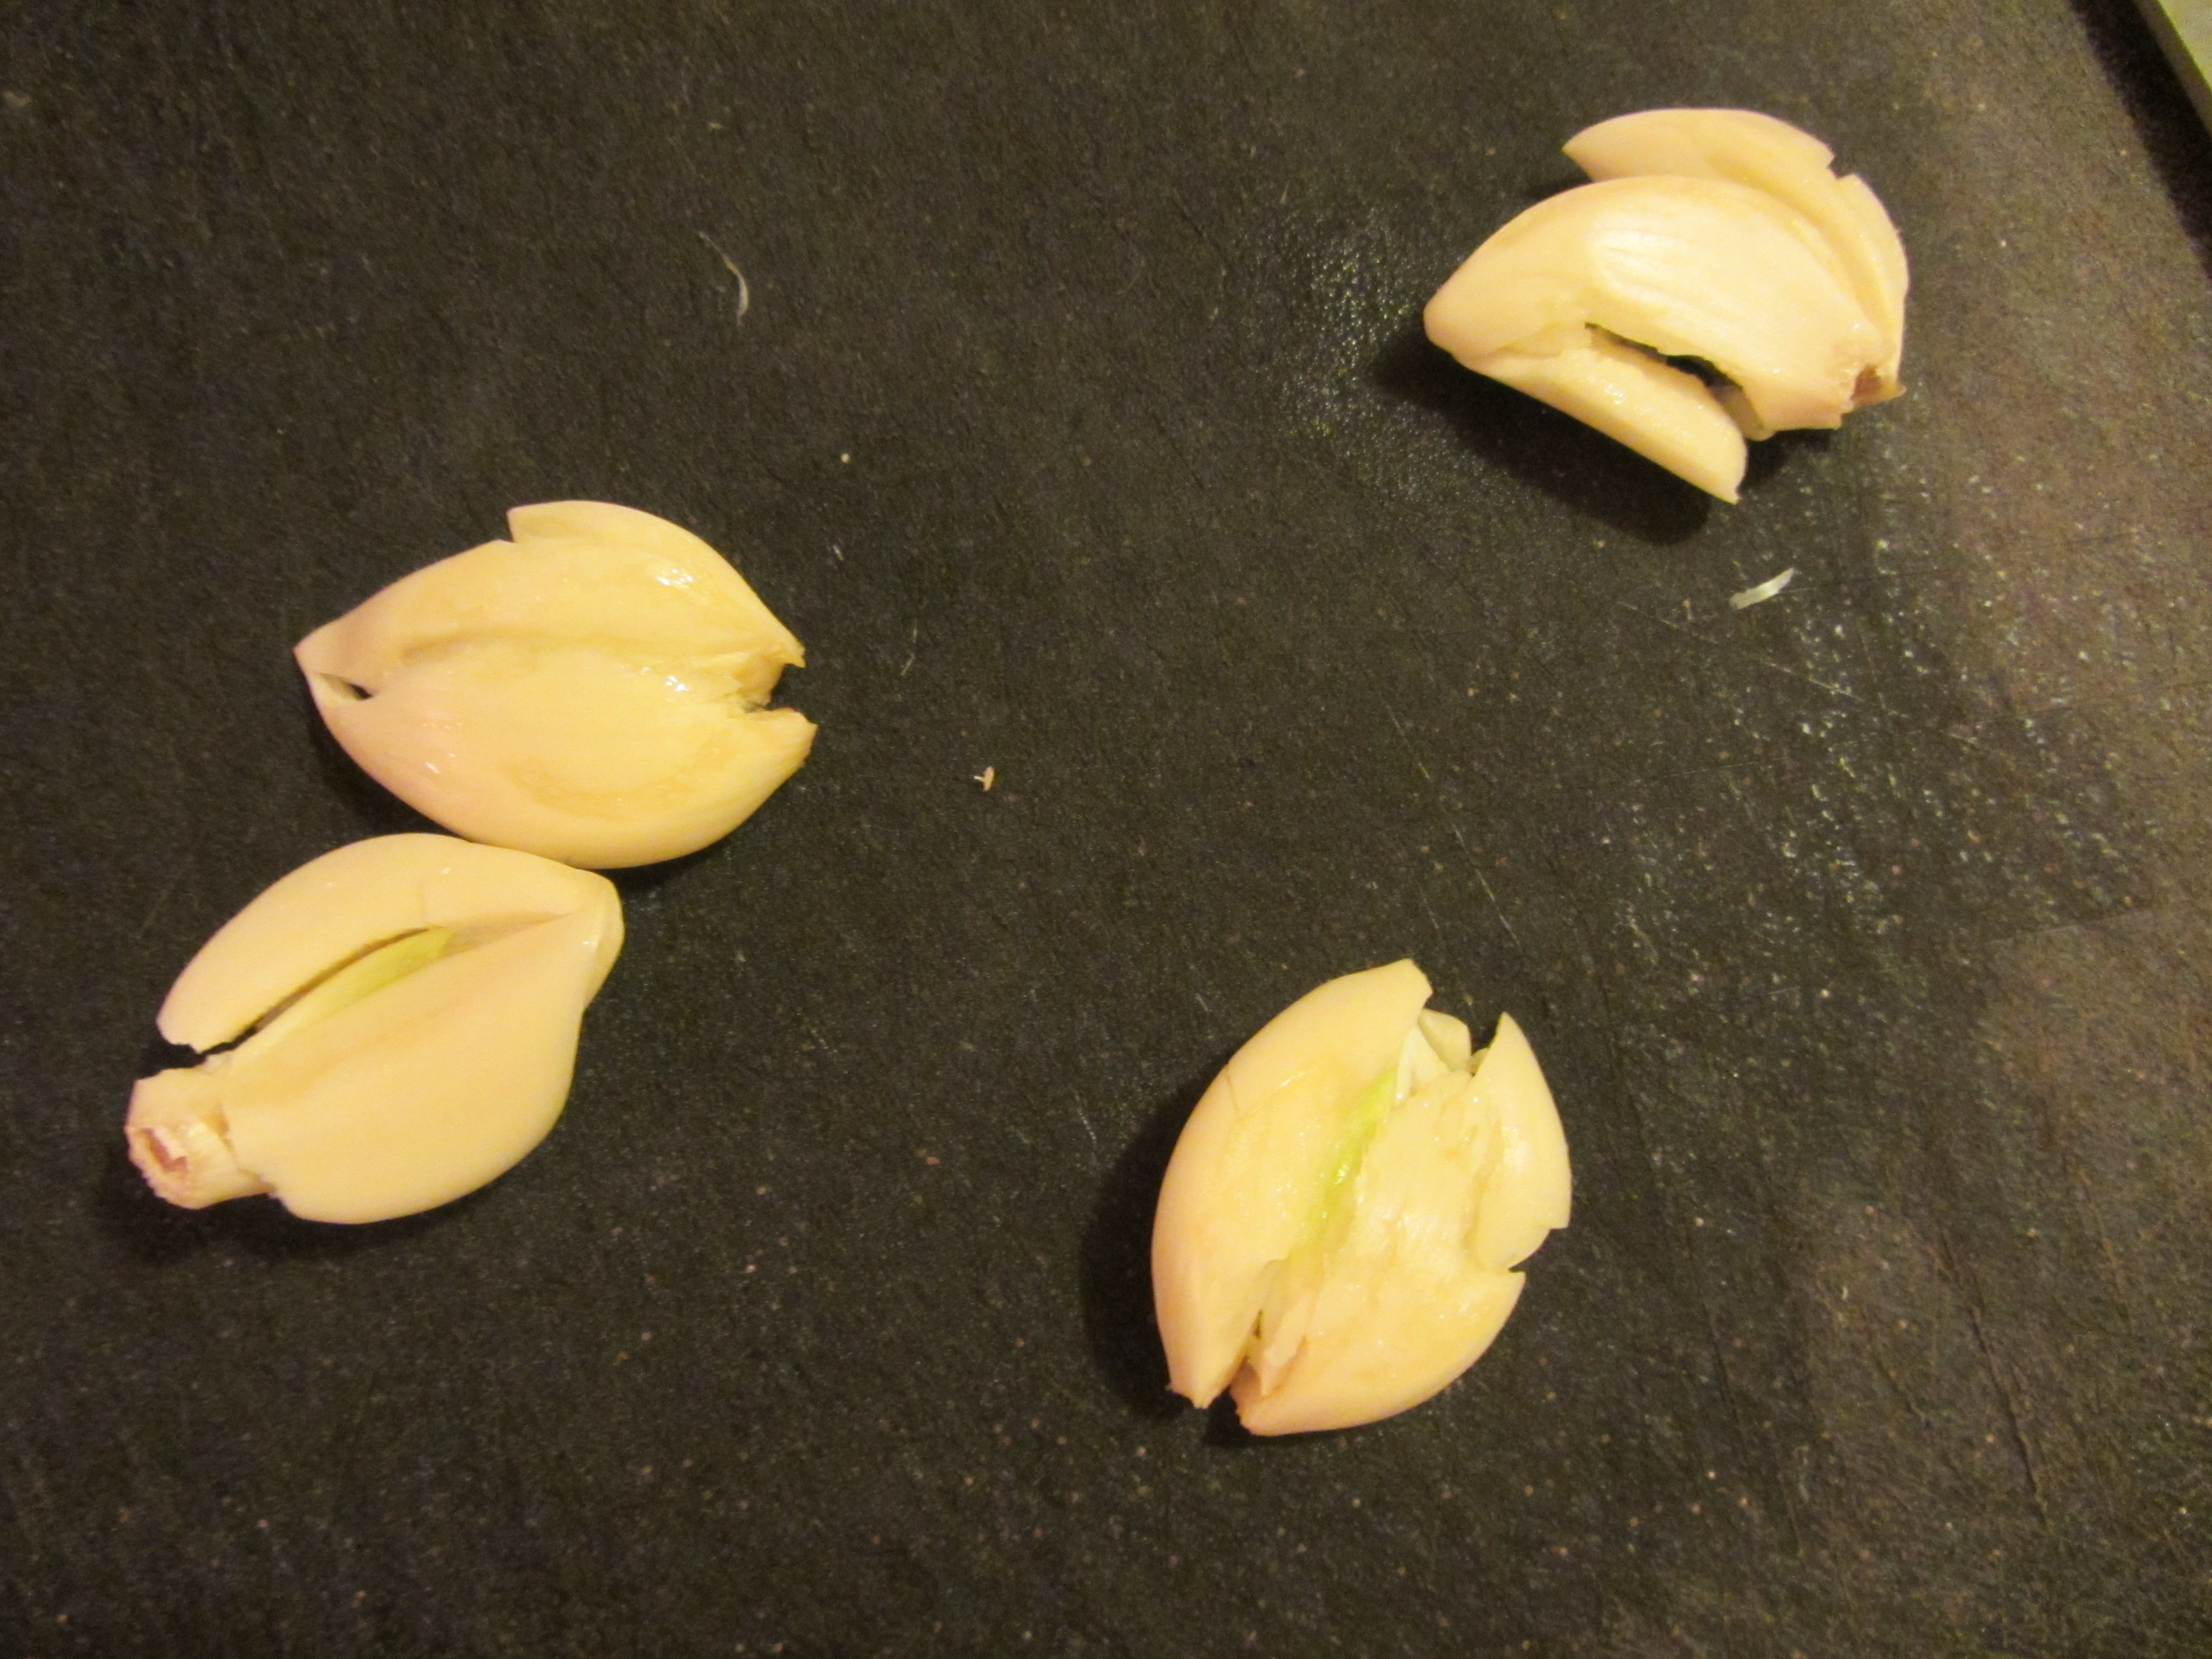
Four crushed garlic cloves into the jar.
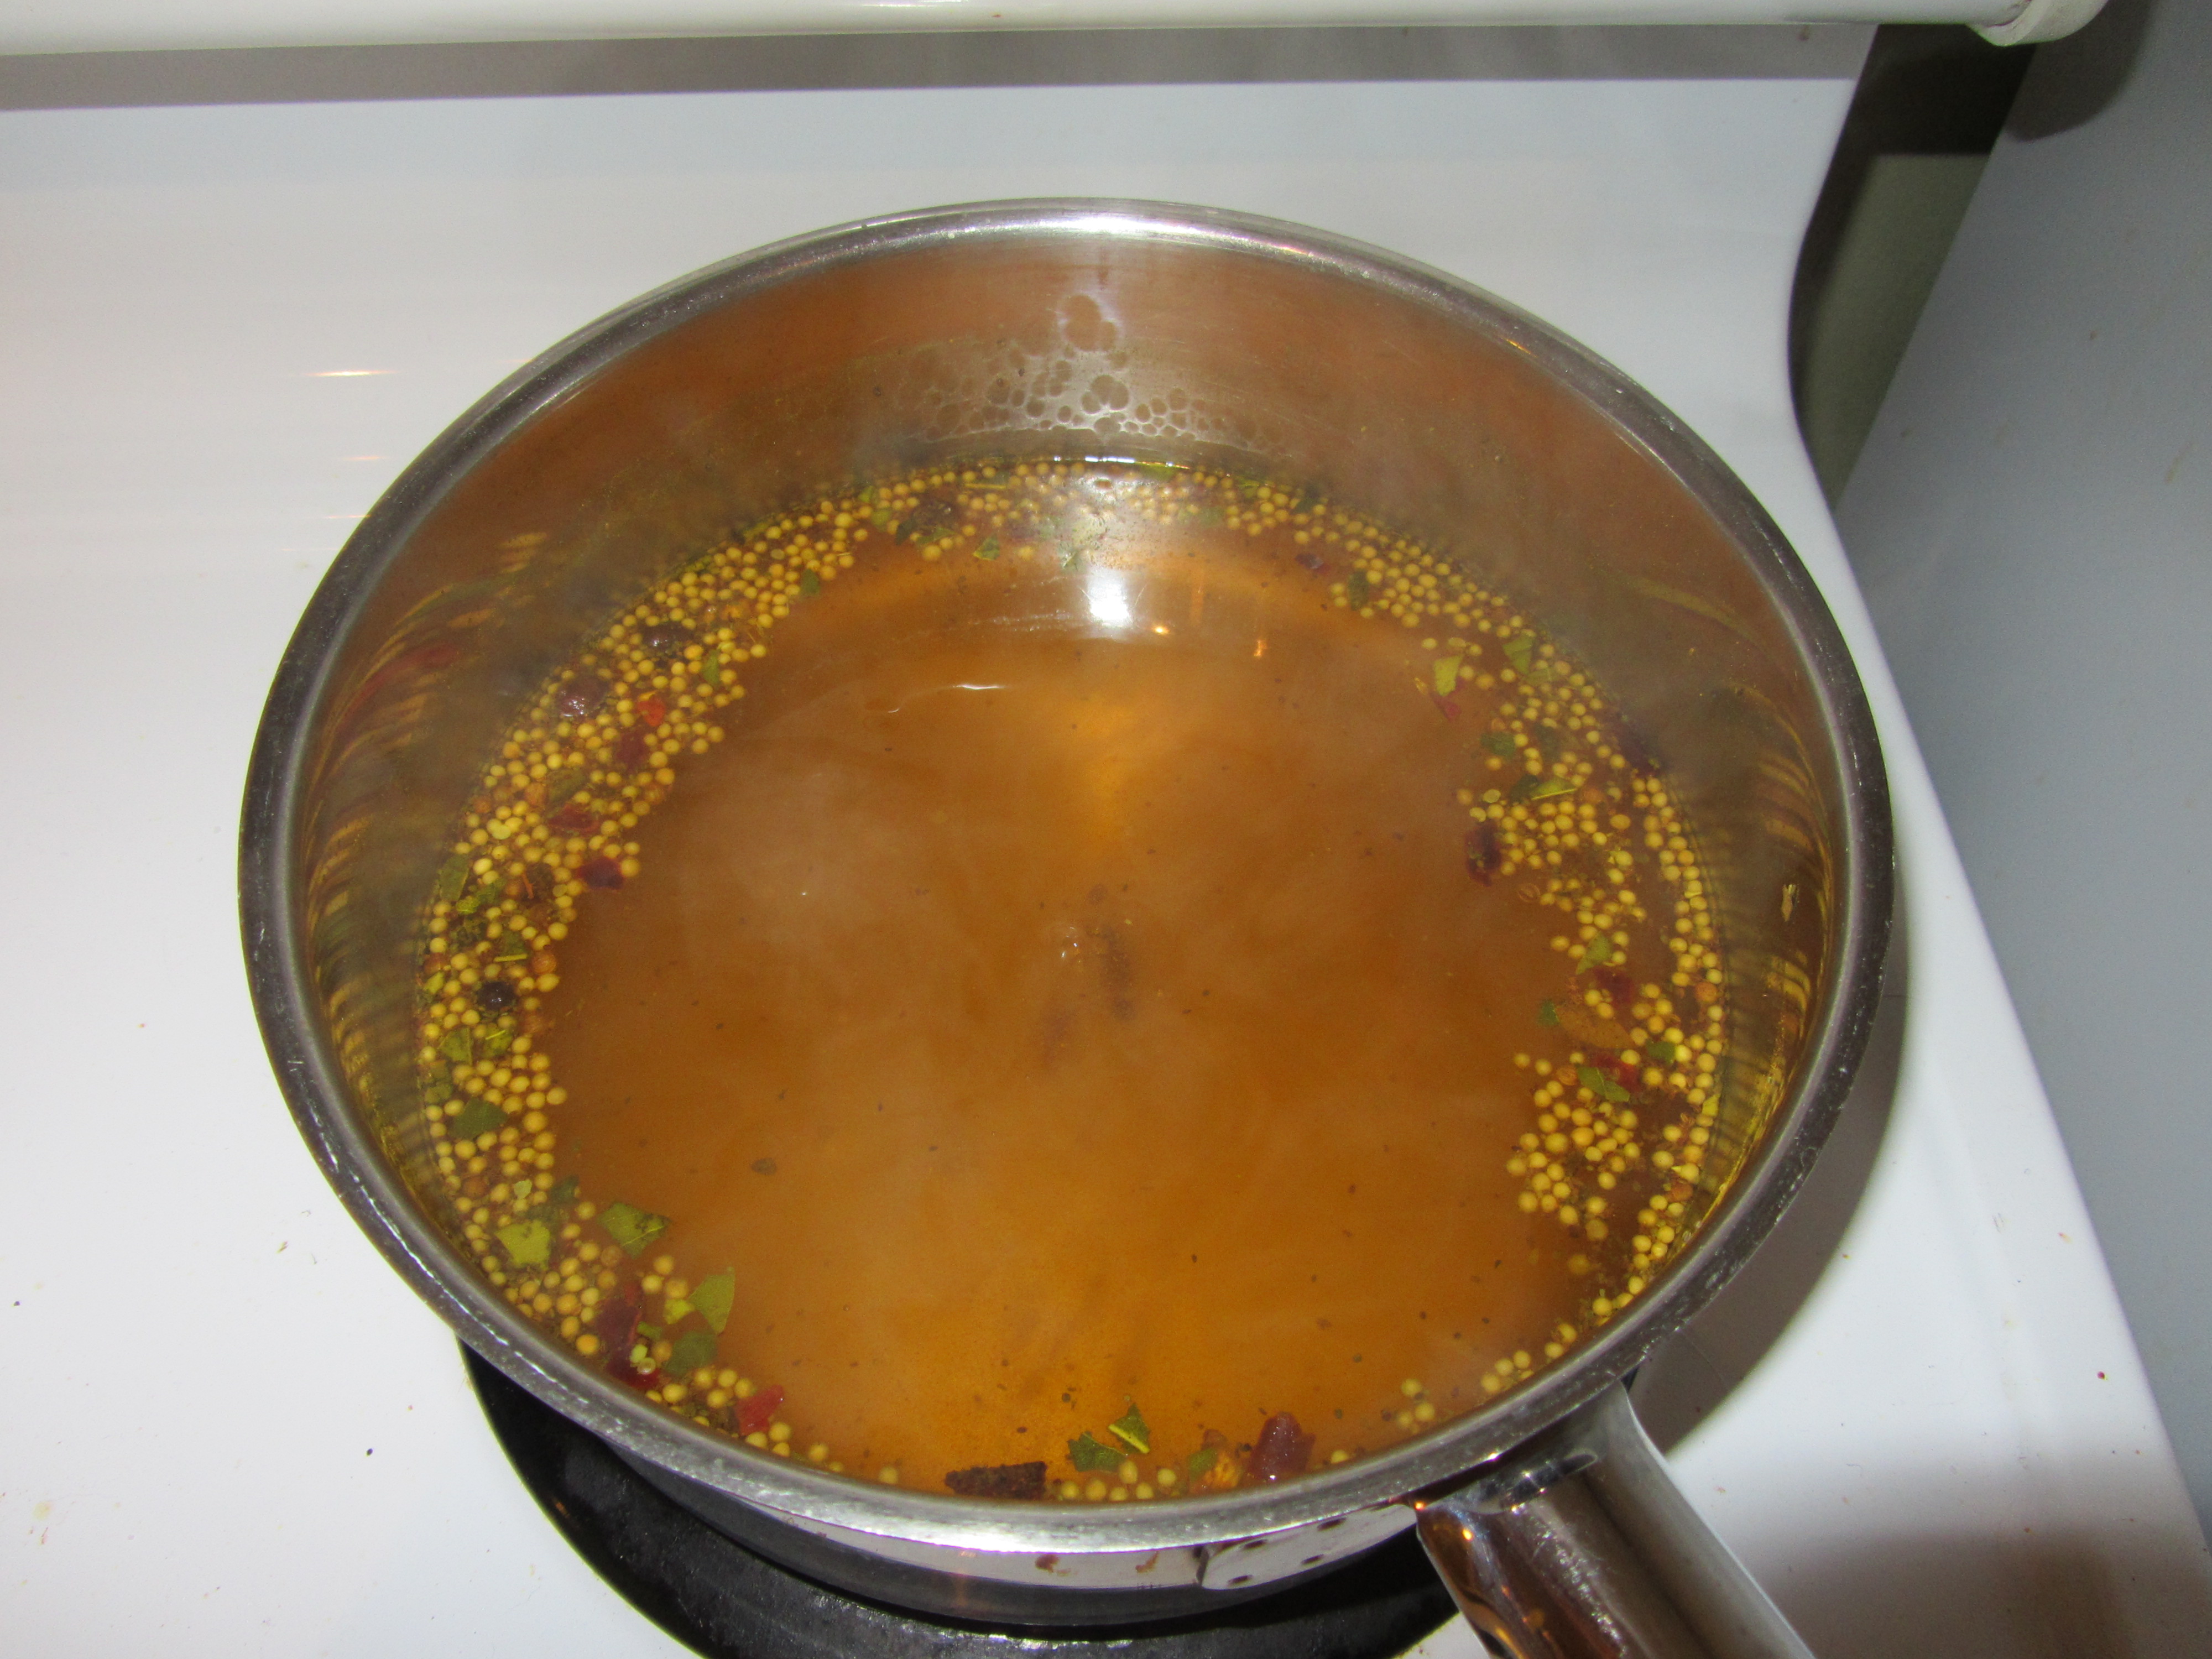
Simmering brine.
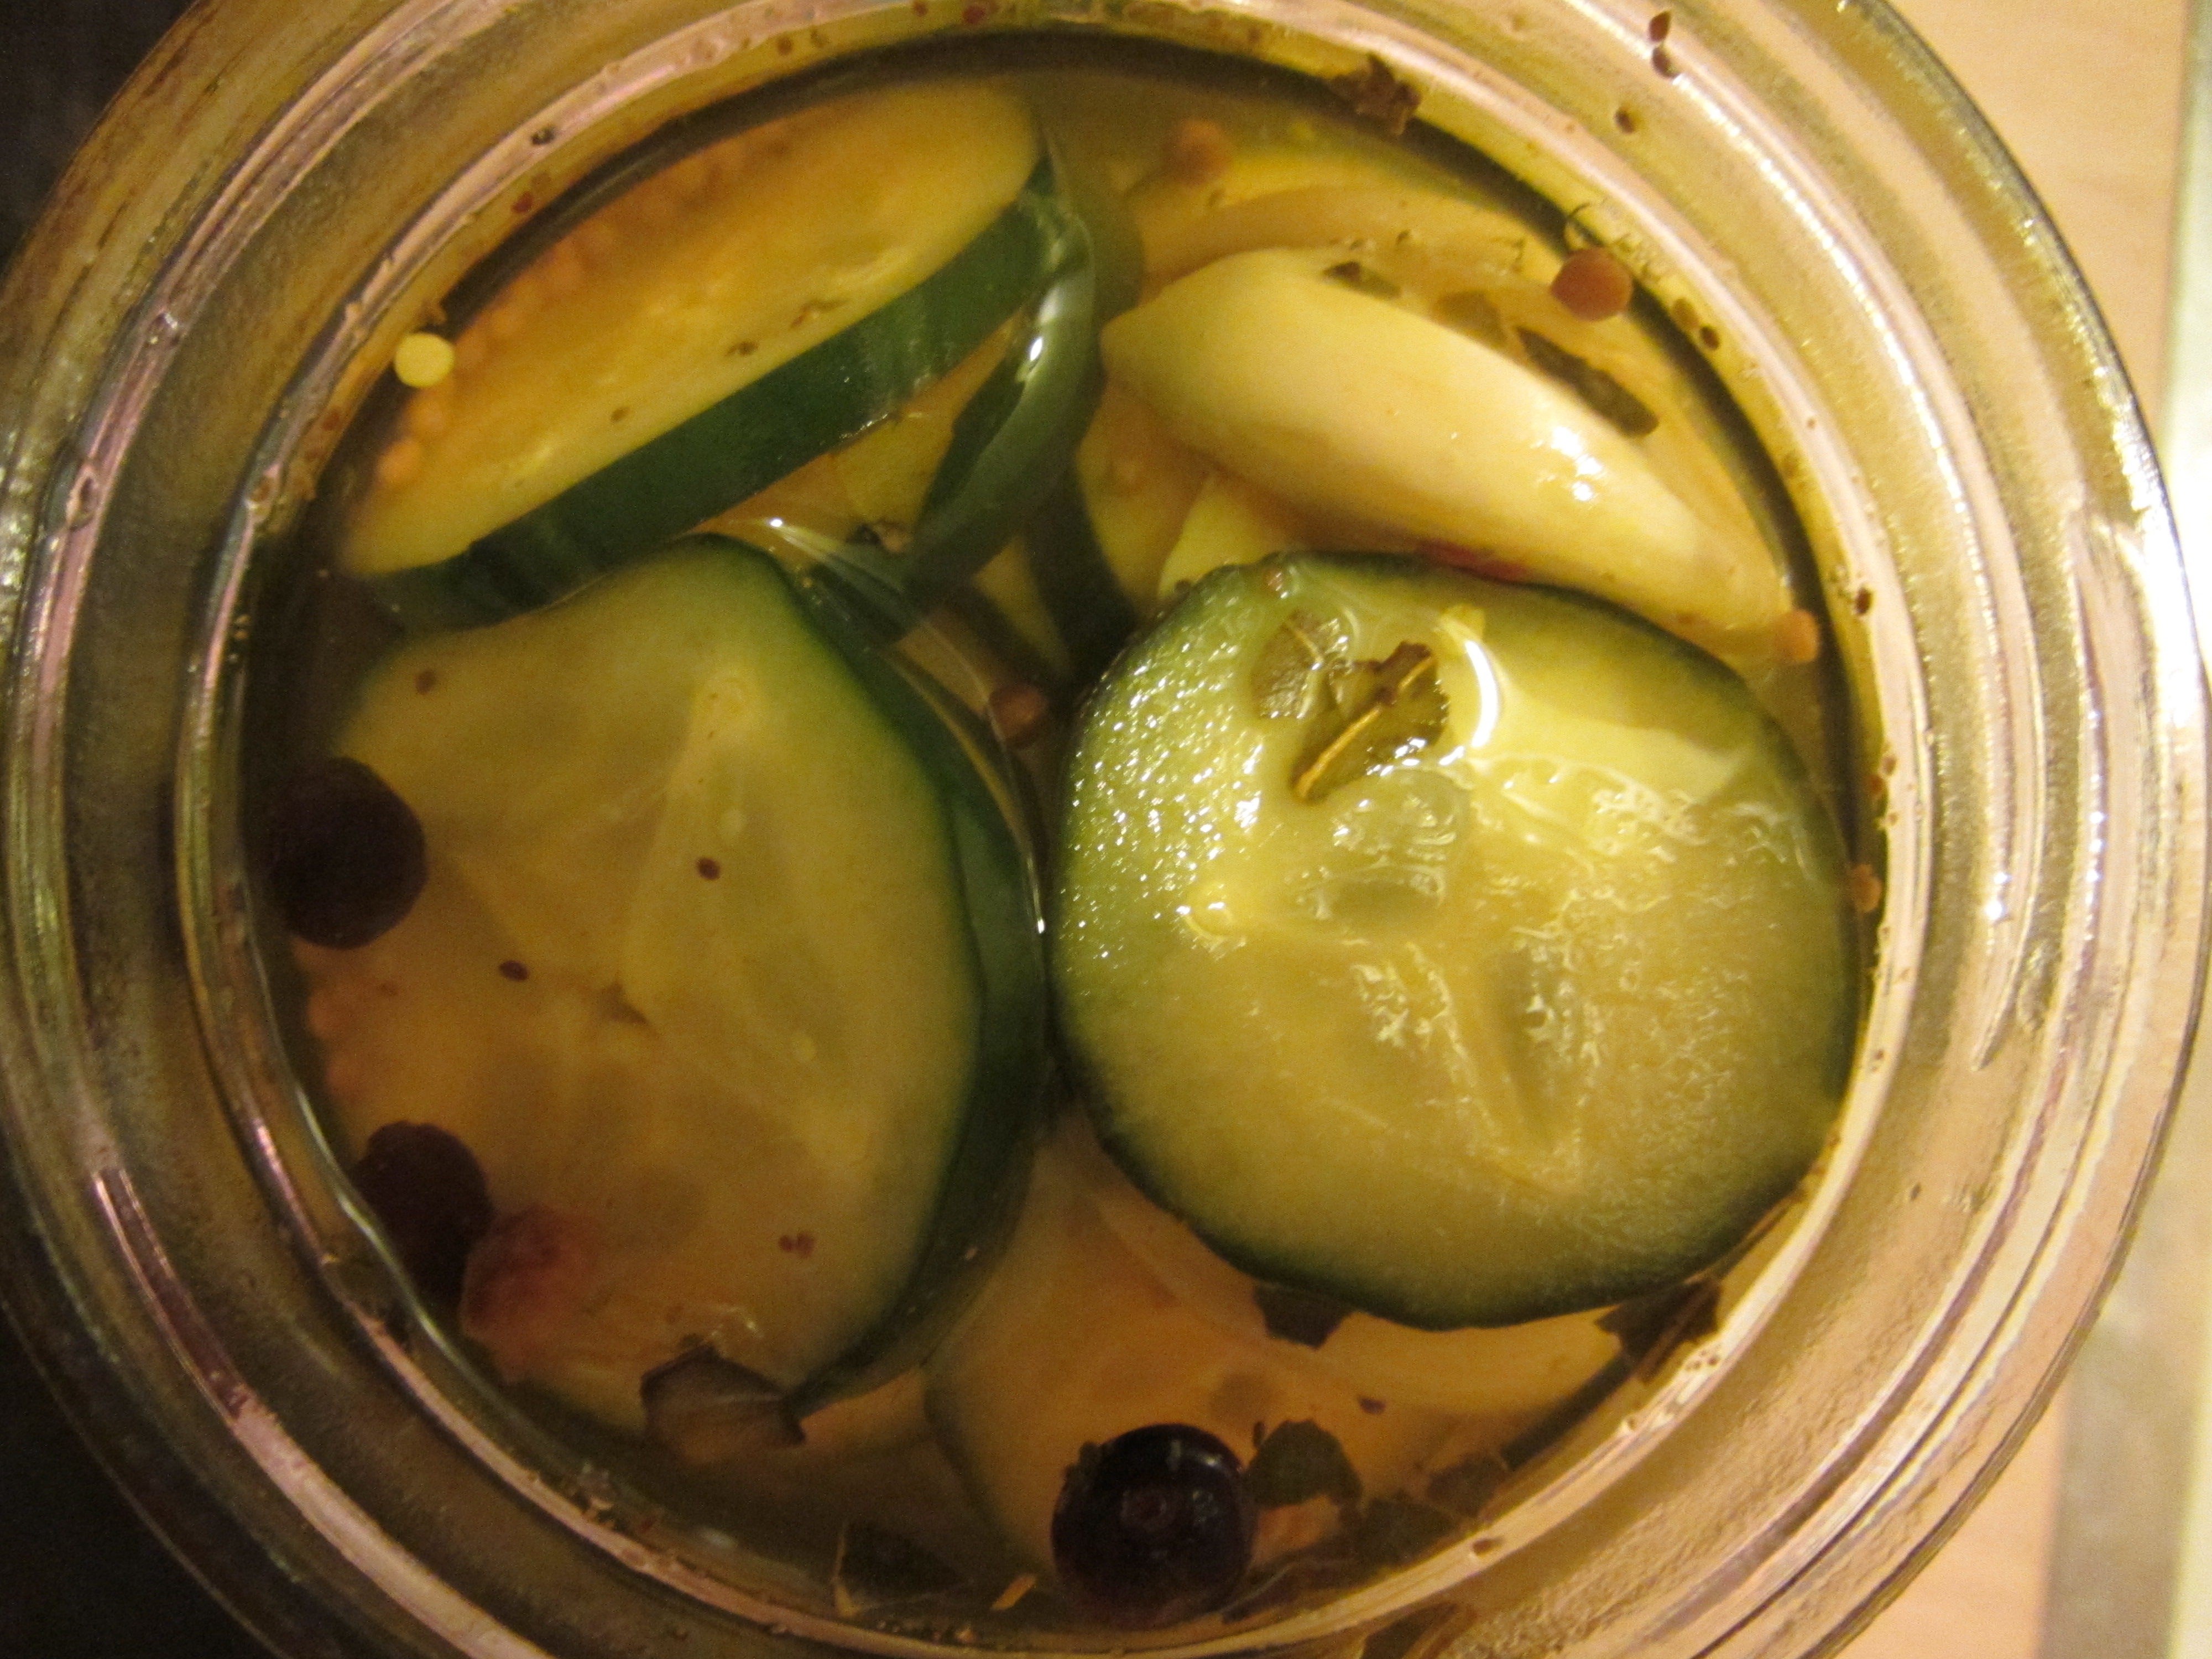
Brine poured over cucumbers.

Kinda Sorta Sours.
Let the pickles cool before closing, top them off with more brine, and put them in the refrigerator. These, too, will keep for up to a couple of months. I like these pickles quite a bit too. They have the same pleasantly crunchy texture of the bread and butter pickles, but they are much more savory. They really are almost sour. They would also be great on a sandwich. For a more savory cucumber pickle, this is the one to try.
Firecrackers
If you are looking for a more unique pickle to try, try making Alton’s Firecrackers. What are Firecrackers? They are crunchy, spicy, sweet, zesty pickled baby carrots. To make these, Alton tells you to put a half pound of baby carrots in a (you guessed it) spring-top jar. I weighed out a half pound of baby carrots and they only filled my jar half-way, so I wound up using about a pound of baby carrots.
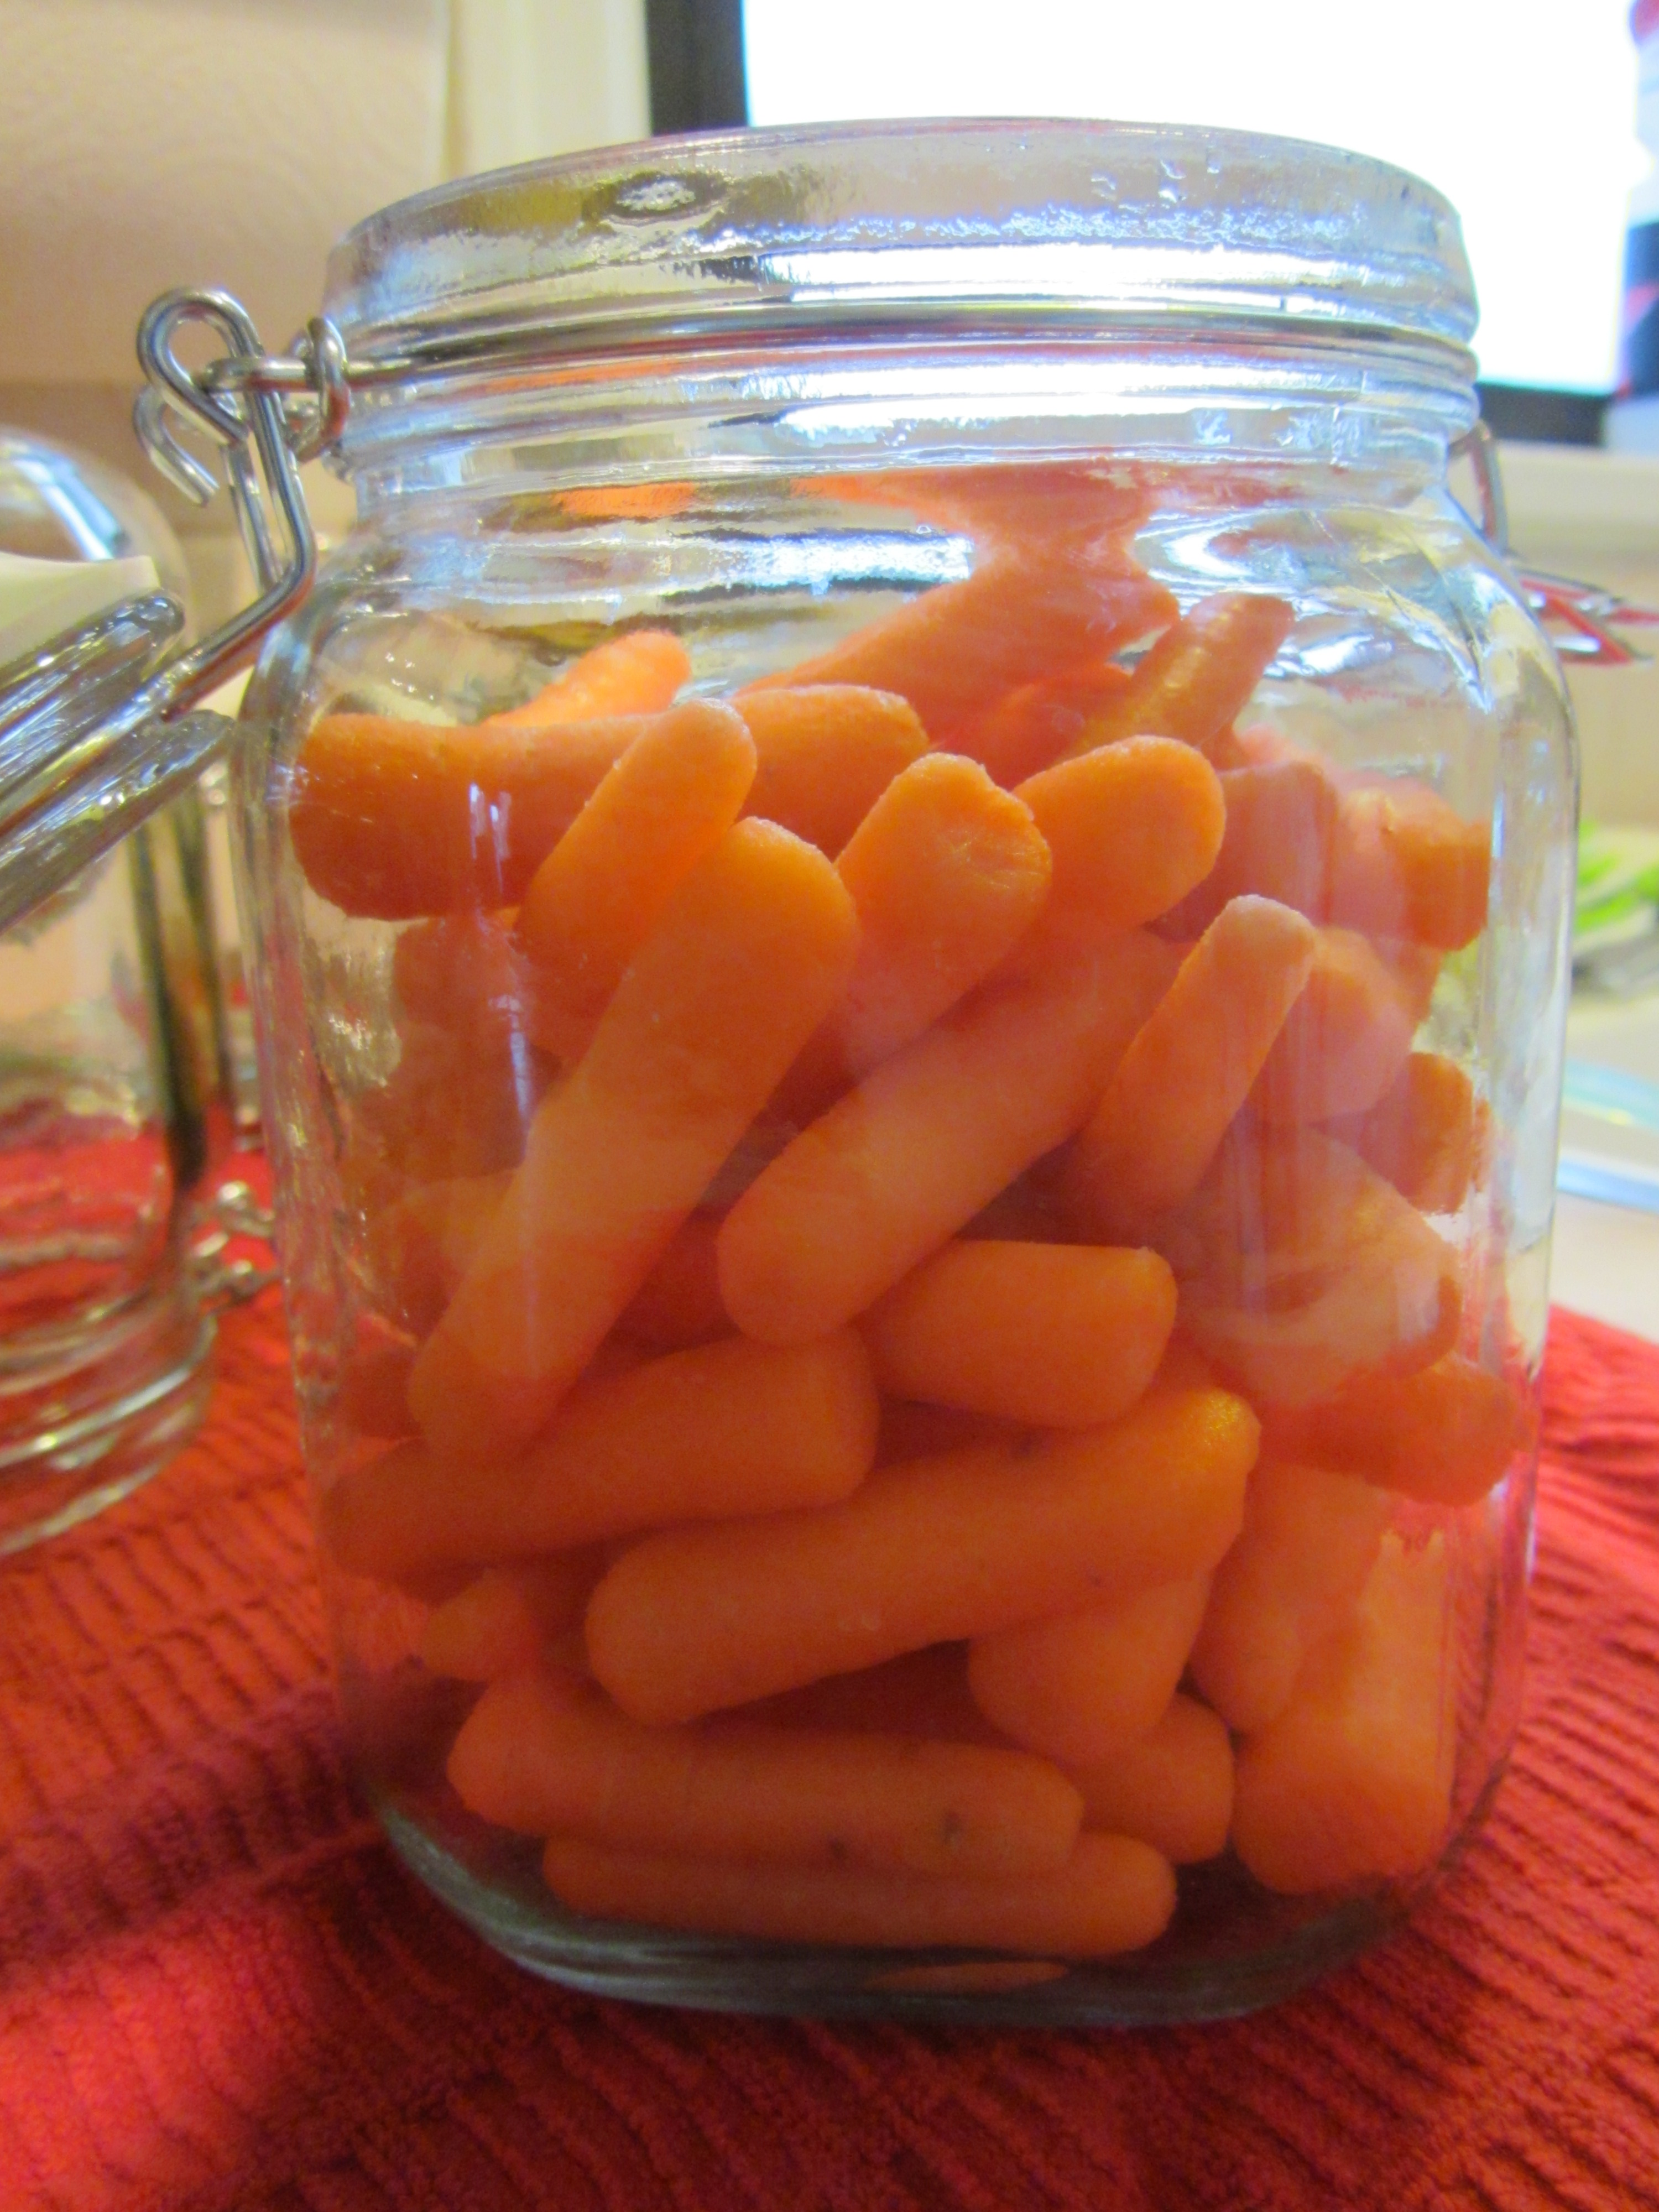
A pound of baby carrots in the jar.
To make the brine, you combine water, sugar, and cider vinegar in a saucepan. To this, you add onion powder, mustard seed, Kosher salt, chili flakes, and dried chilies.
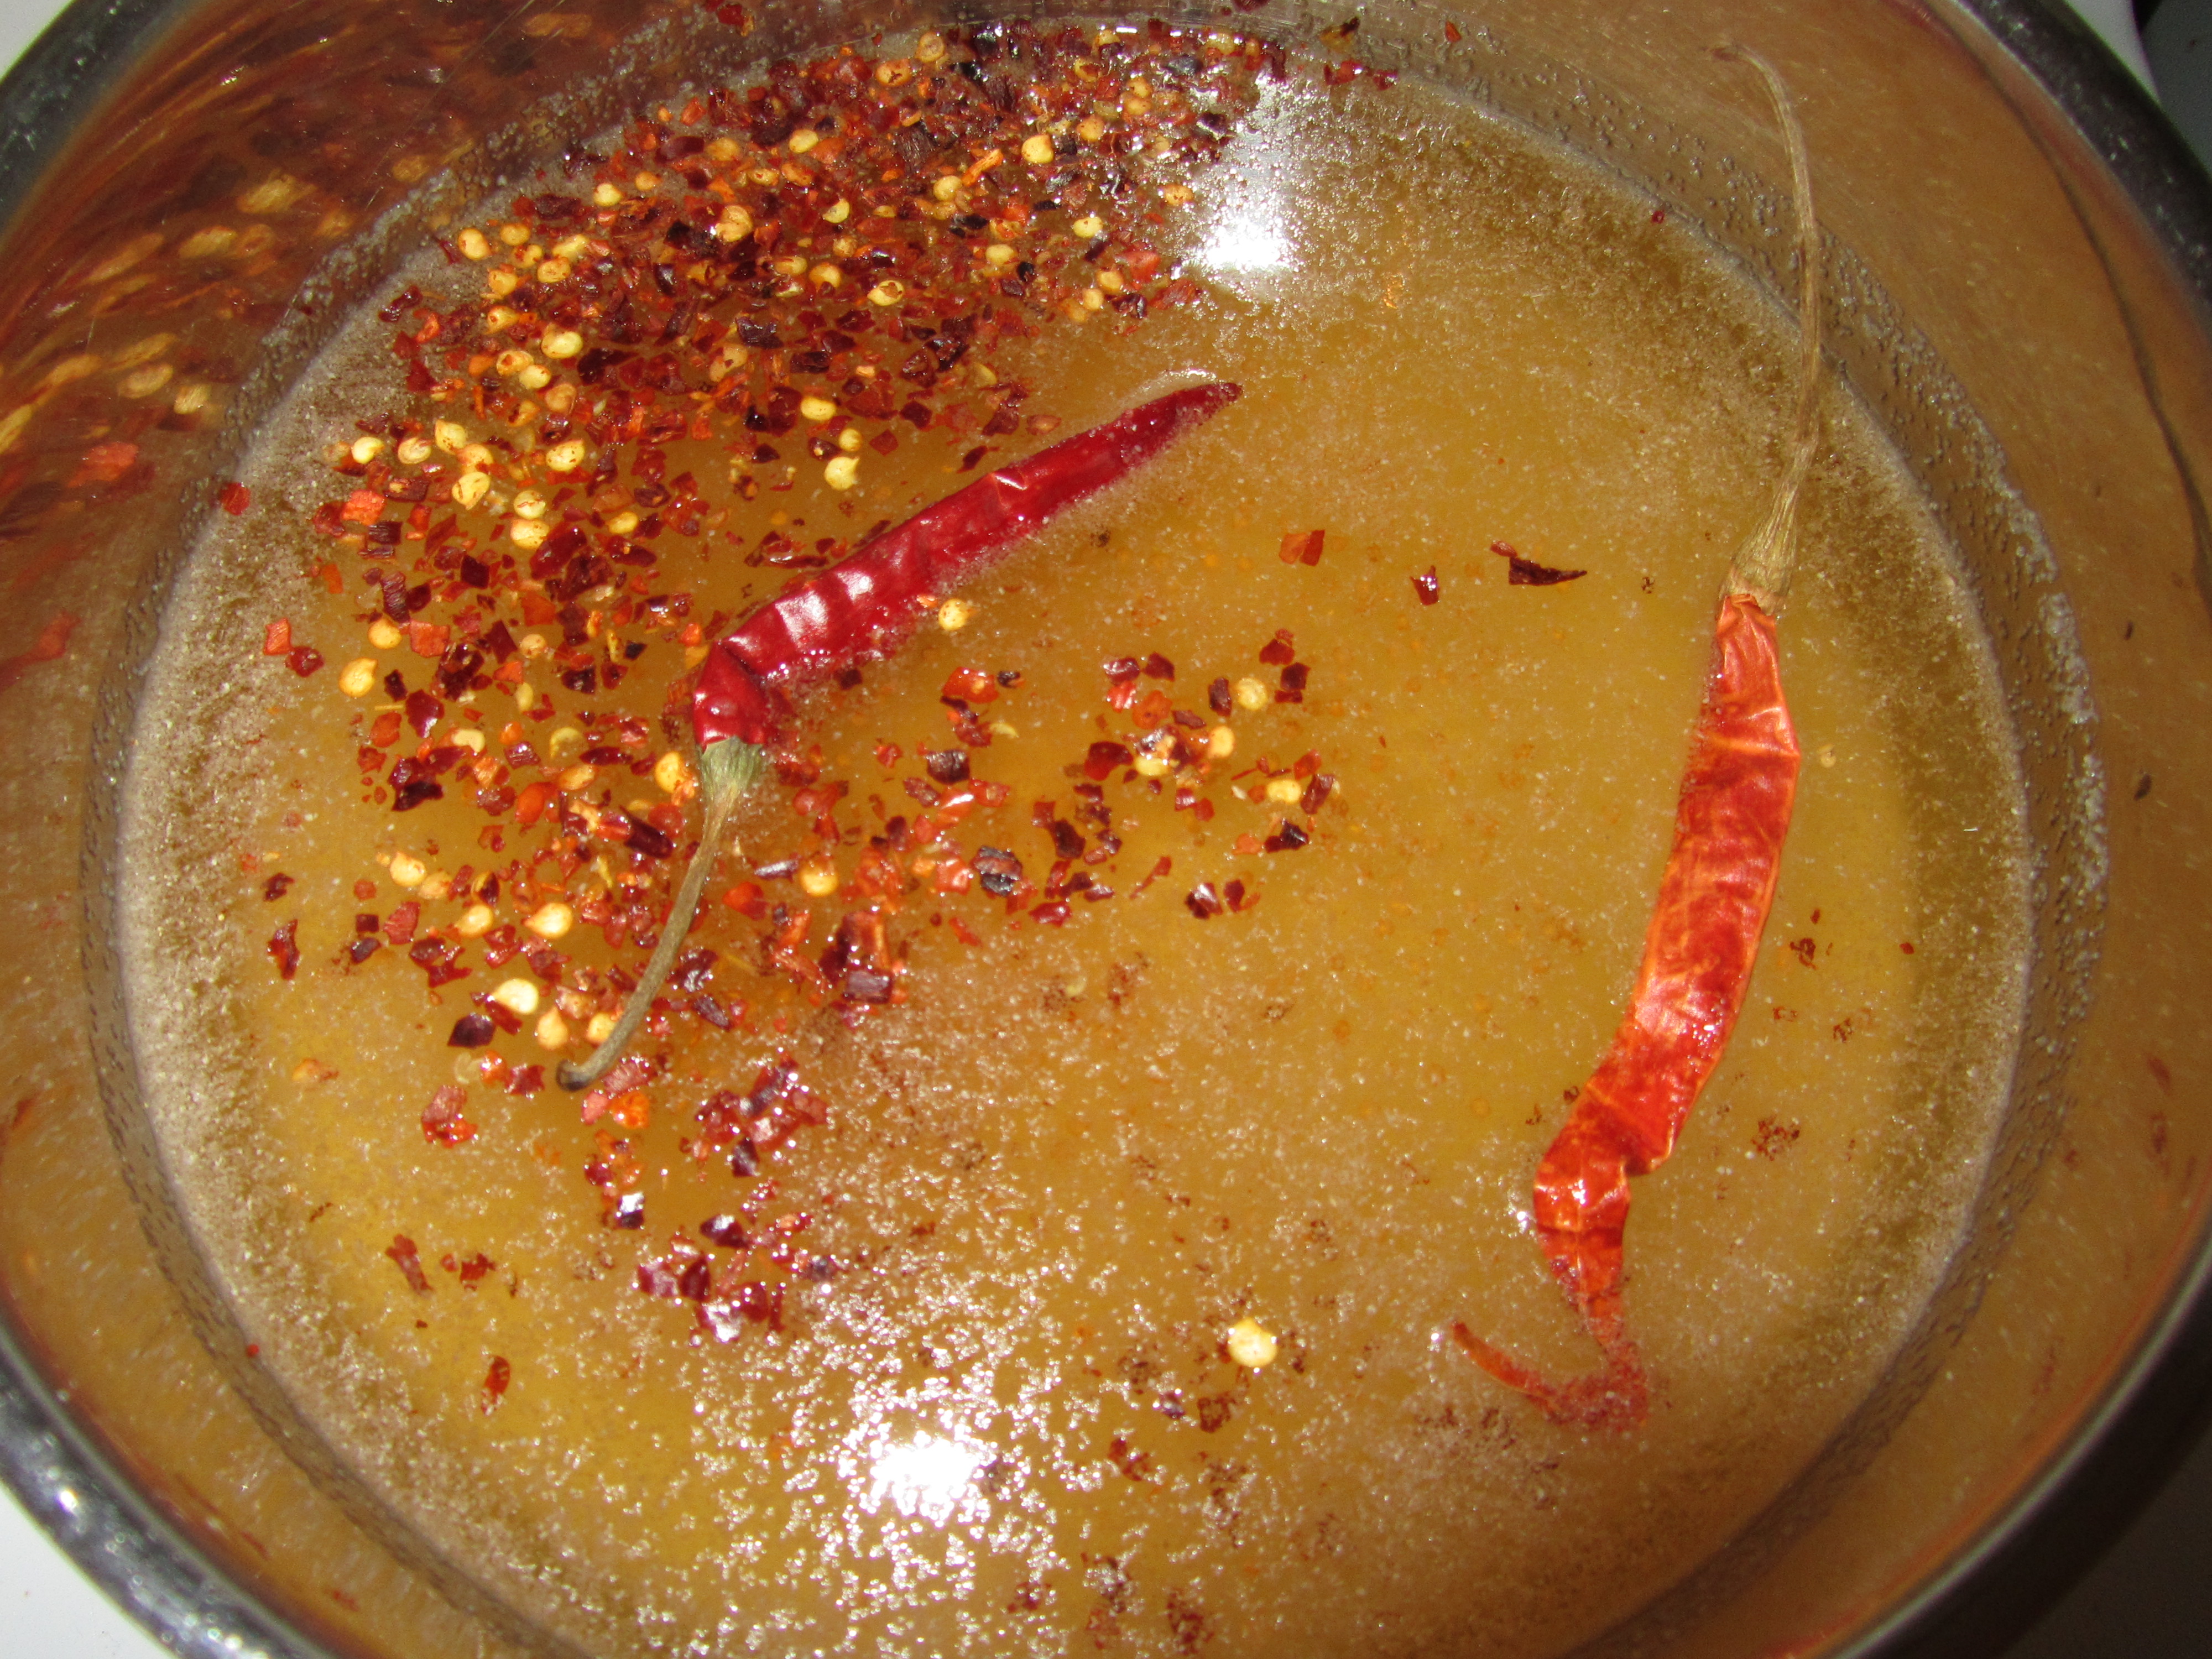
Brine ingredients: water, sugar, cider vinegar, onion powder, mustard seed, Kosher salt, chili flakes, and dried chilies.
Bring the brine to a boil, simmer it for four minutes, and pour it over the carrots.

Simmering brine.
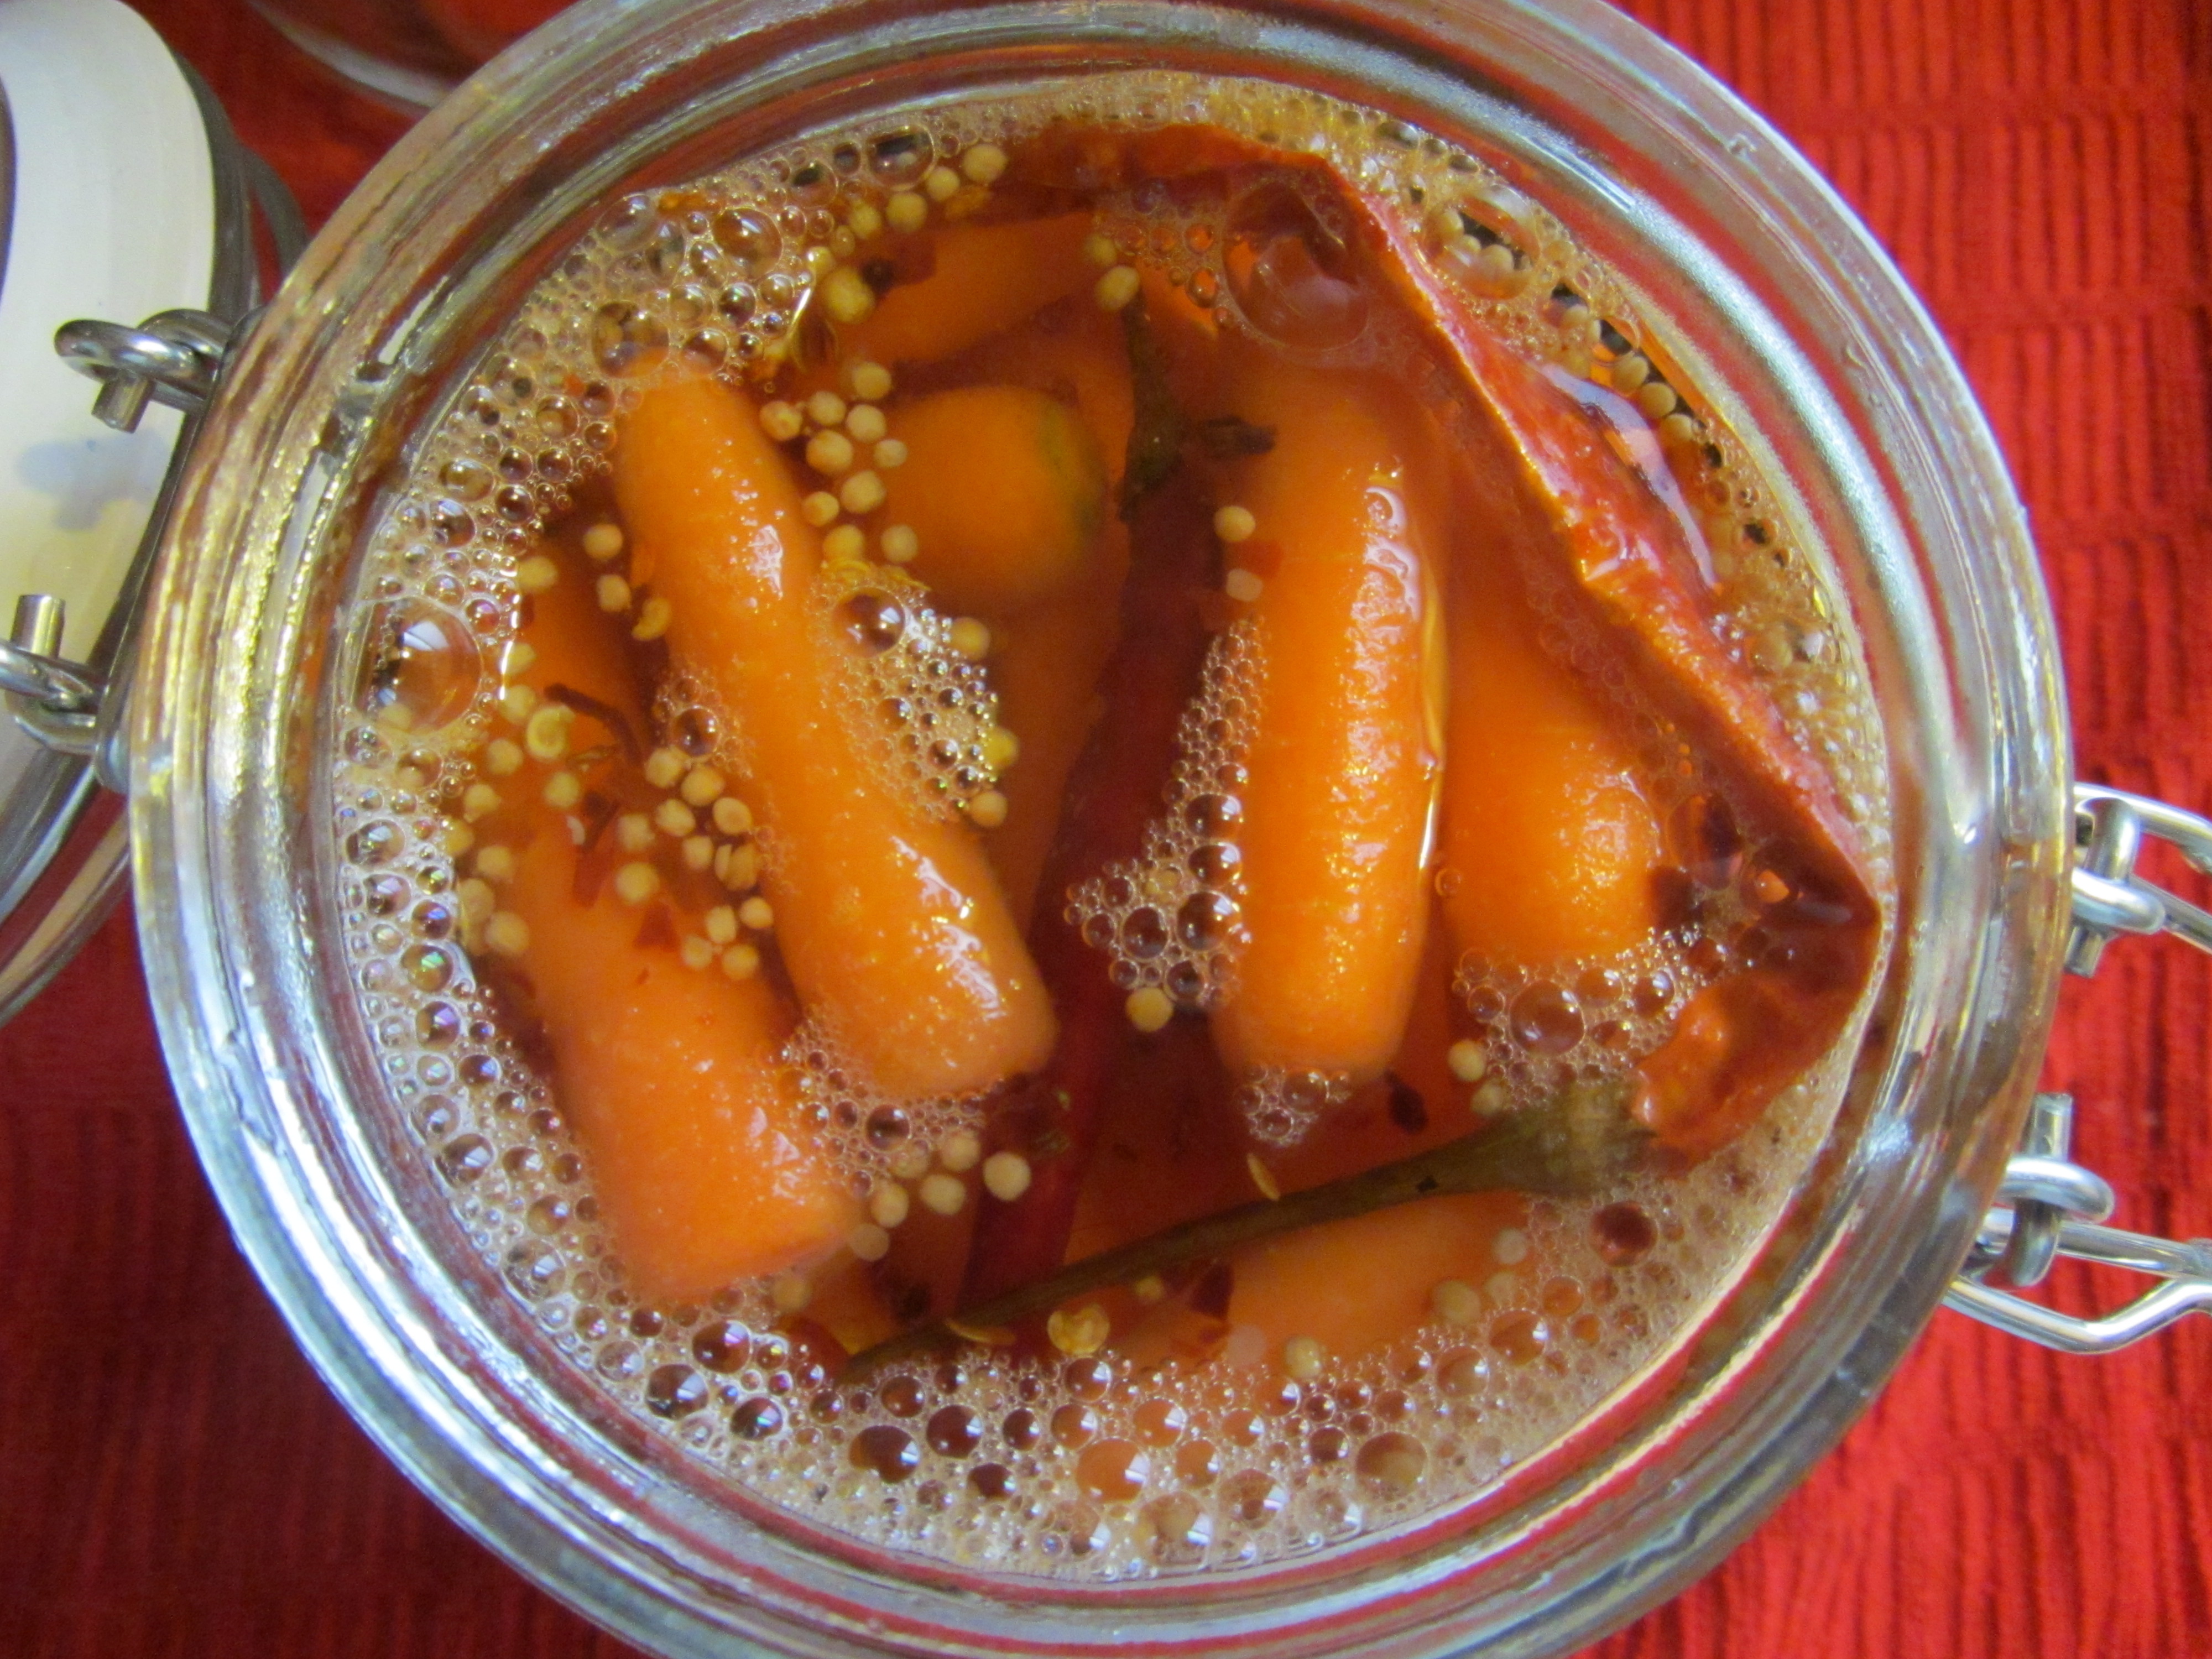
Brine over carrots.
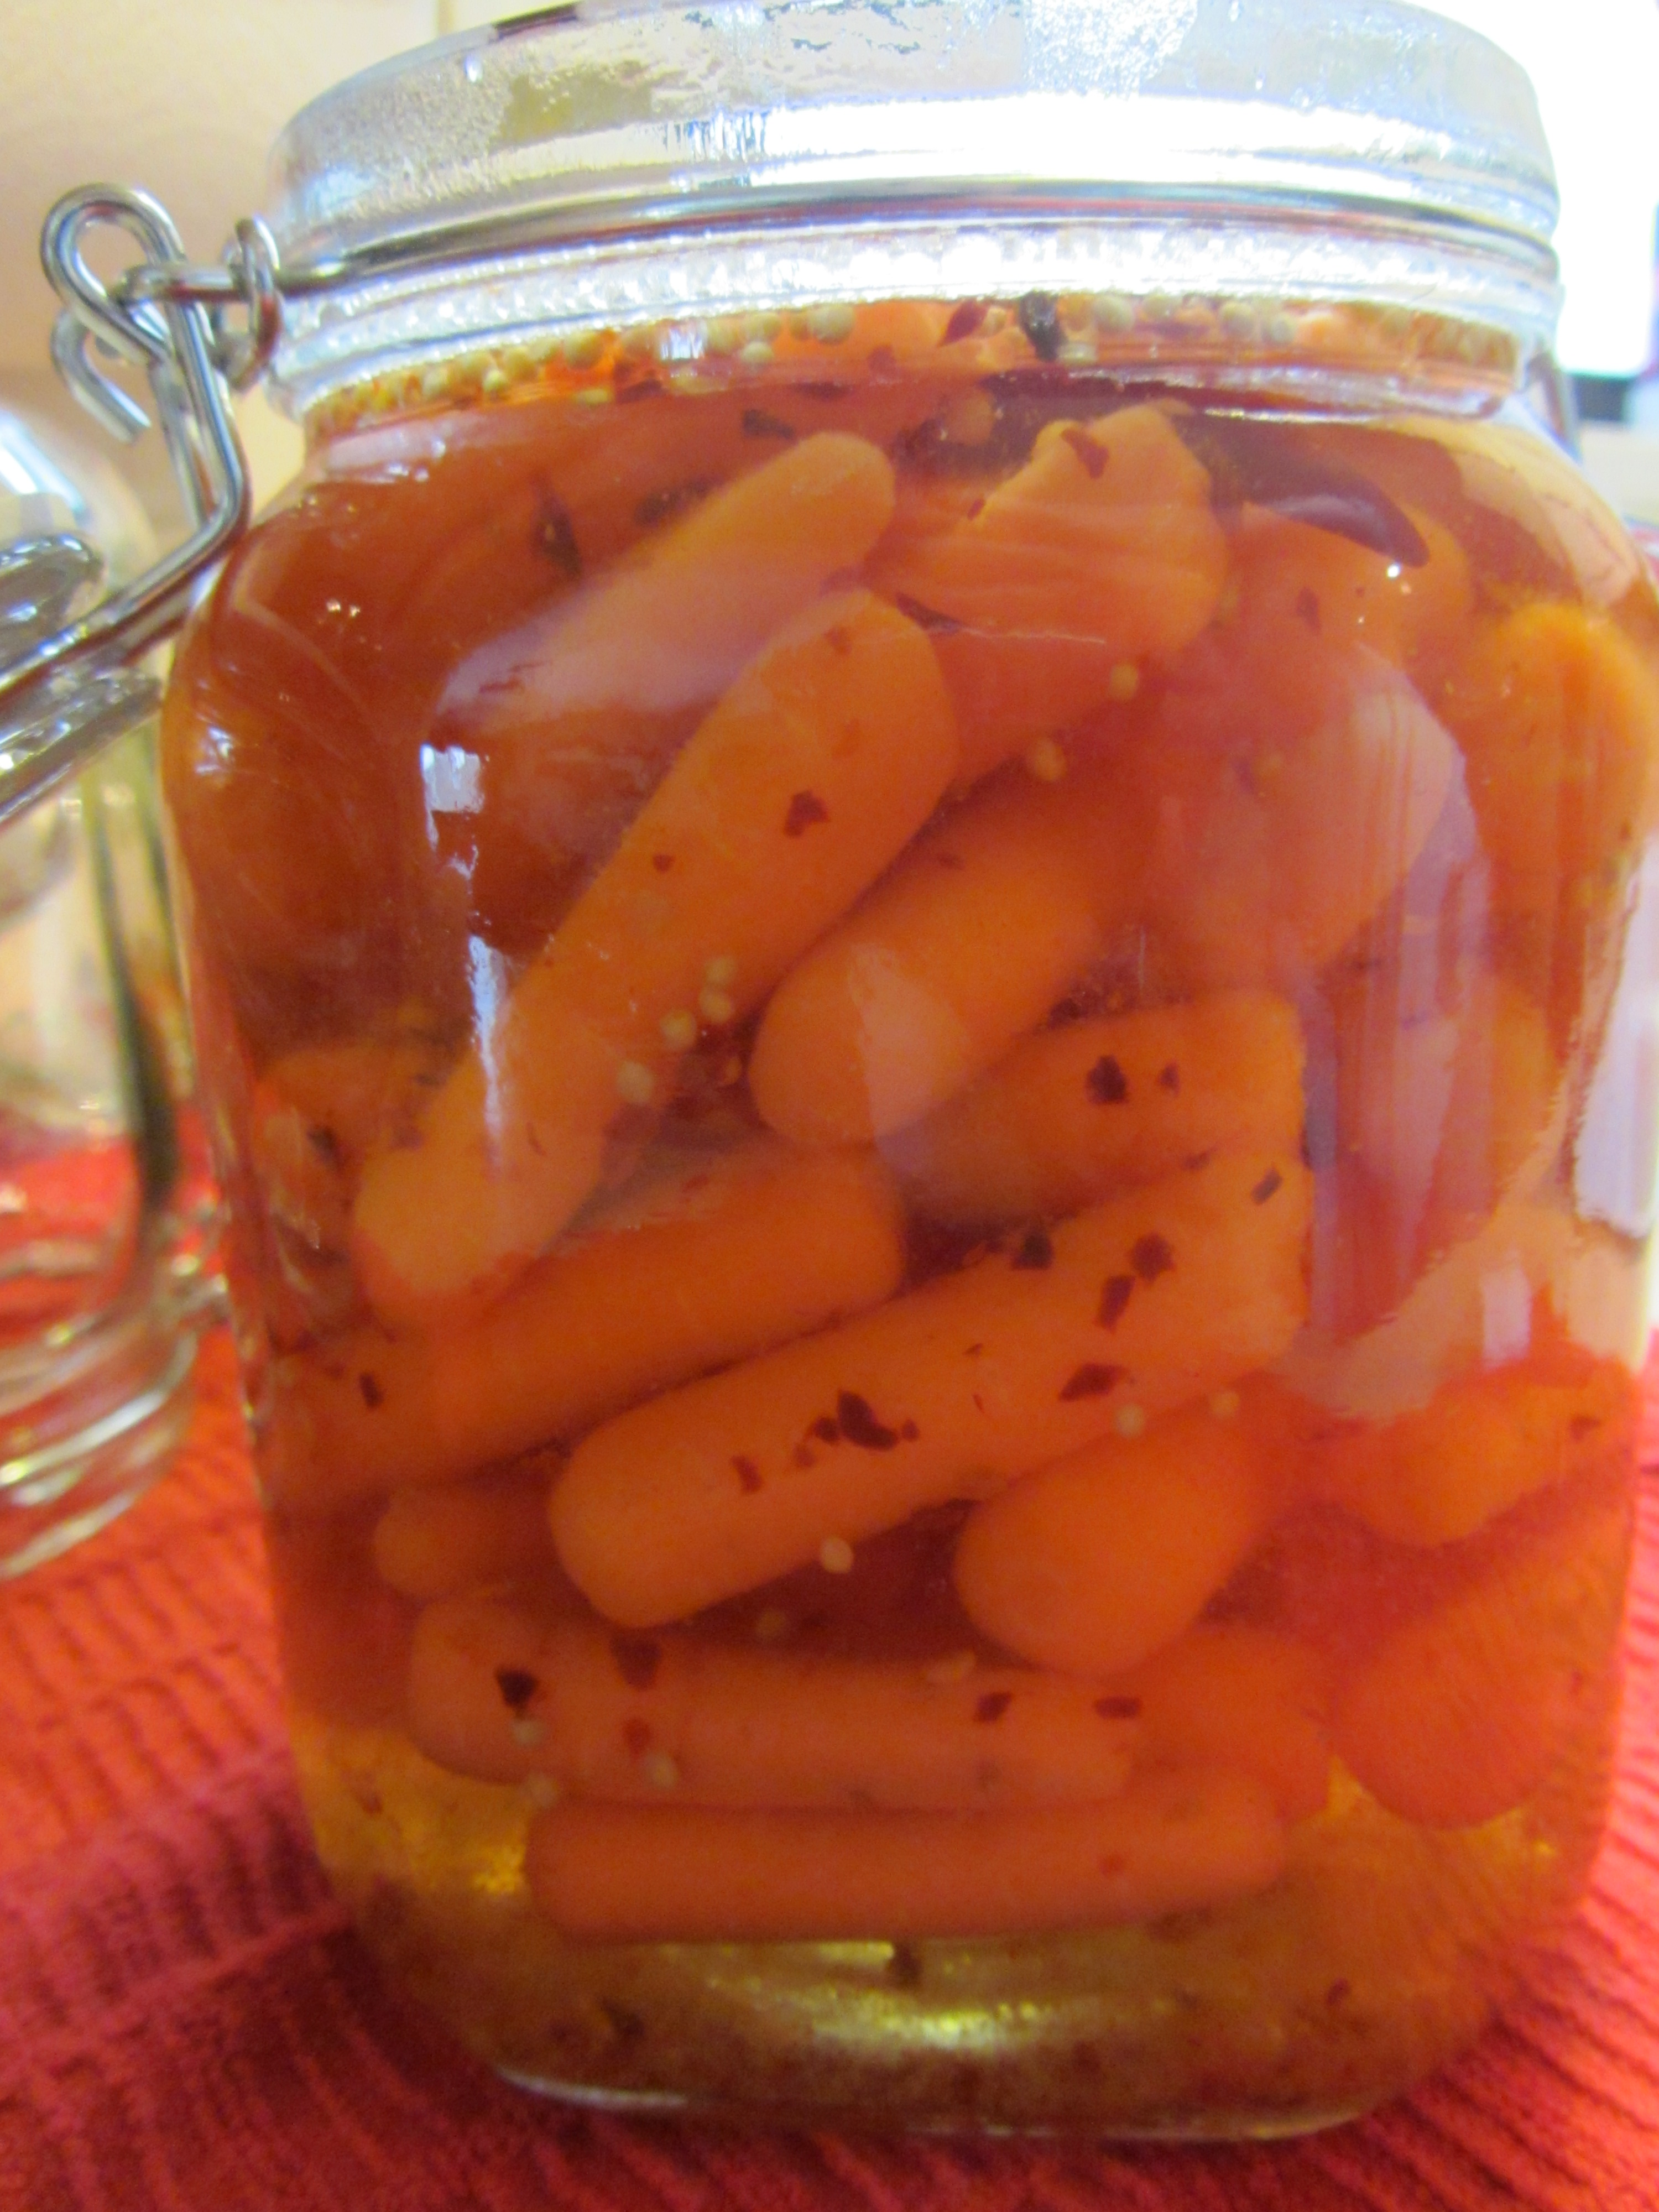
Firecrackers.
Let them cool, close the top, and refrigerate them. My firecrackers are 10 days out and they are only getting better. They are crispy and tangy, and the natural sweetness of the carrots come through. There is also a decent amount of residual heat. I ate some of these on a salad for lunch and they were great. I highly recommend these, especially if you like a little kick to your pickles.
Summer Fruits
Alton’s next next recipe is quite different because it is for fruit pickles. This was my first fruit pickle attempt. Alton calls for you to pickle one Bartlett pear and one red plum. Seeing as it is January, I could not find a red plum, so I substituted an apple (Fuji, I think) for the plum.
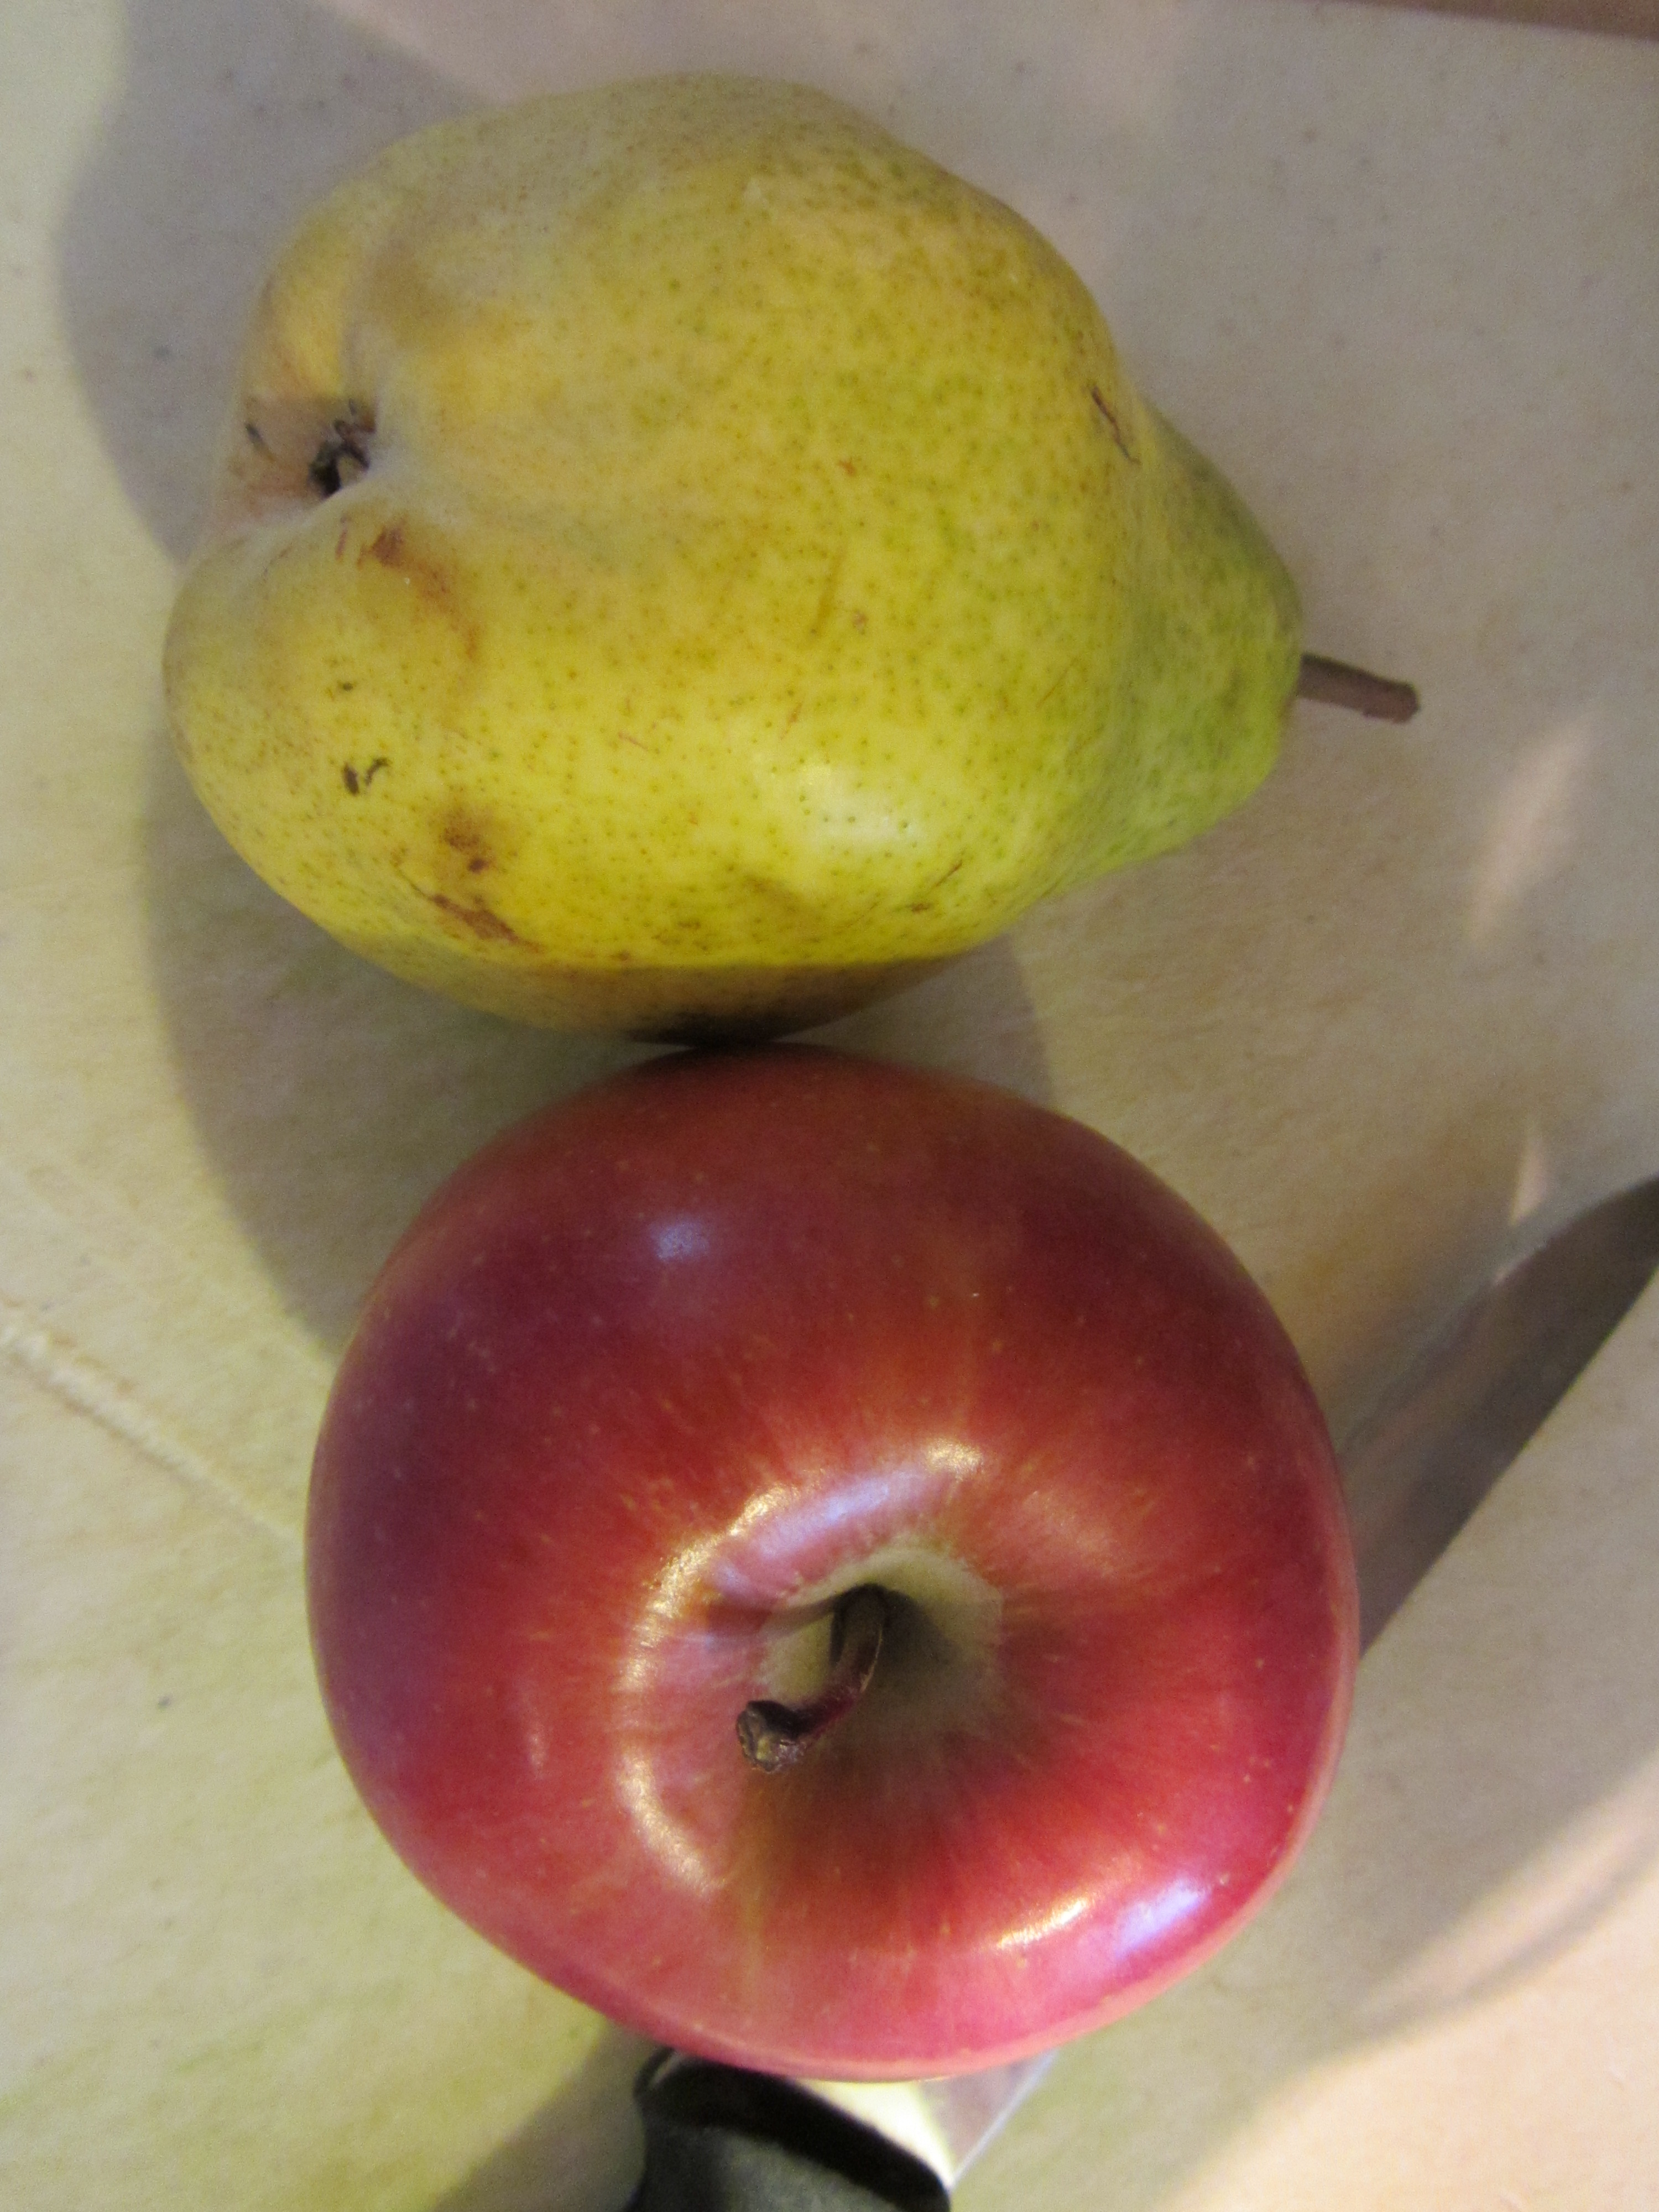
Bartlett pear and an apple.
As with the cucumber pickles, slice the fruit very thinly and add it to a spring-top jar. In a saucepan, combine water, sugar, and rice wine vinegar and simmer this until the sugar dissolves completely; no need to boil this one since there are no whole spices.
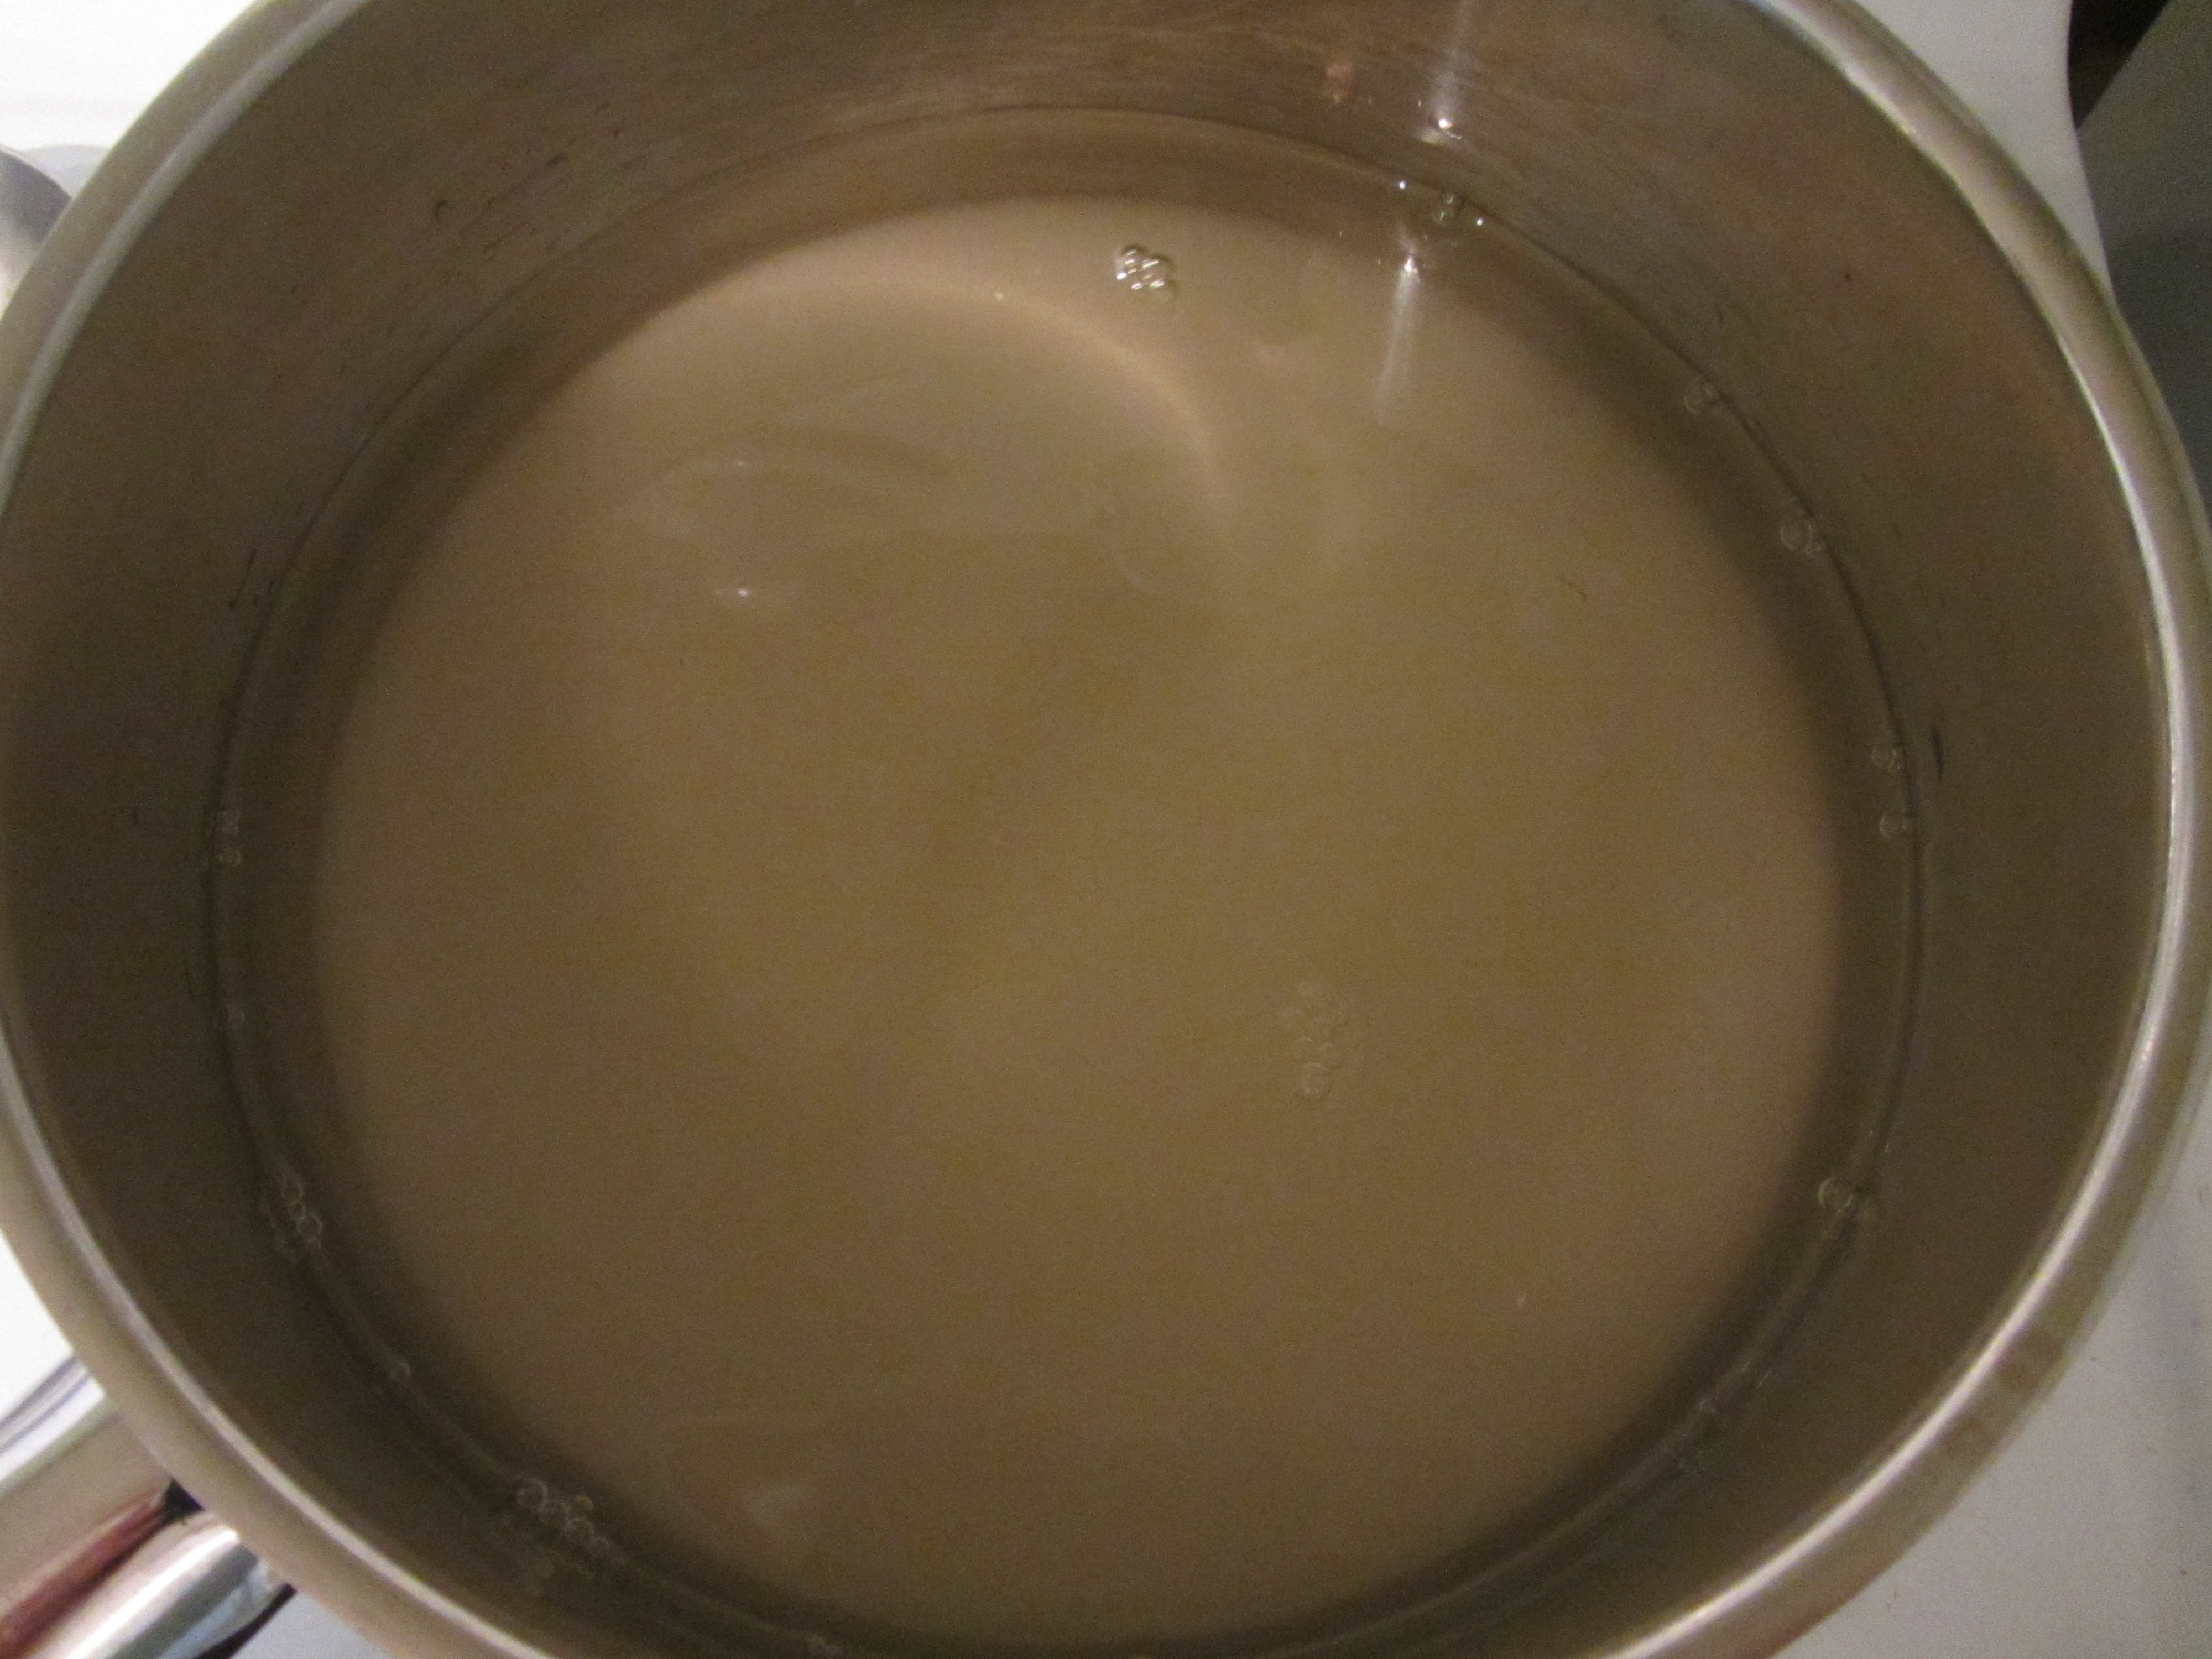
Simple brine of water, sugar, and rice wine vinegar.
Sugar almost dissolved in brine.
Meanwhile, to the jar add slivered ginger, a sprig of fresh mint, and half of a lemon, thinly sliced.

Thinly sliced lemon added to the sliced fruit in the jar.

Apple, pear, ginger, and lemon in the jar.
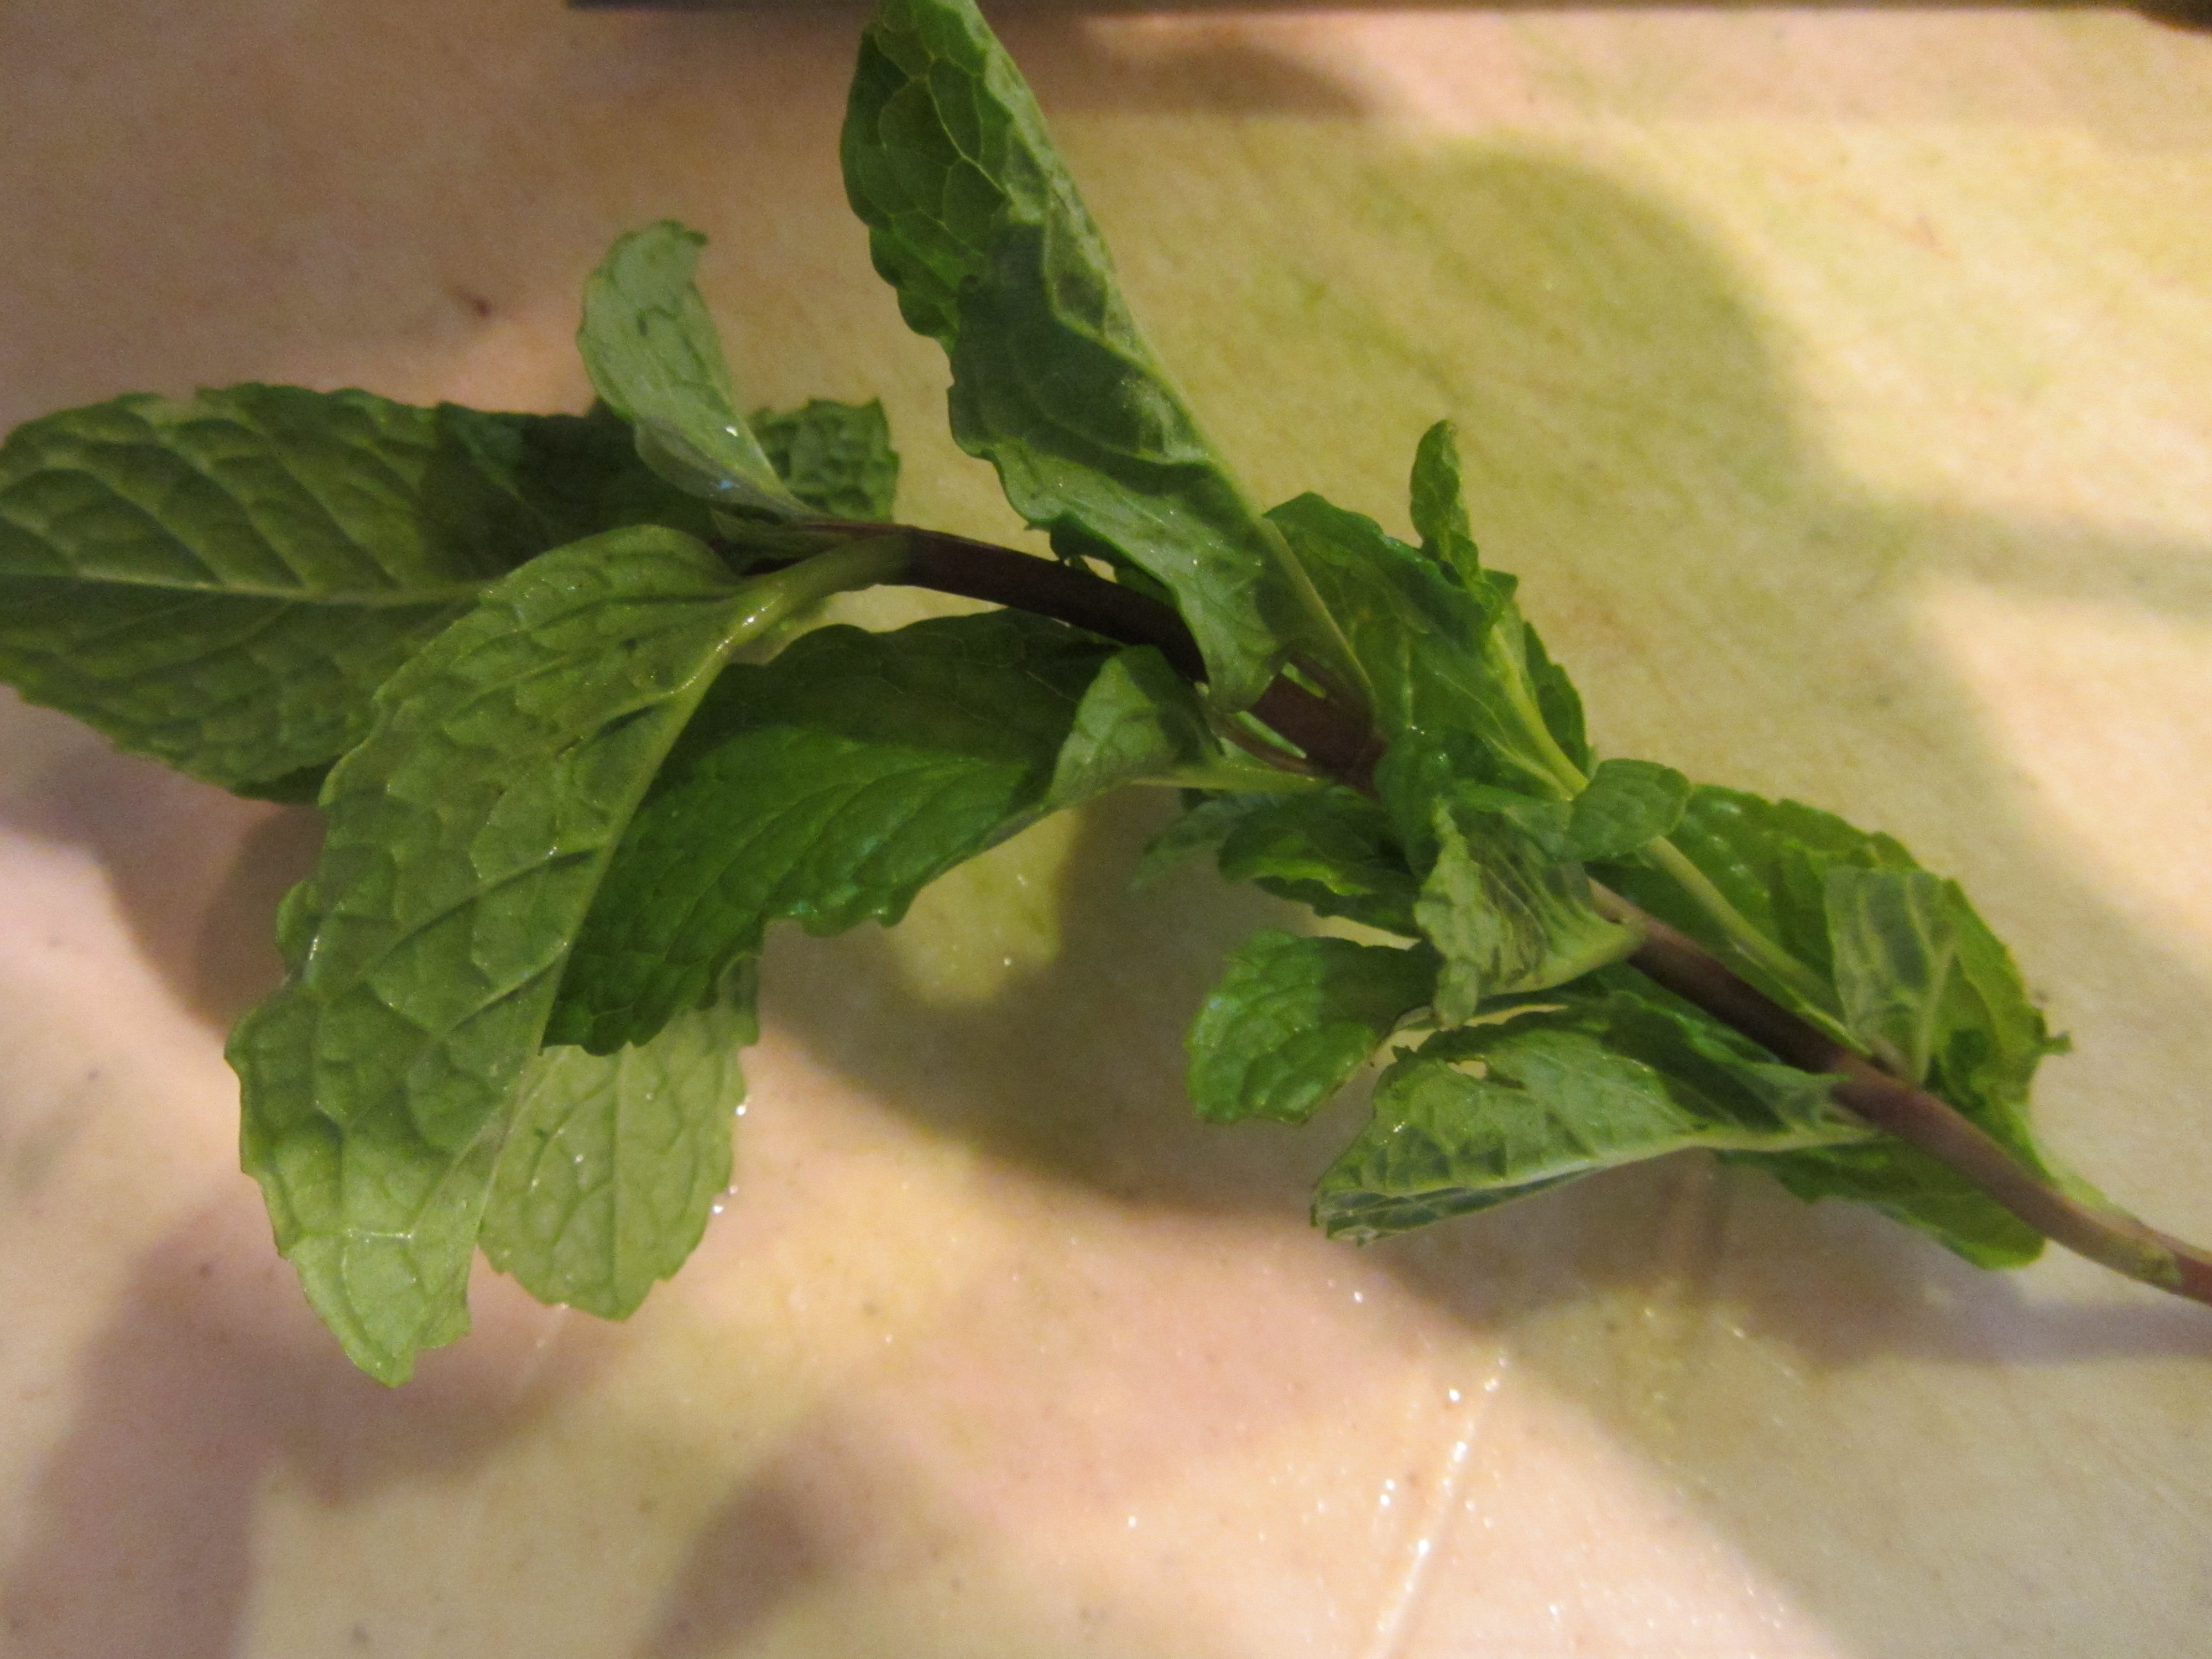
Fresh mint.

Mint added to the jar.
Once the sugar has dissolved in the brine, pour it over the fruit, let the pickles cool, close the lid, and refrigerate them.

Brine poured over fruit.
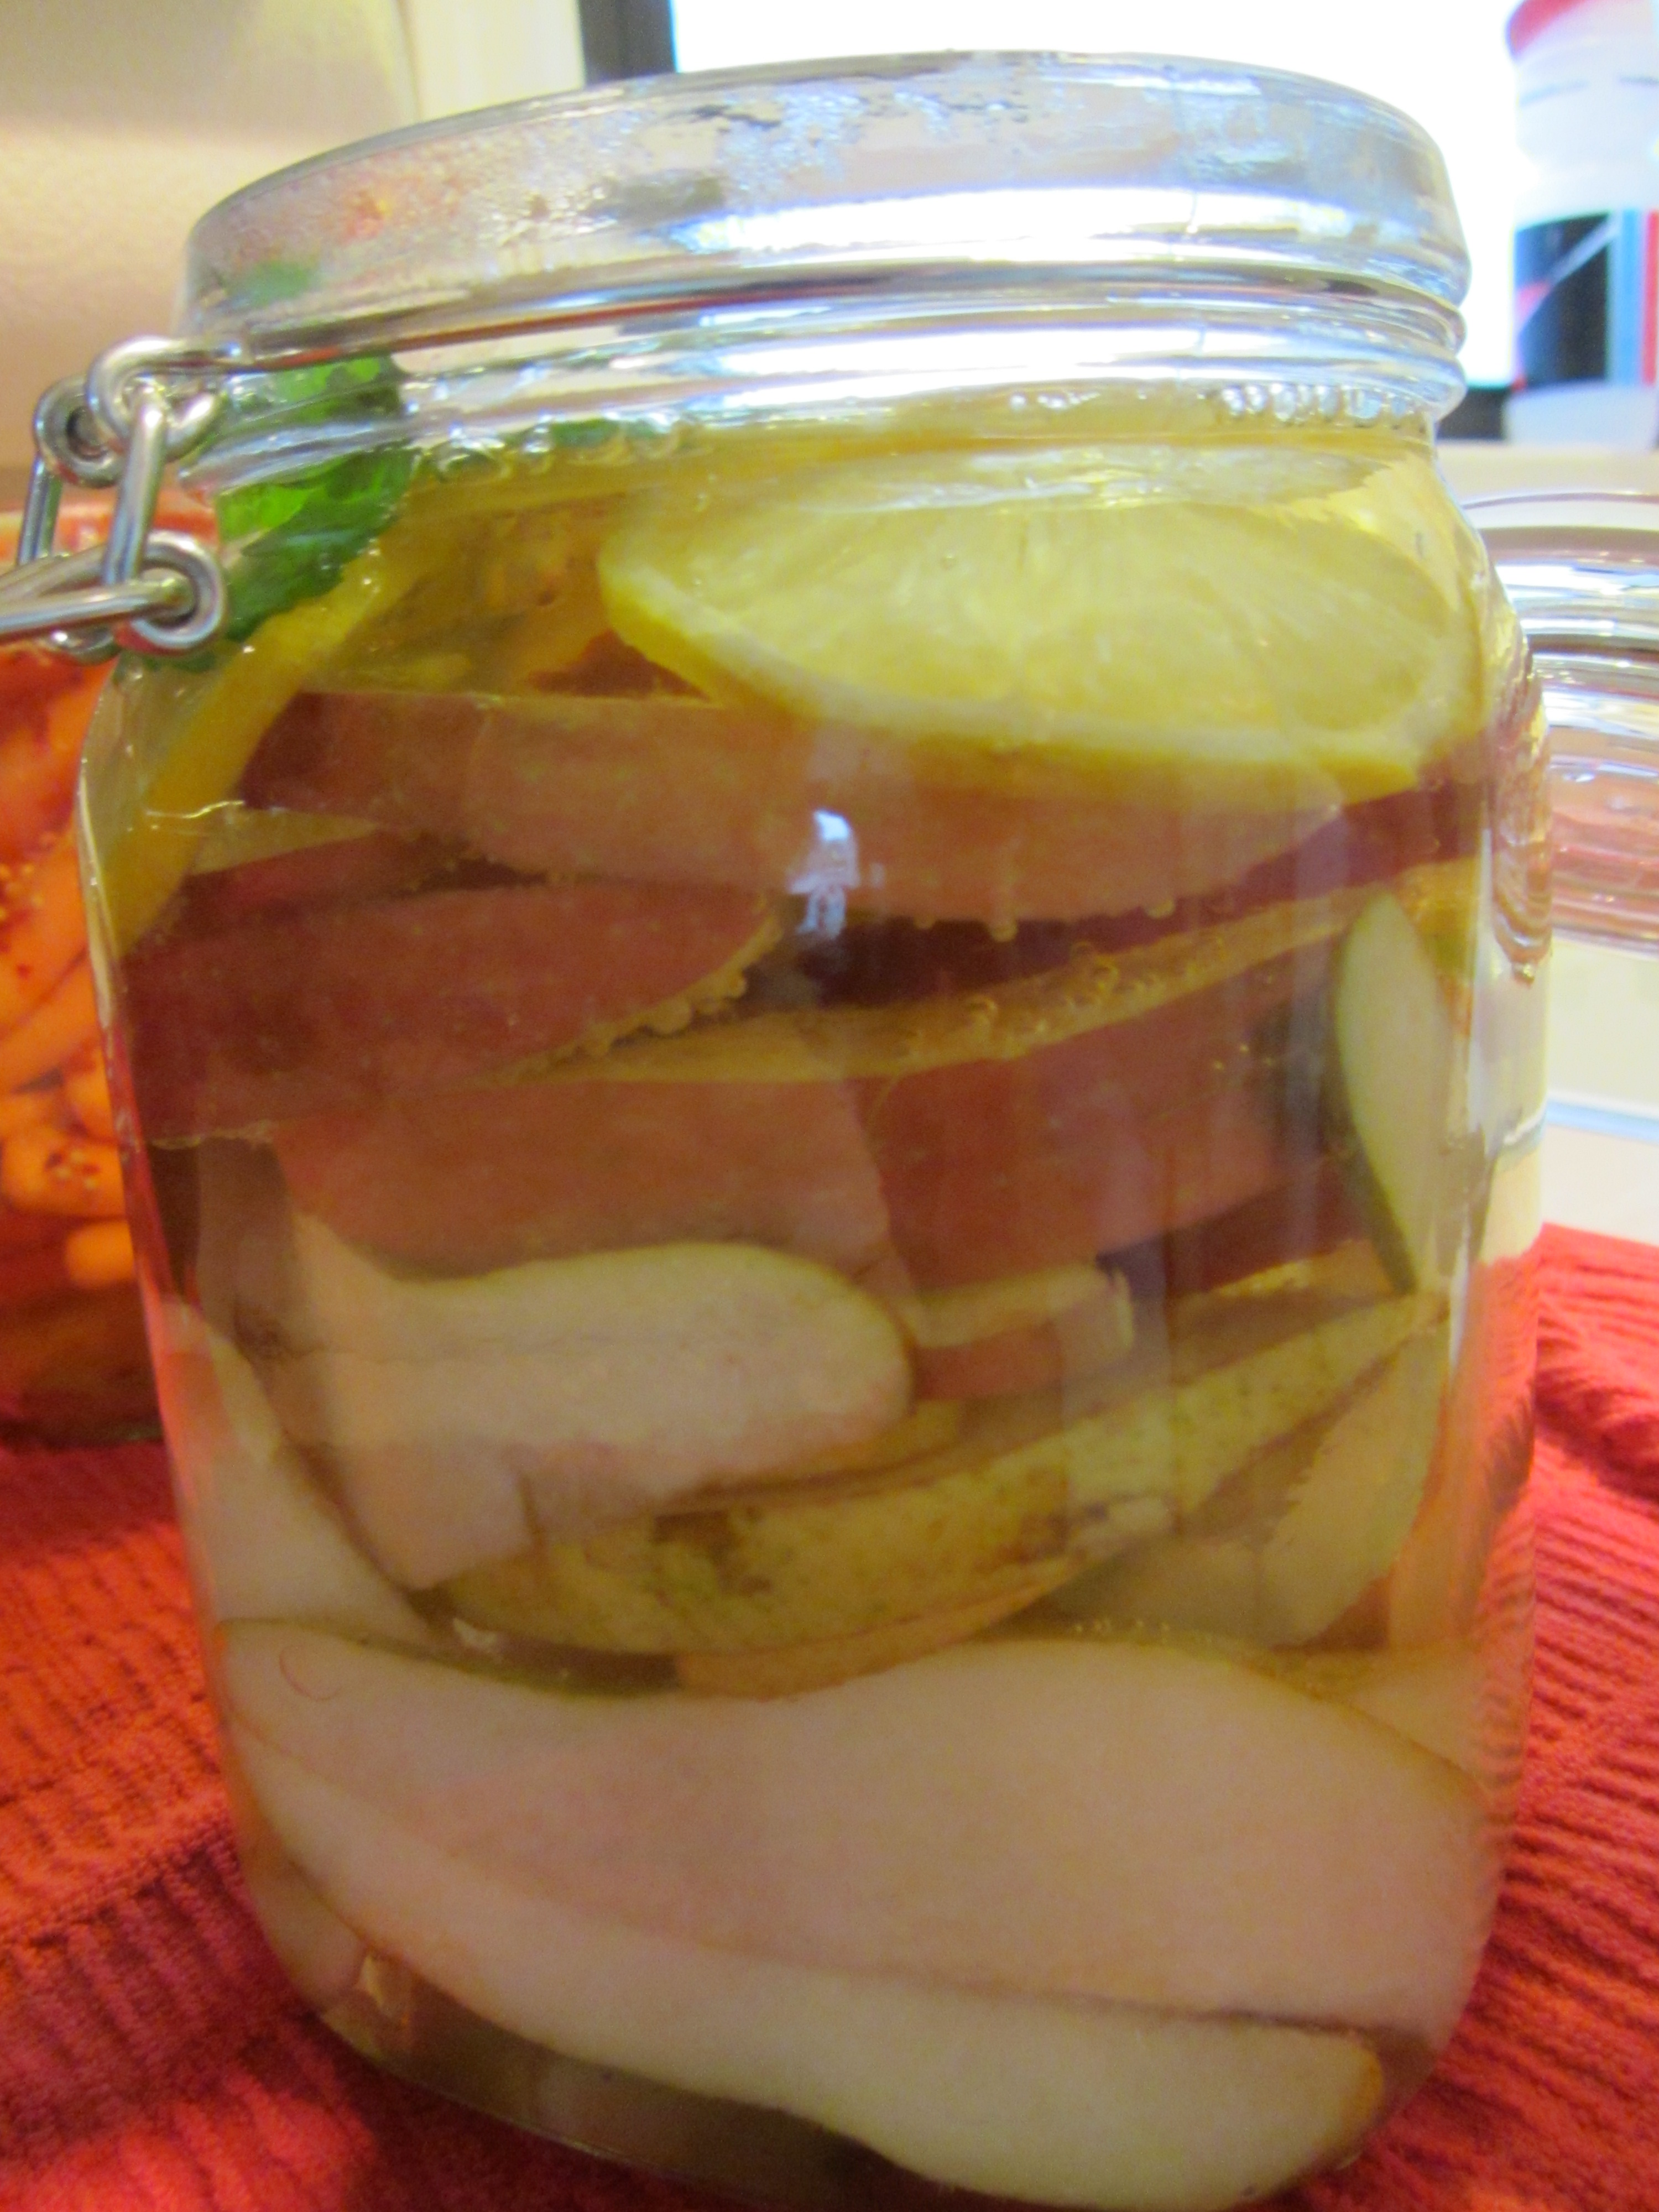
Summer Fruits.
Alton recommends serving these over ice cream or with pound cake. So far, we have only eaten them plain, but I think they would also be fantastic in a spinach salad with some walnuts, beets, and goat cheese. These pickles are fun because they are completely different. They are lightly sweet, but also quite tangy. The fruit has not gotten mushy, which is what I was concerned about. The flavor of the mint really comes through, especially in the pear, and it is really quite a nice pairing with the fruit.
Hurry Curry Cauliflower
The final recipe in this episode is for pickled curried cauliflower. To start these pickles, crush some whole cumin and coriander seeds. I did this with a mortar and pestle.

Whole coriander and cumin seeds.

Crushed cumin and coriander seeds.
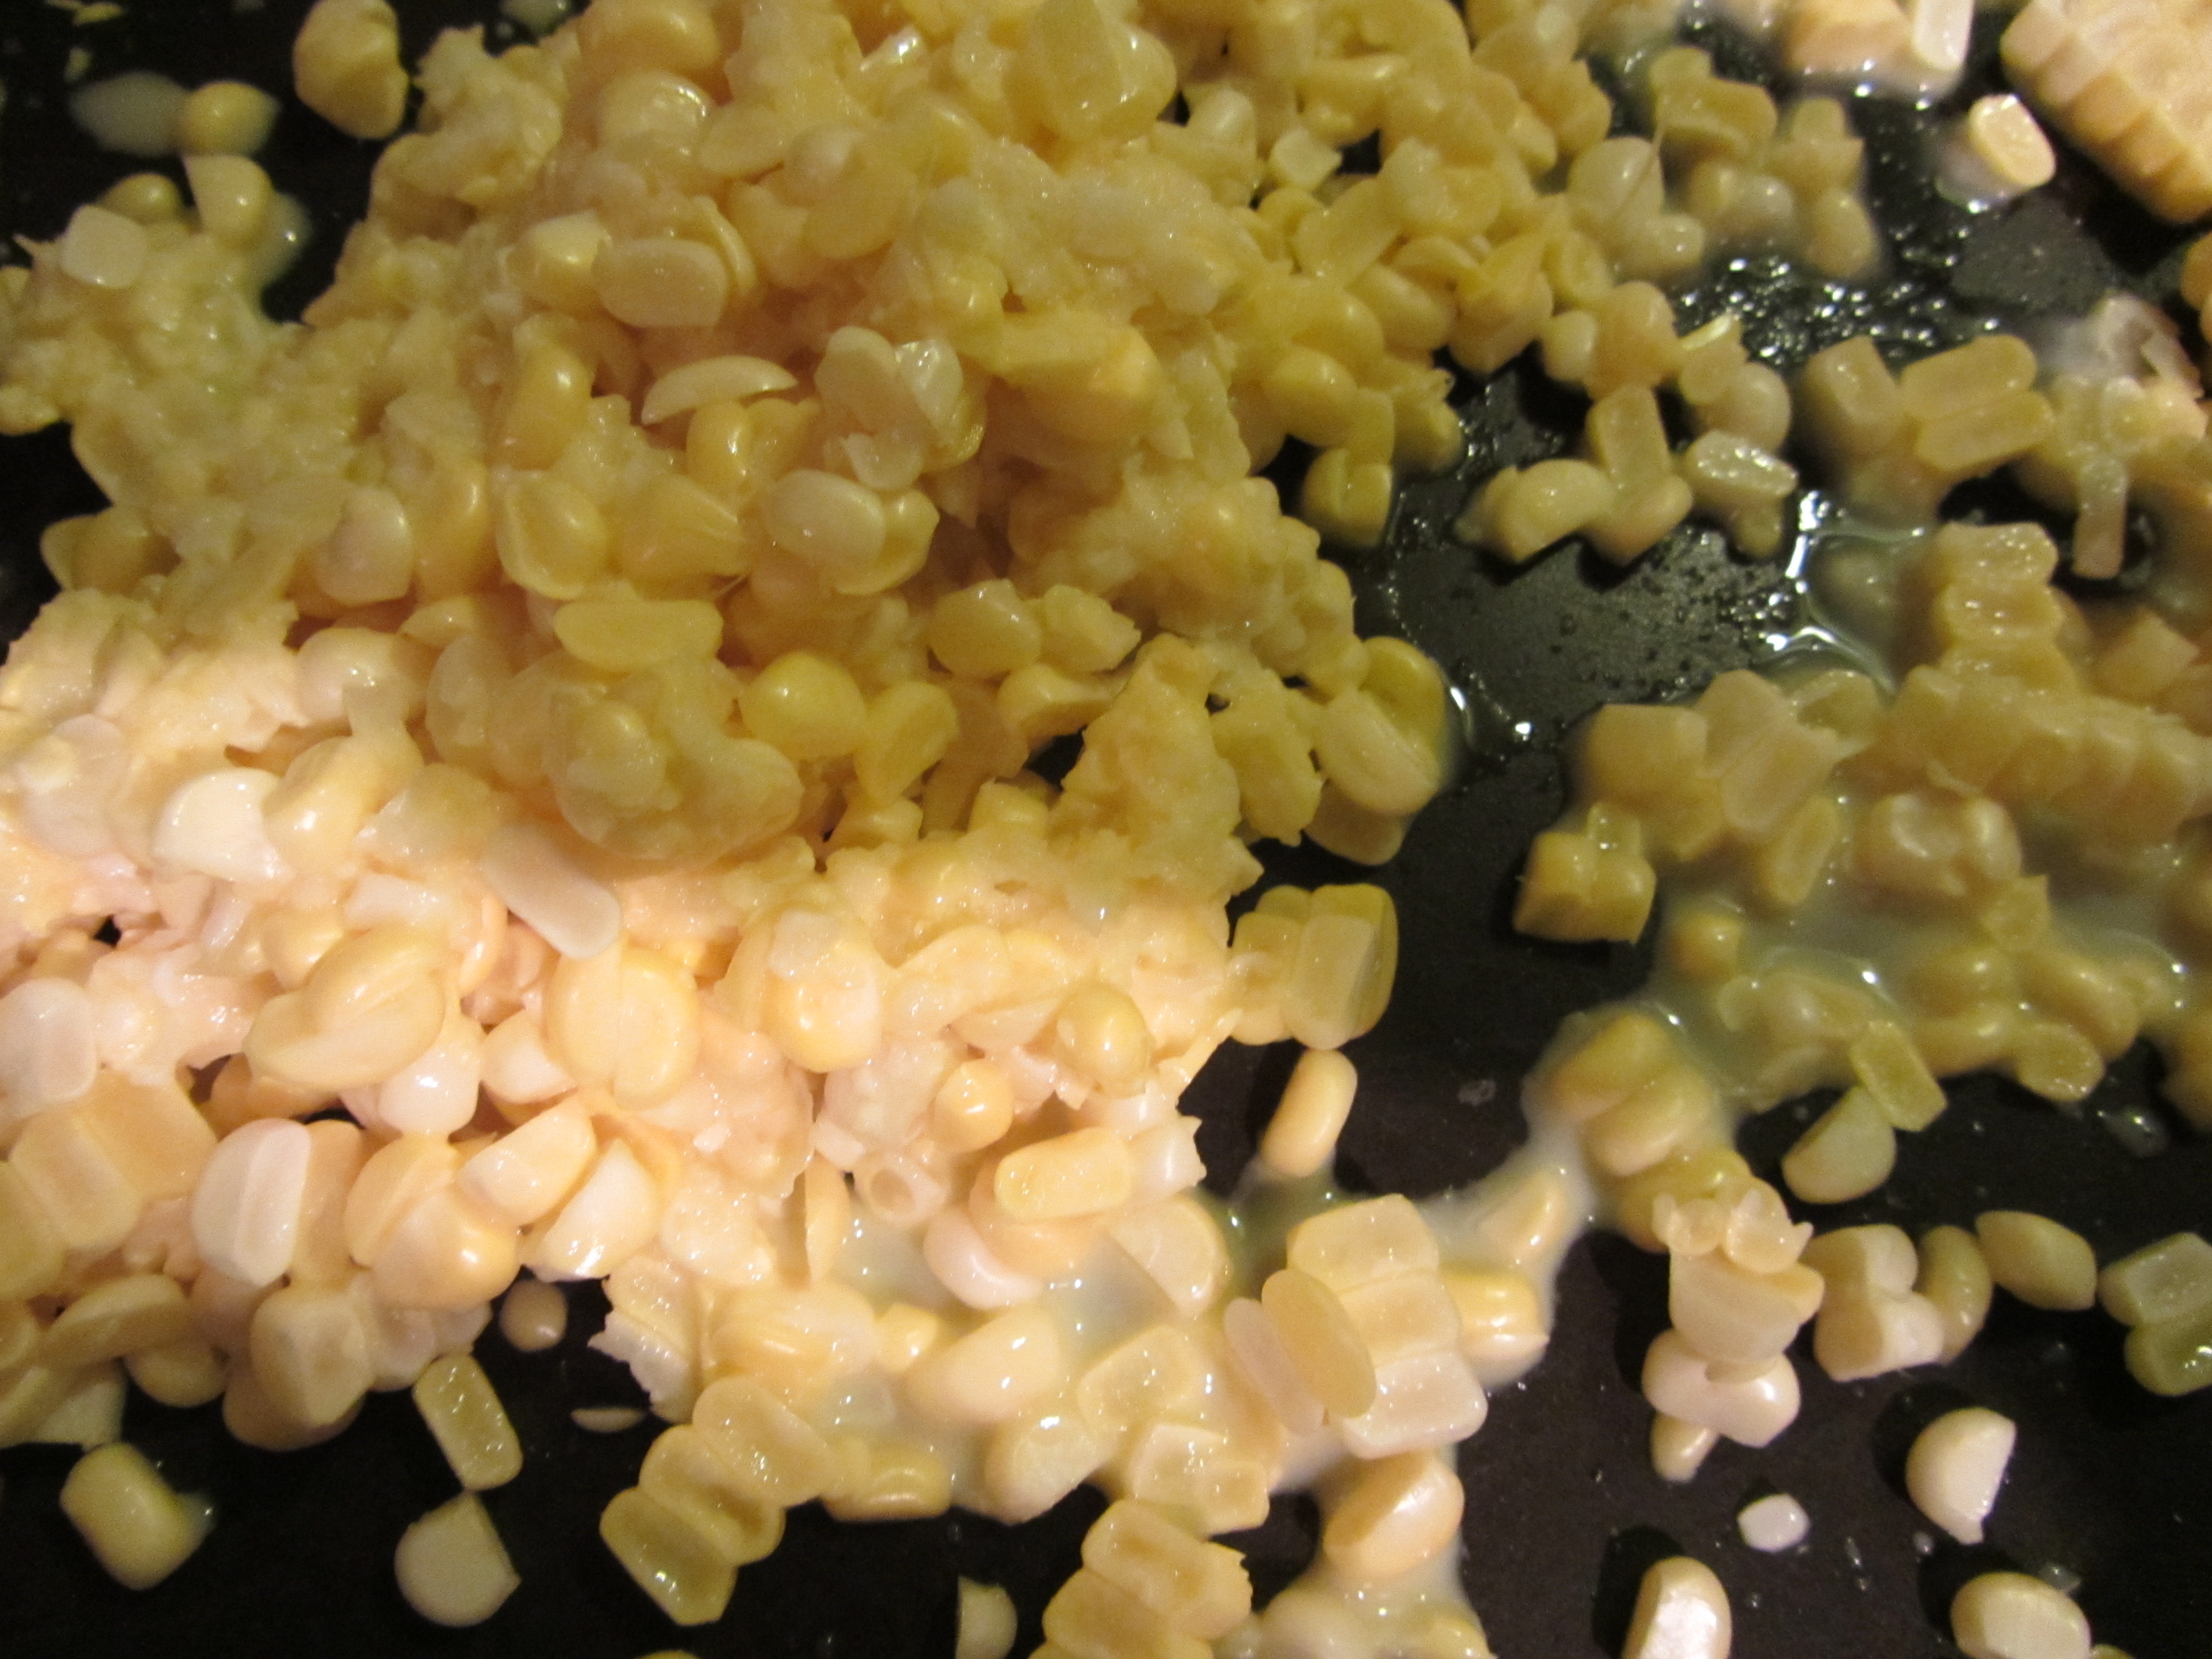
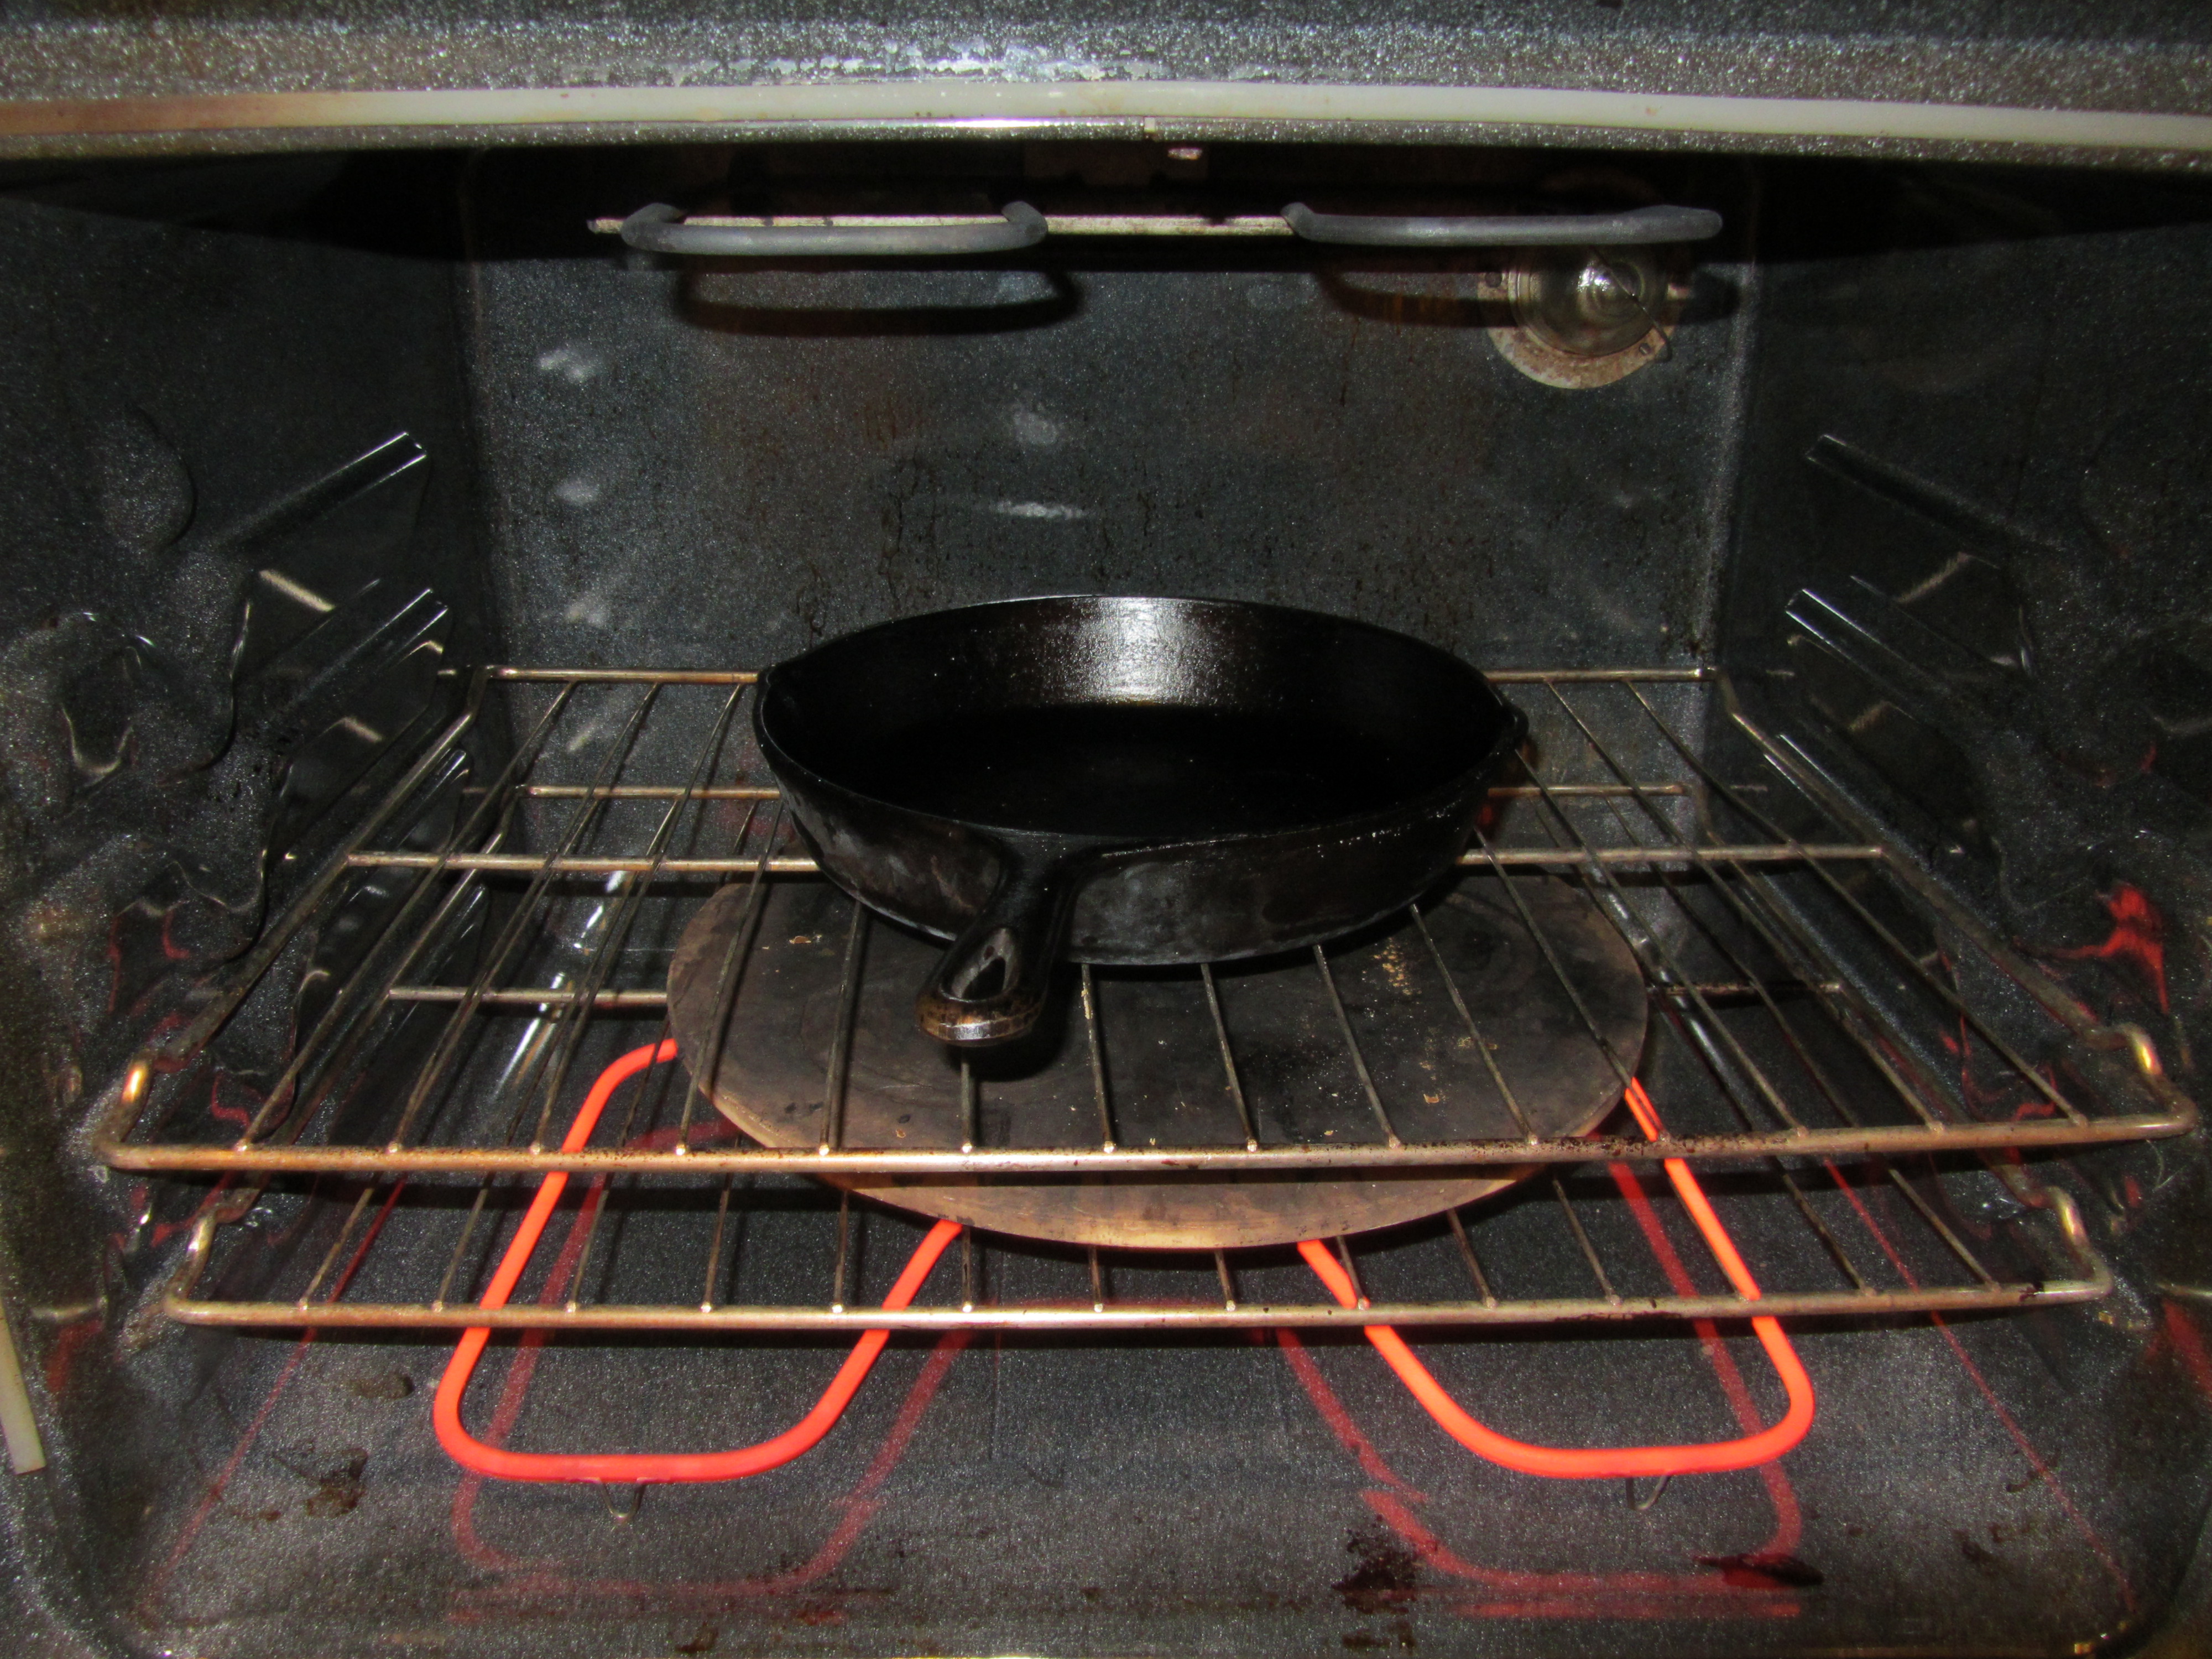
Heat a skillet over medium heat and add the crushed spices. Along with the spices, add curry powder, ginger, and a smashed clove of garlic.

Coriander seed, cumin seed, curry powder, ginger, and garlic in oil
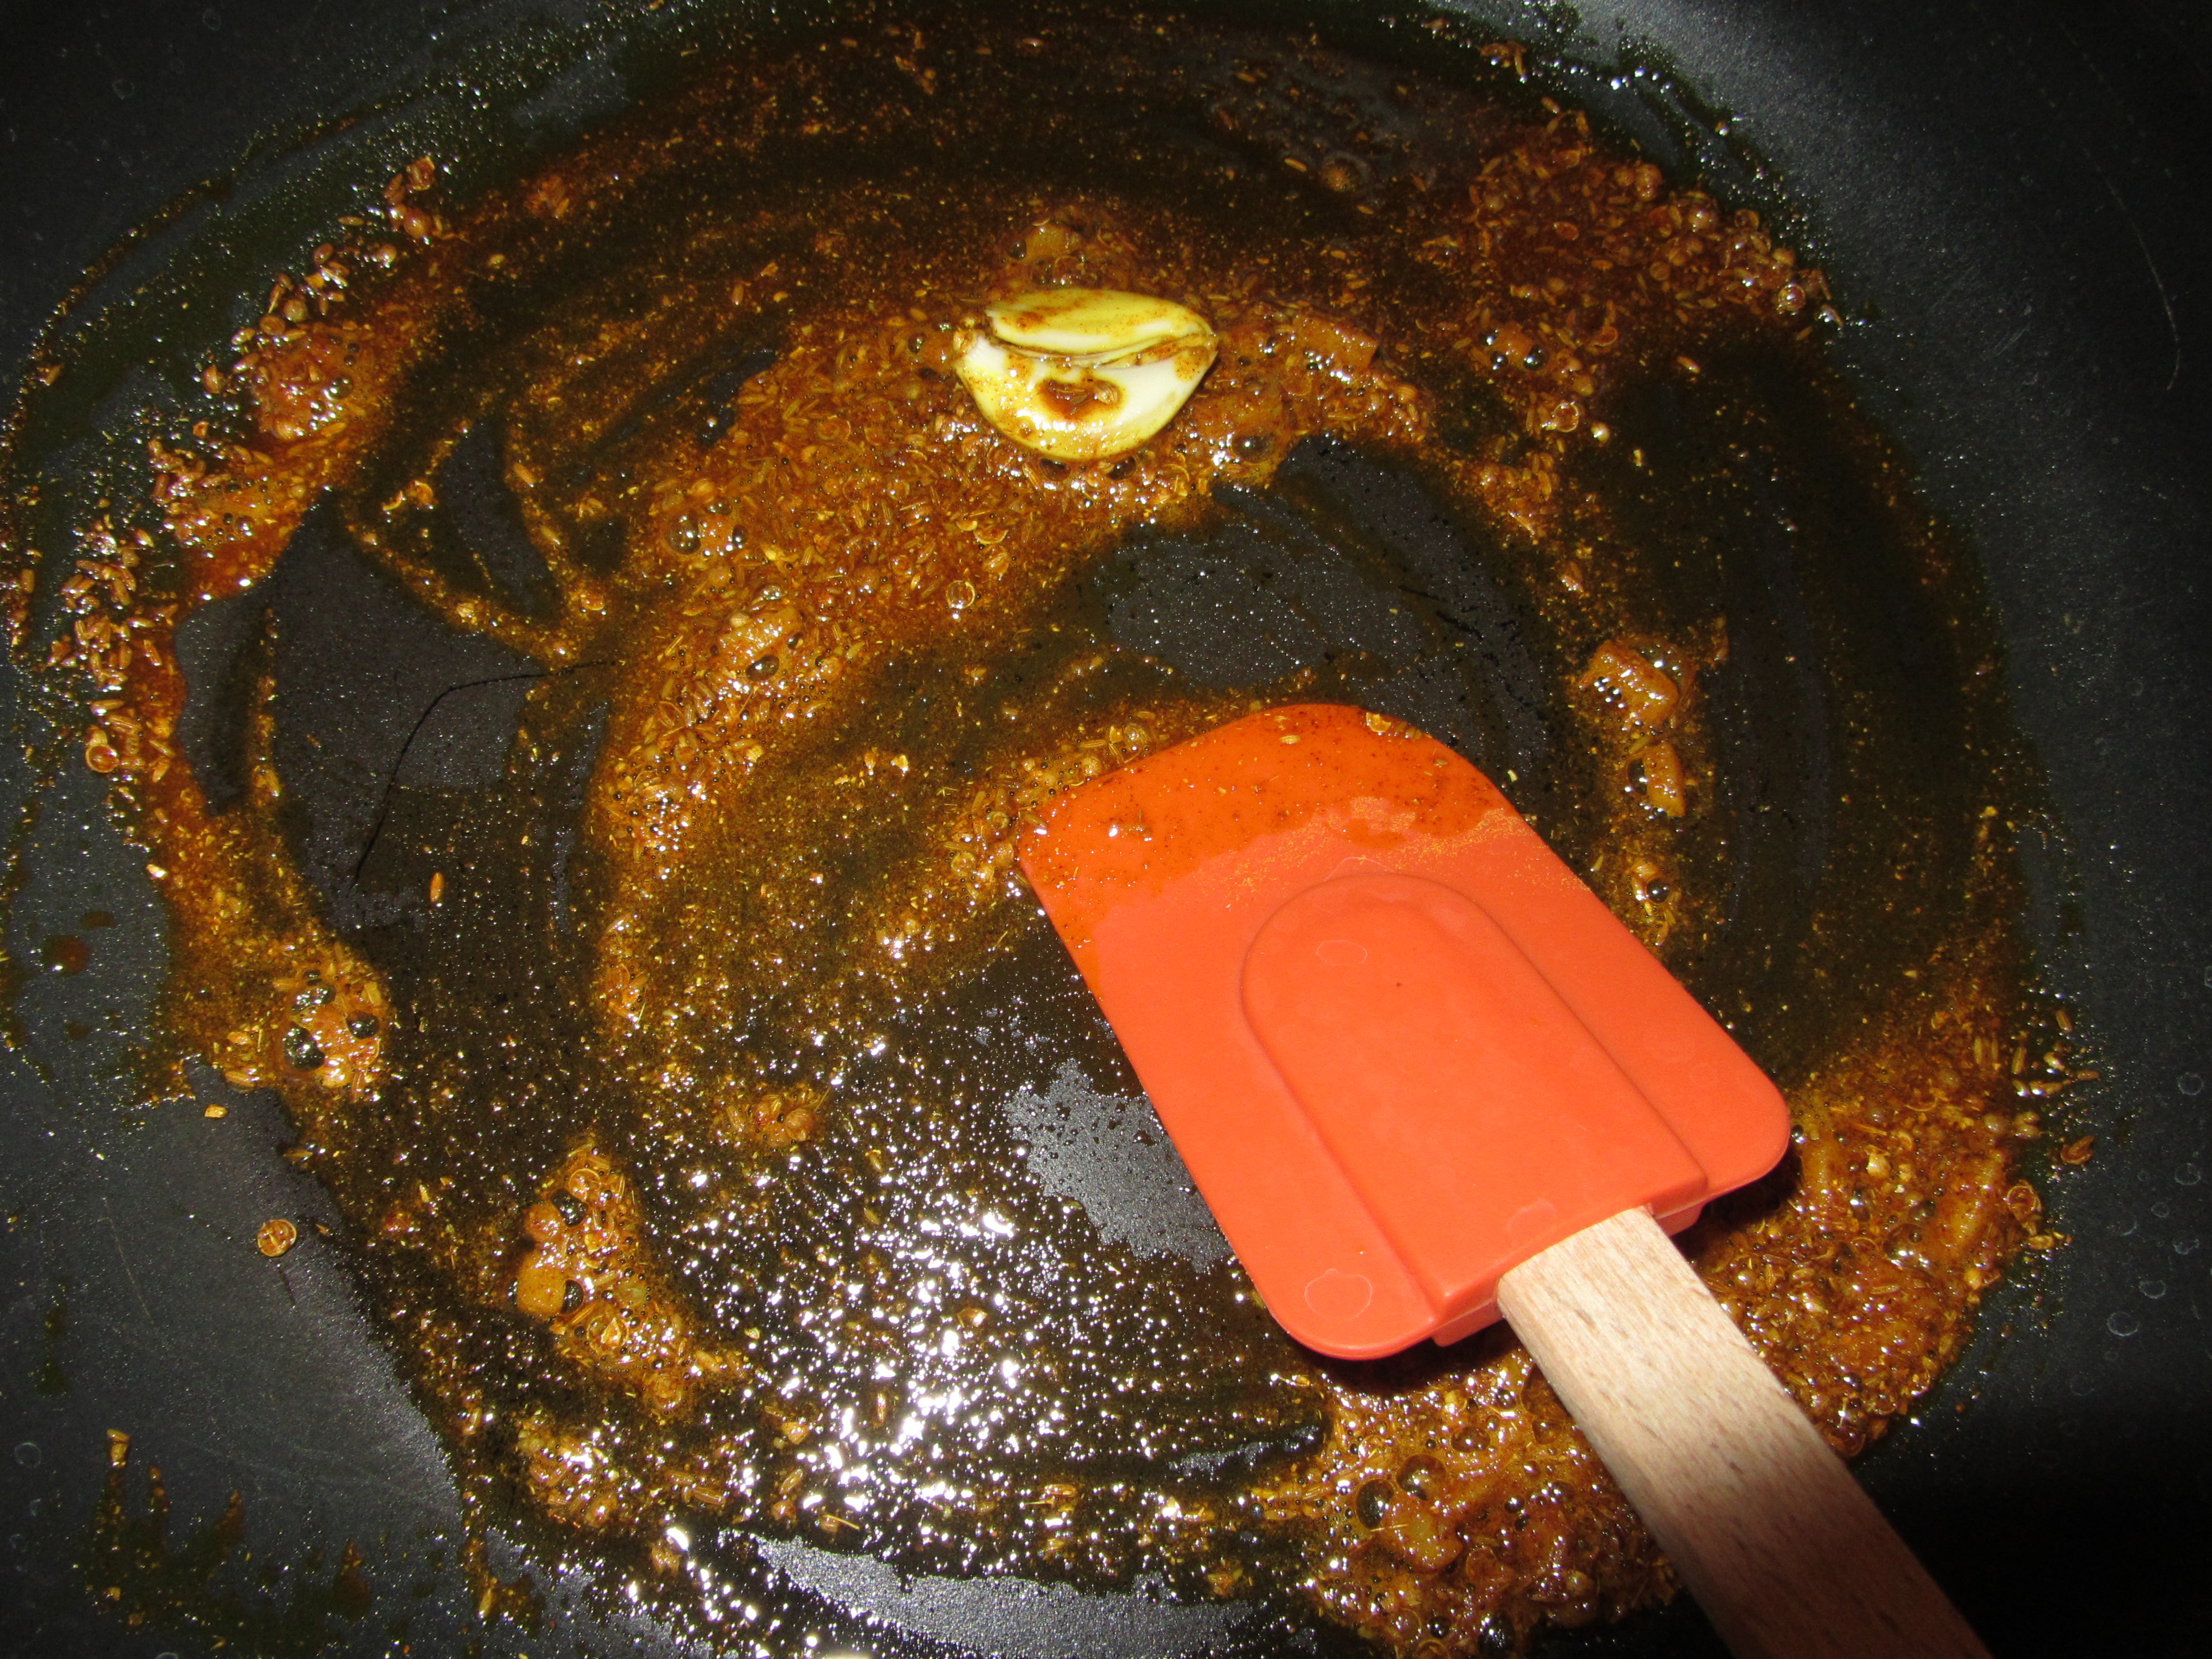
The spice mixture.
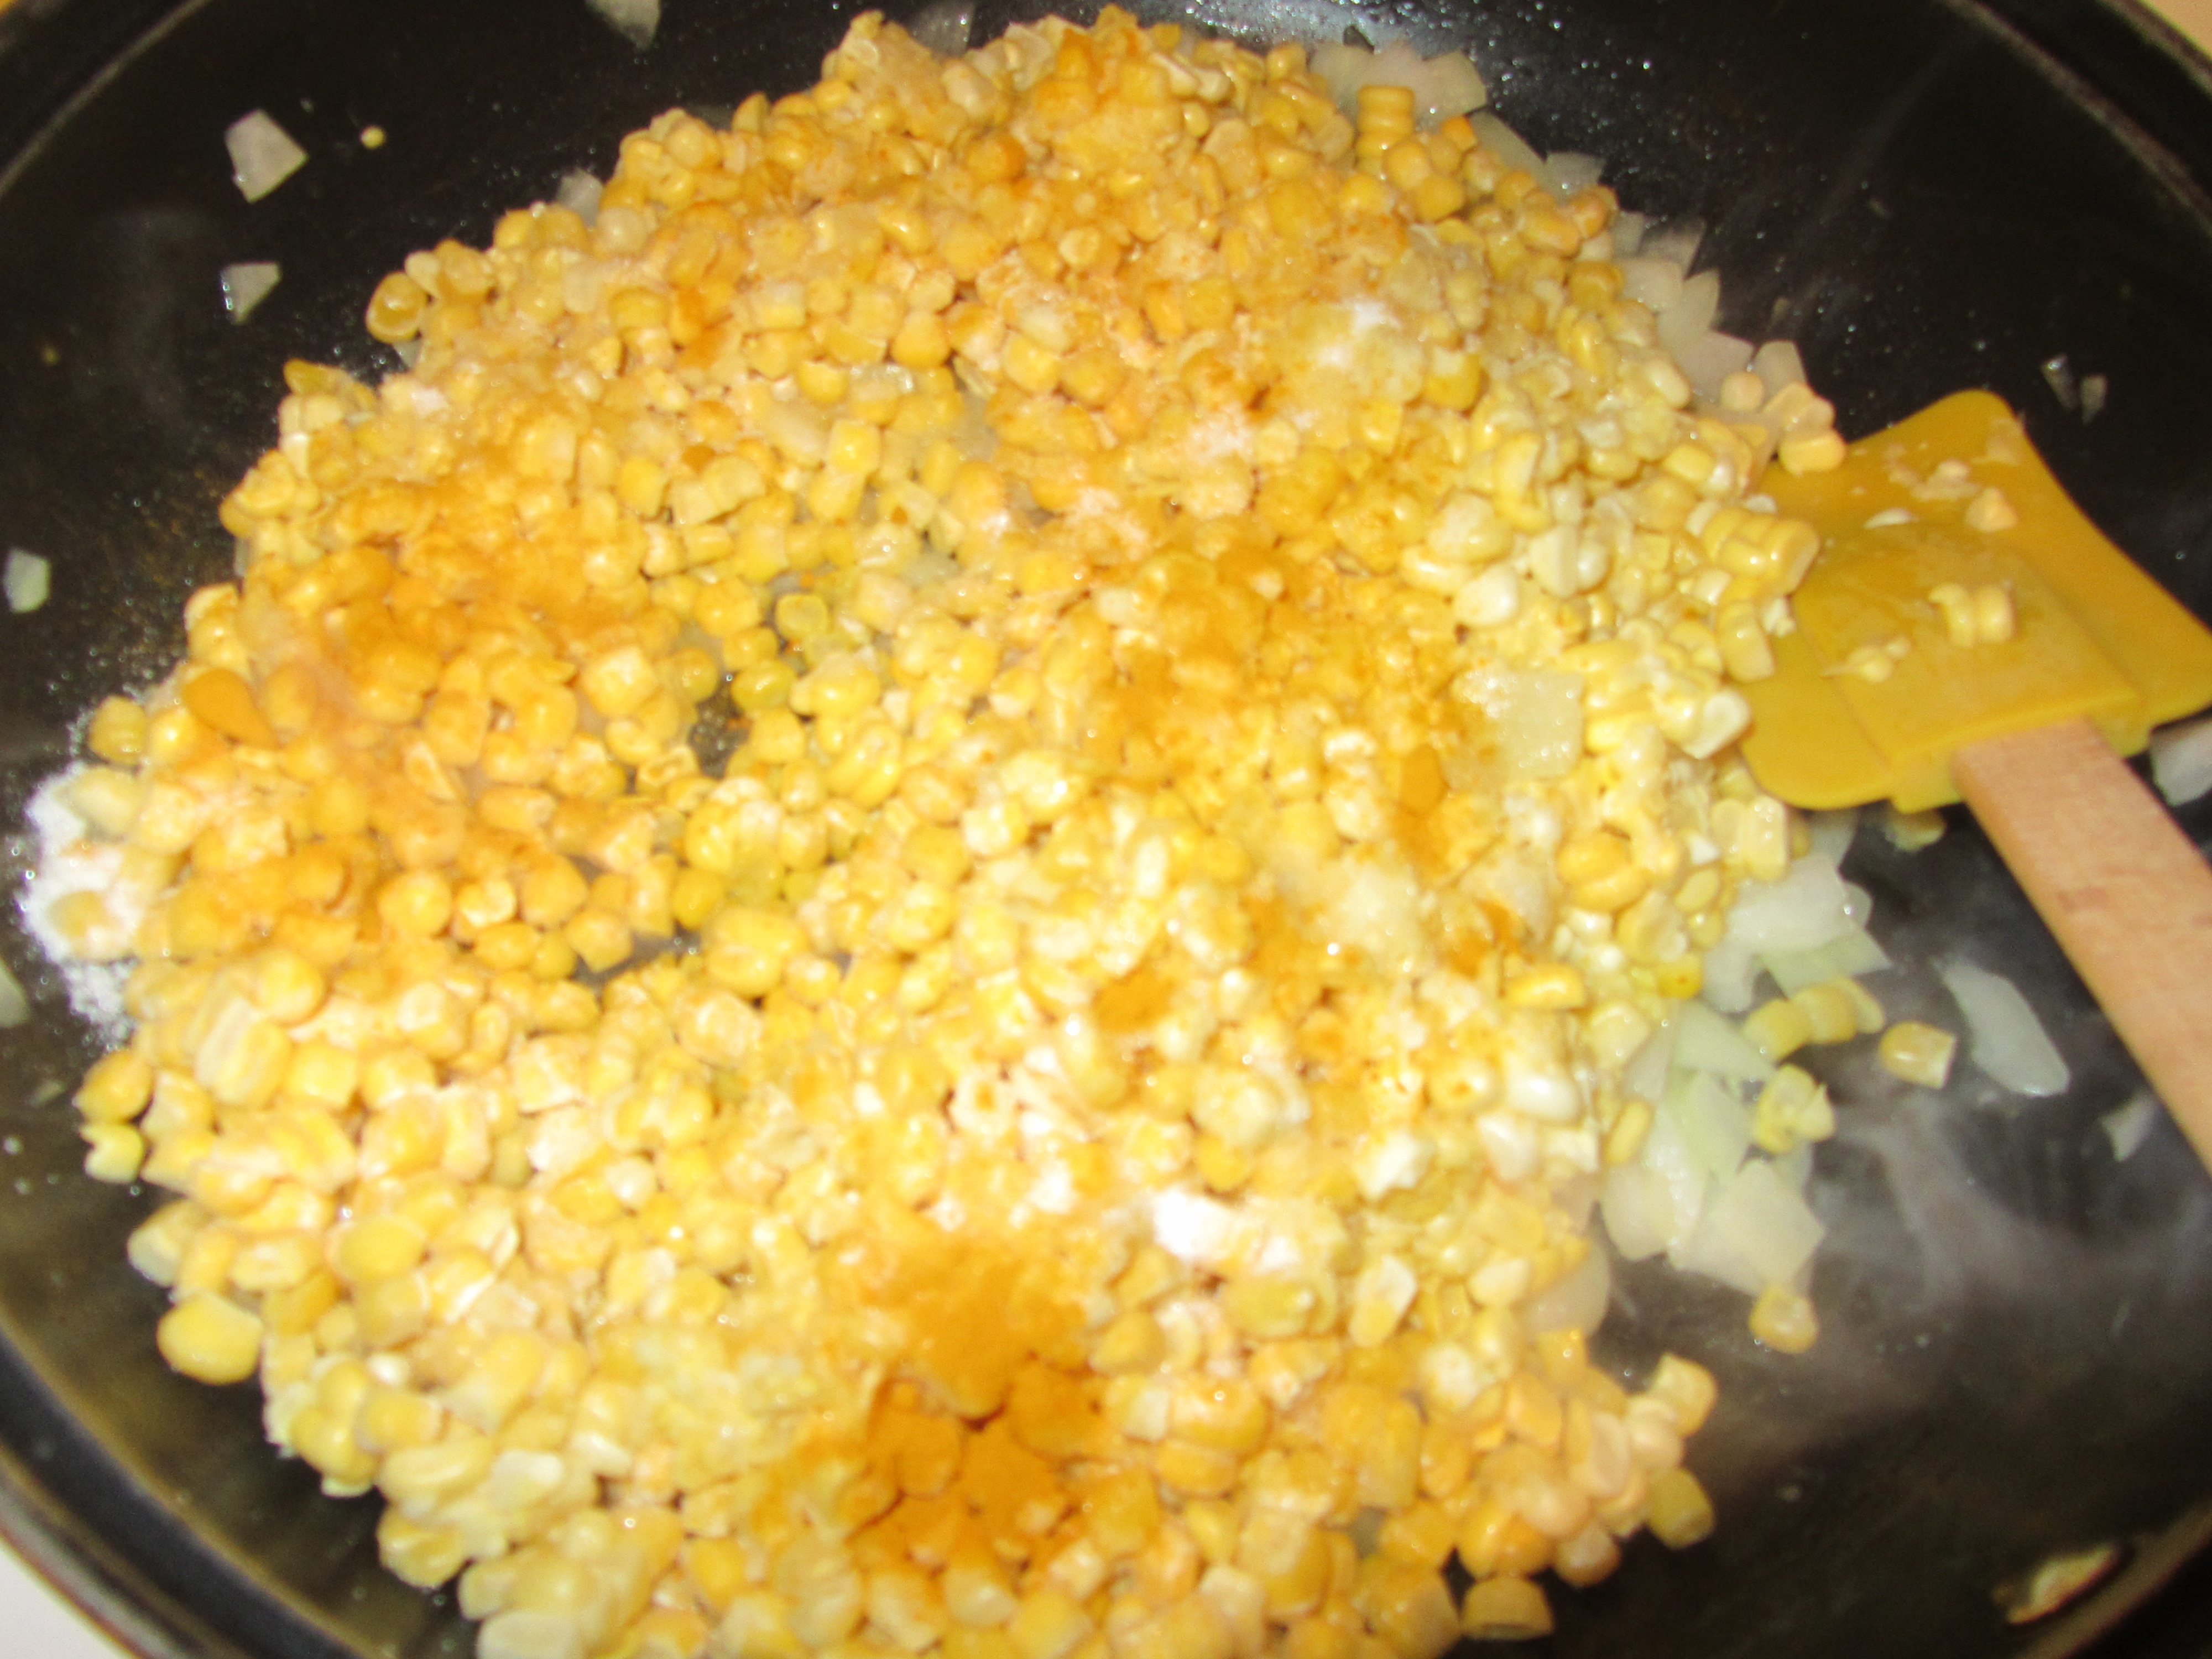
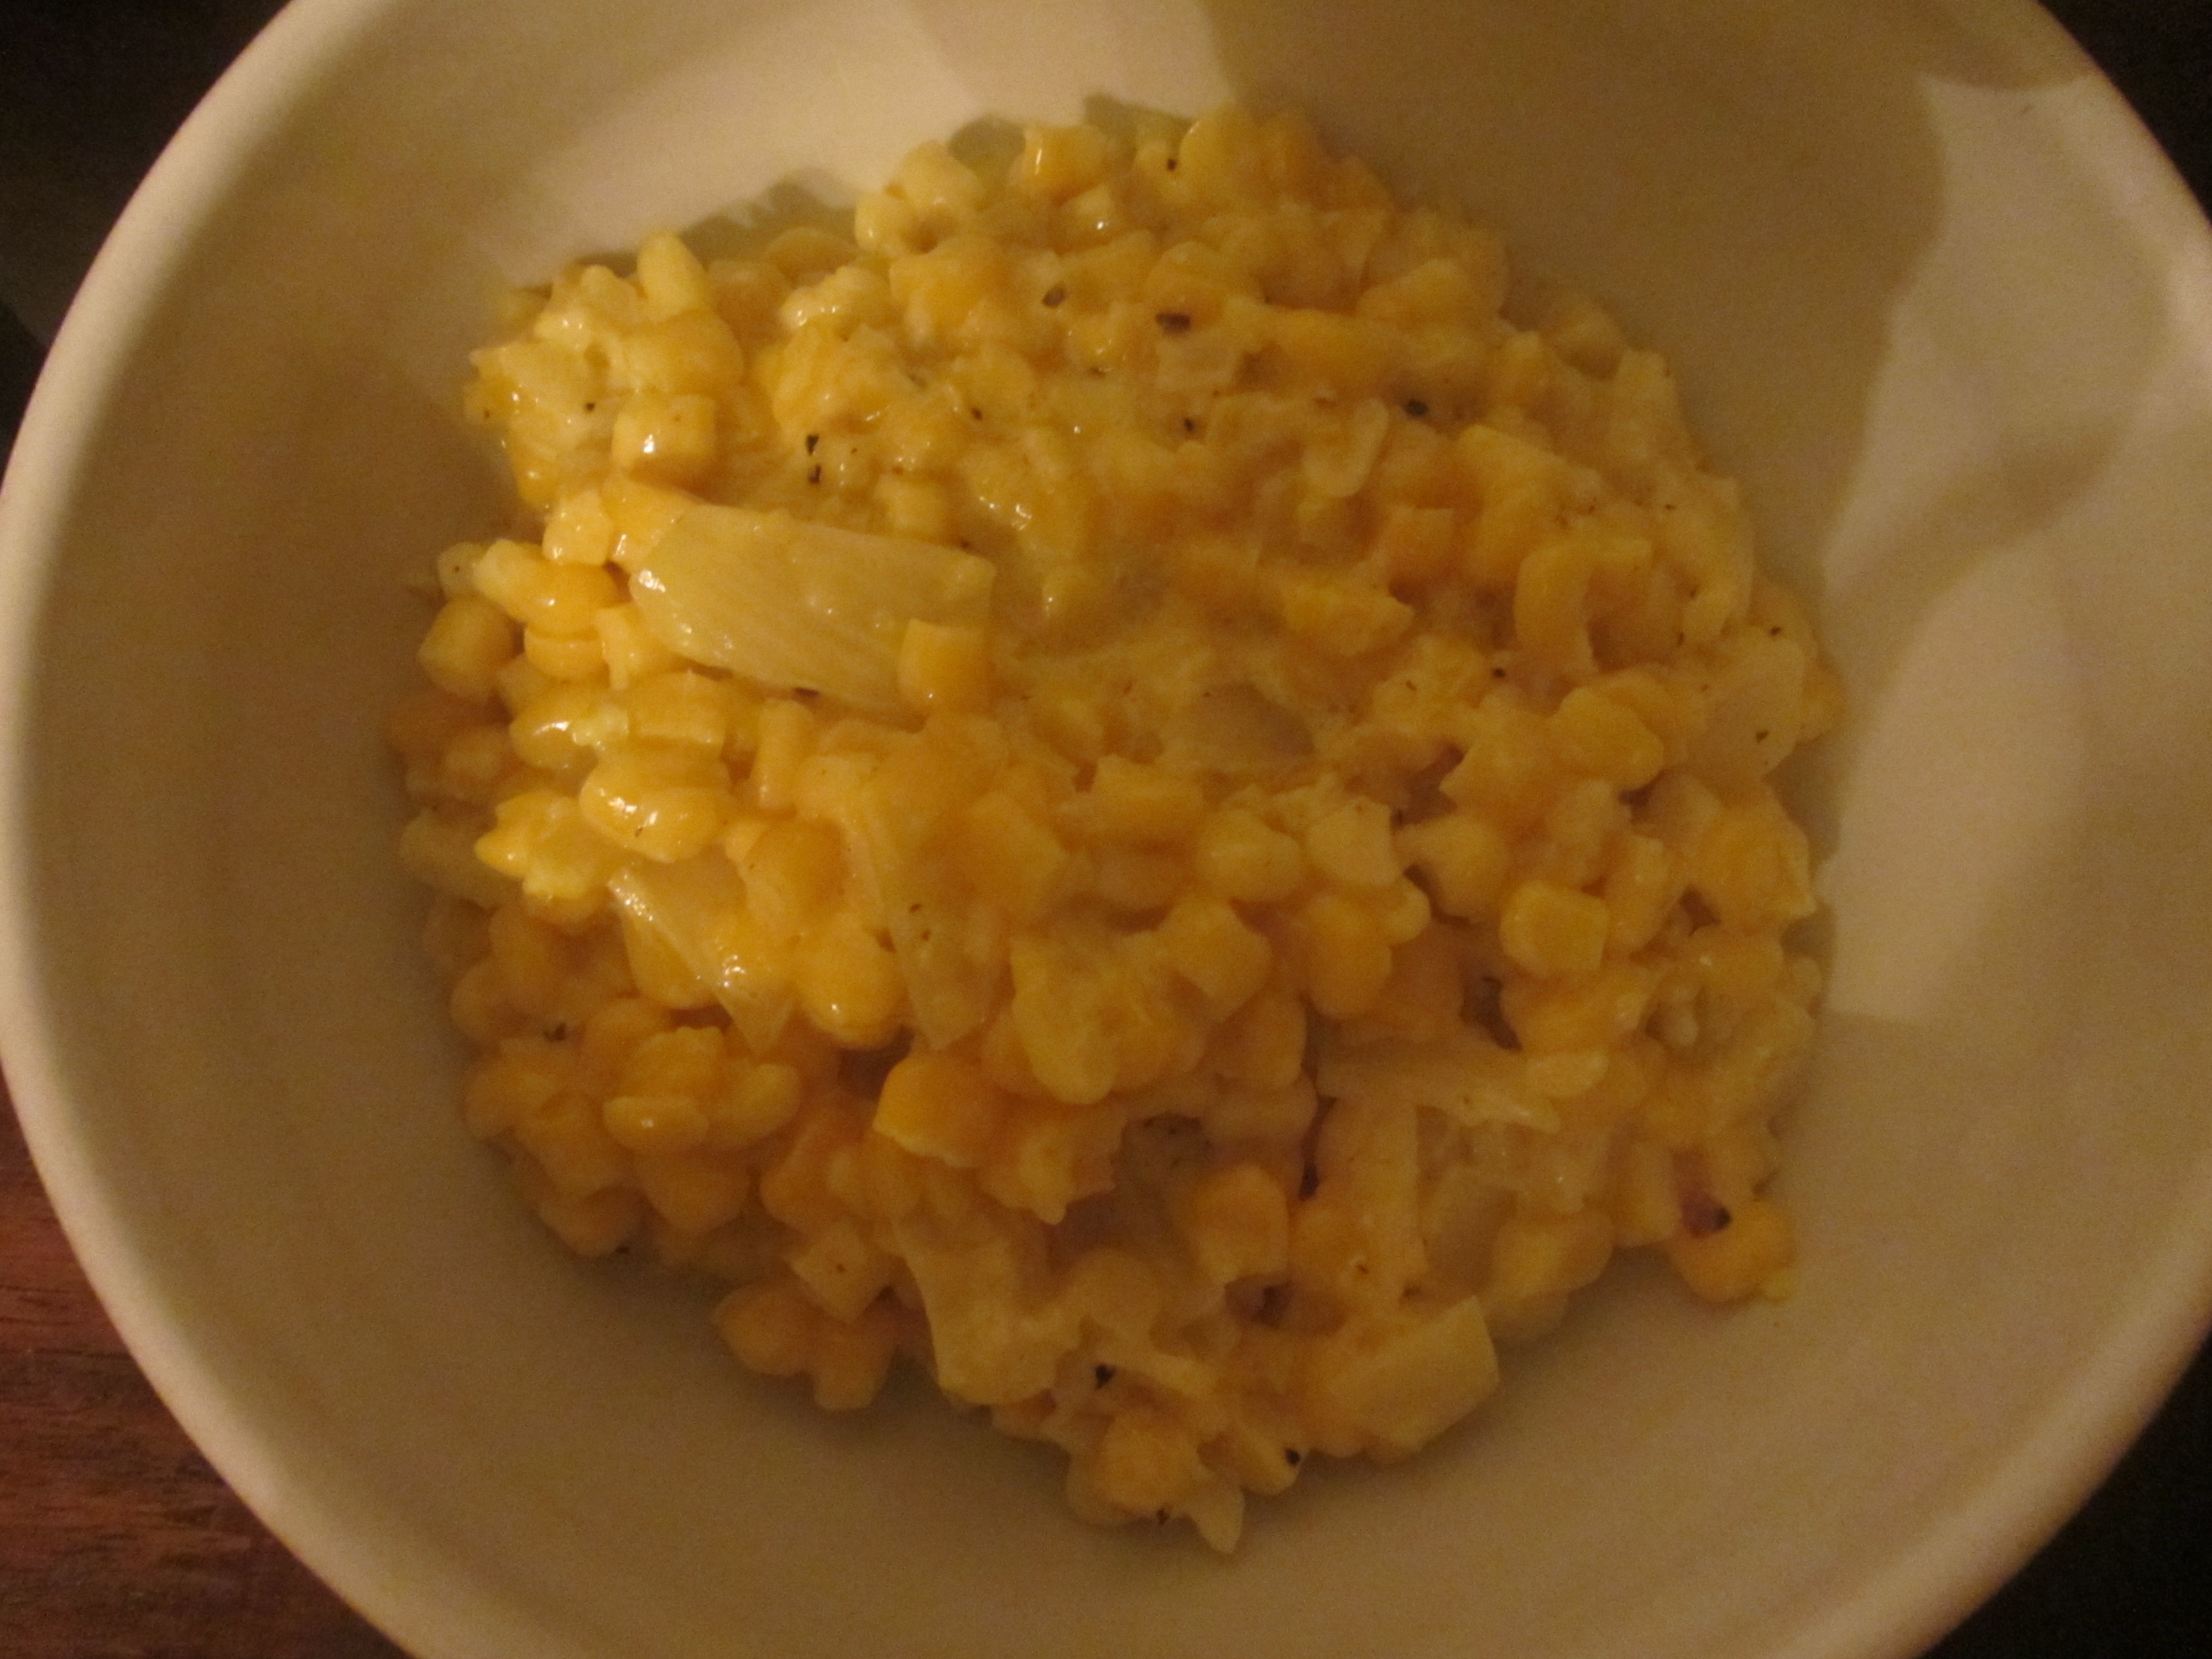
Cook the spices until they are fragrant and the oil has turned yellow. To the spice mixture, add one head of cauliflower florets and toss to coat them.

Cauliflower florets.

Cauliflower added to spice mixture.

Curry-coated cauliflower.
Meanwhile, in a container with a tight-fitting lid, combine water, rice wine vinegar, cider vinegar, sugar, and pickling salt; shake this liquid until the salt and sugar have dissolved. If you do not have pickling salt, you can substitute Kosher salt, but be sure to add 1.5x as much.

Water, rice wine vinegar, cider vinegar, sugar, and Kosher salt shaken until dissolved.
Once the cauliflower has softened slightly, add it to a spring-top jar and pour over the brine.
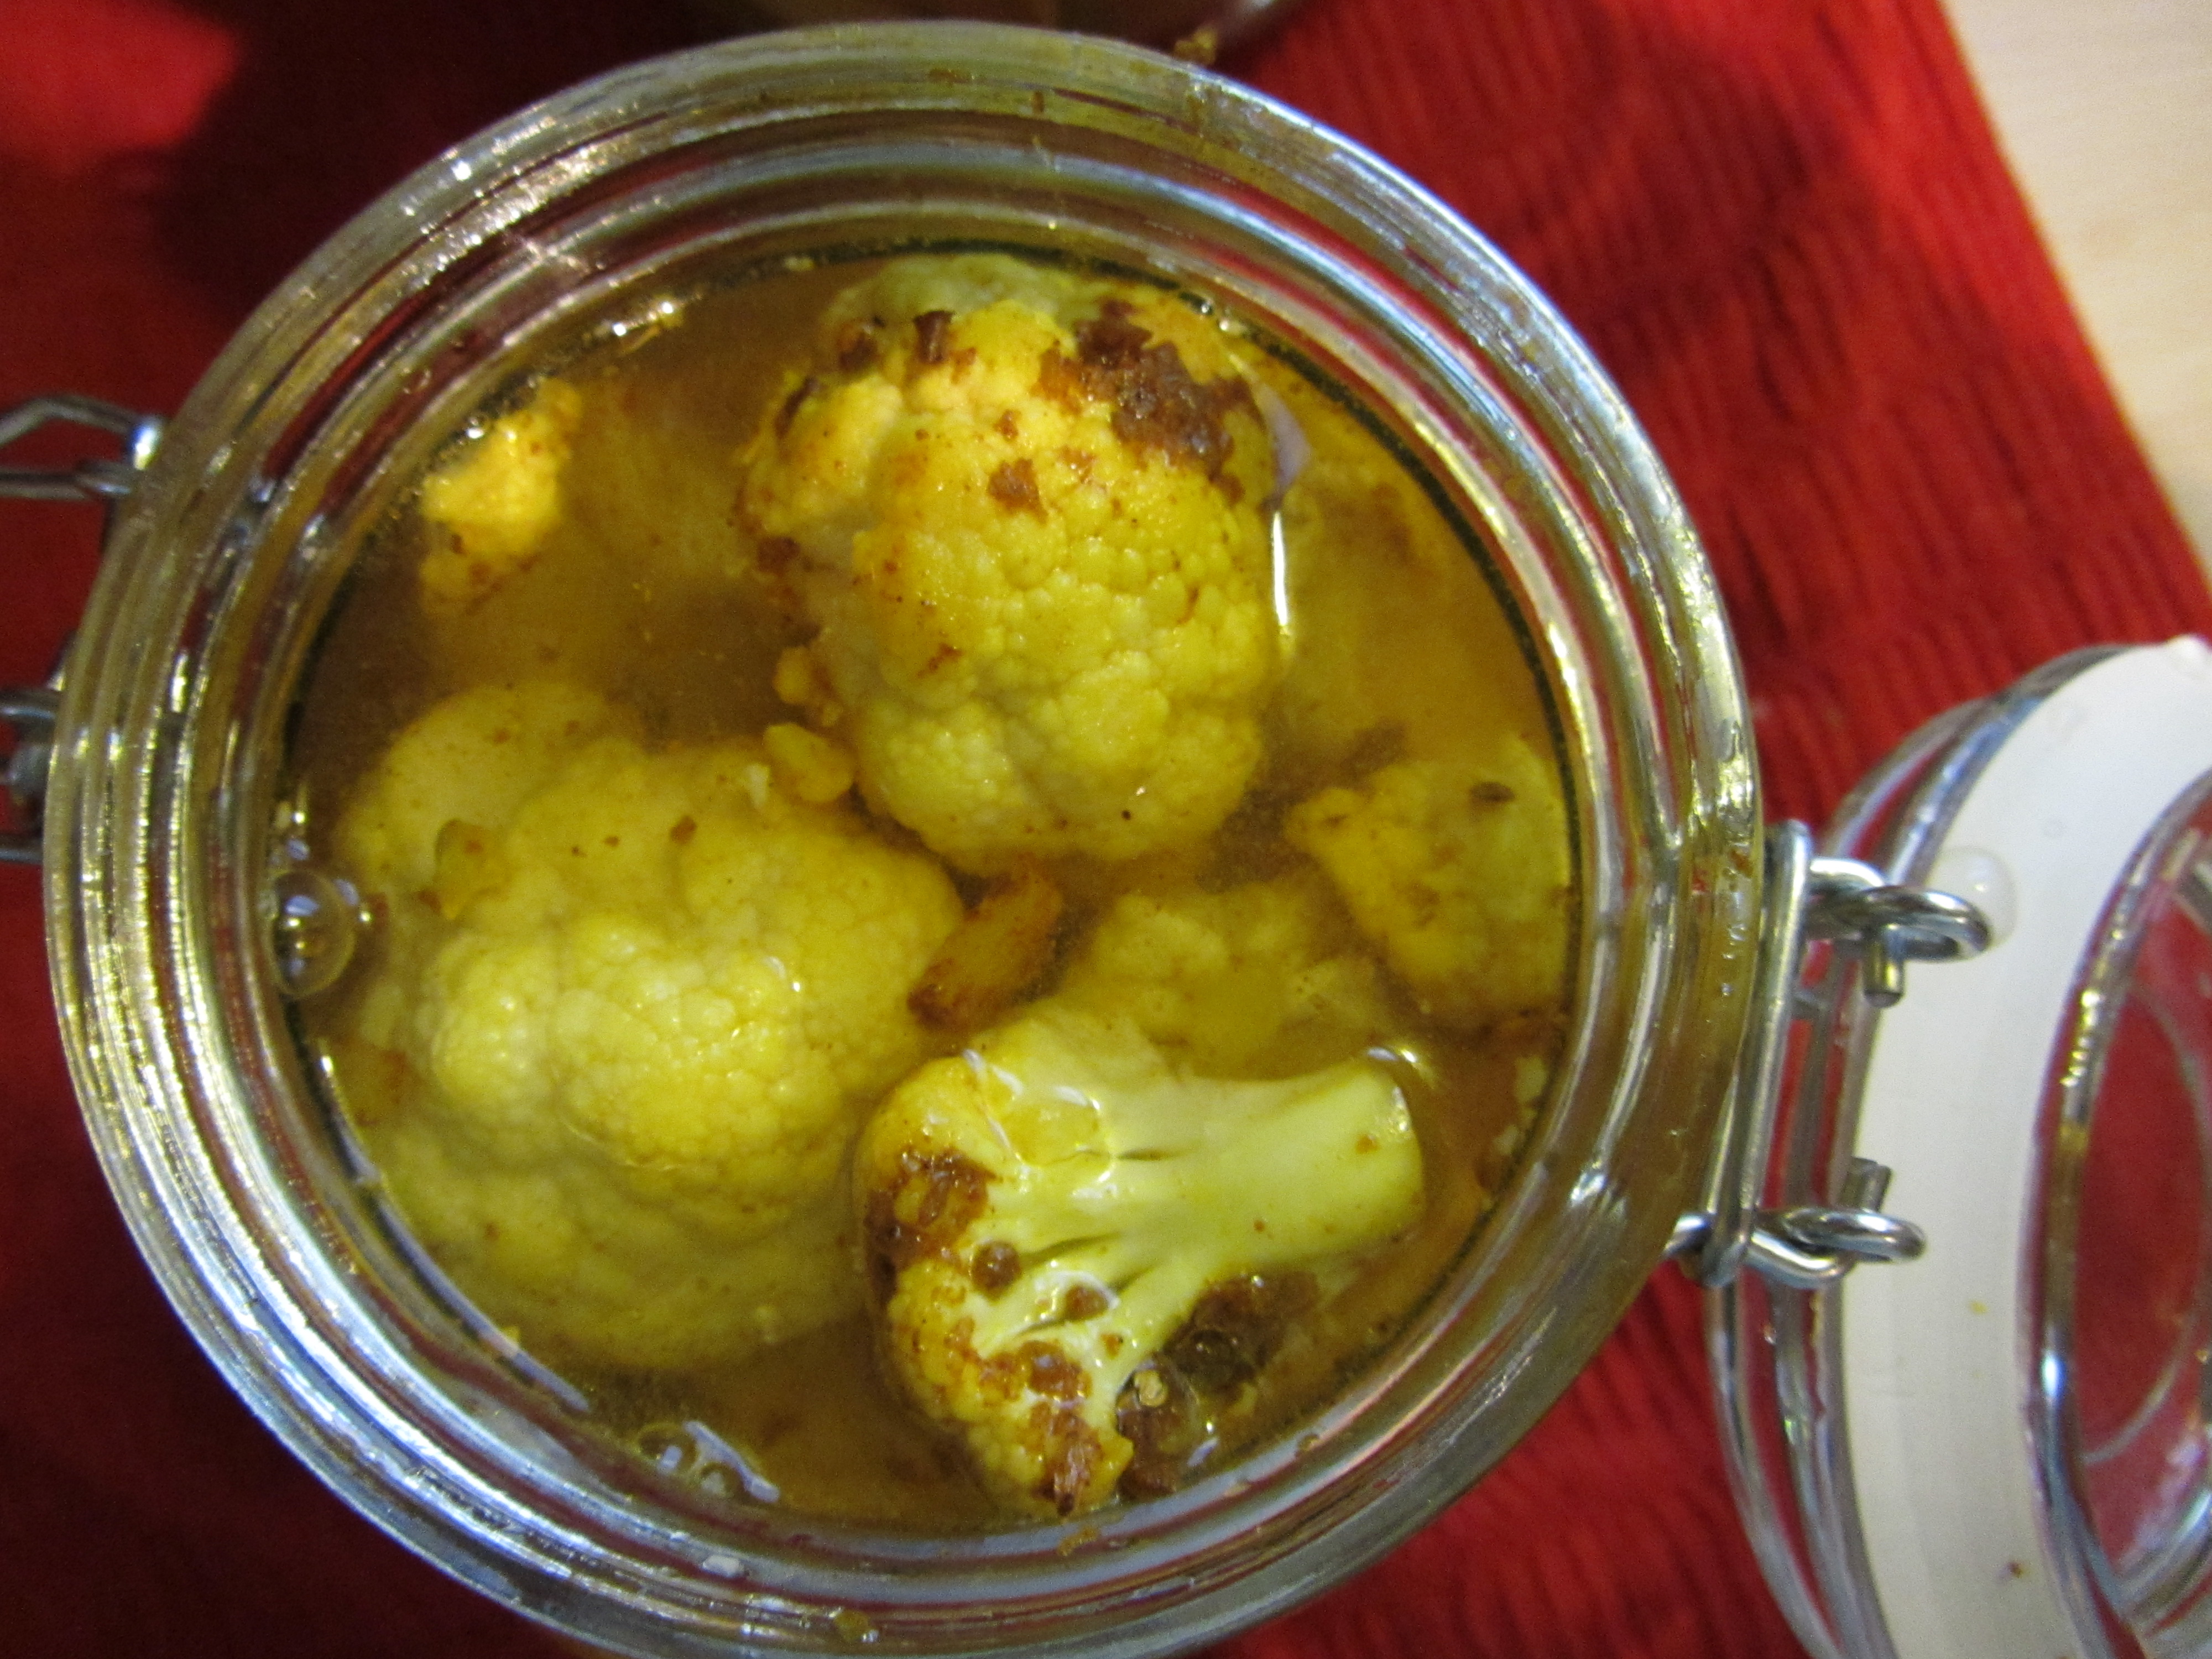
Brine and cauliflower combined.

Hurry Curry Cauliflower.
Close the lid and refrigerate. These, too, are more unusual pickles. When we first tasted them after a few days of pickling, we agreed that they were our favorite of the five types of pickles in this episode. Tasting them again after 10 days in the brine, we still like them, but not as much as before. While all of the other pickles seemed to improve with more time in the brine, these seemed to just increase in vinegar flavor, while their delightful curry flavor diminished somewhat. Don’t get me wrong… they are still really good. The cauliflower has maintained it’s crunchy texture, they are really tangy, and the curry flavor is in the background. They would be good on a relish tray (Do people do those anymore?).
Overall, we liked all of these pickles and I think they are all worthy of being made again.
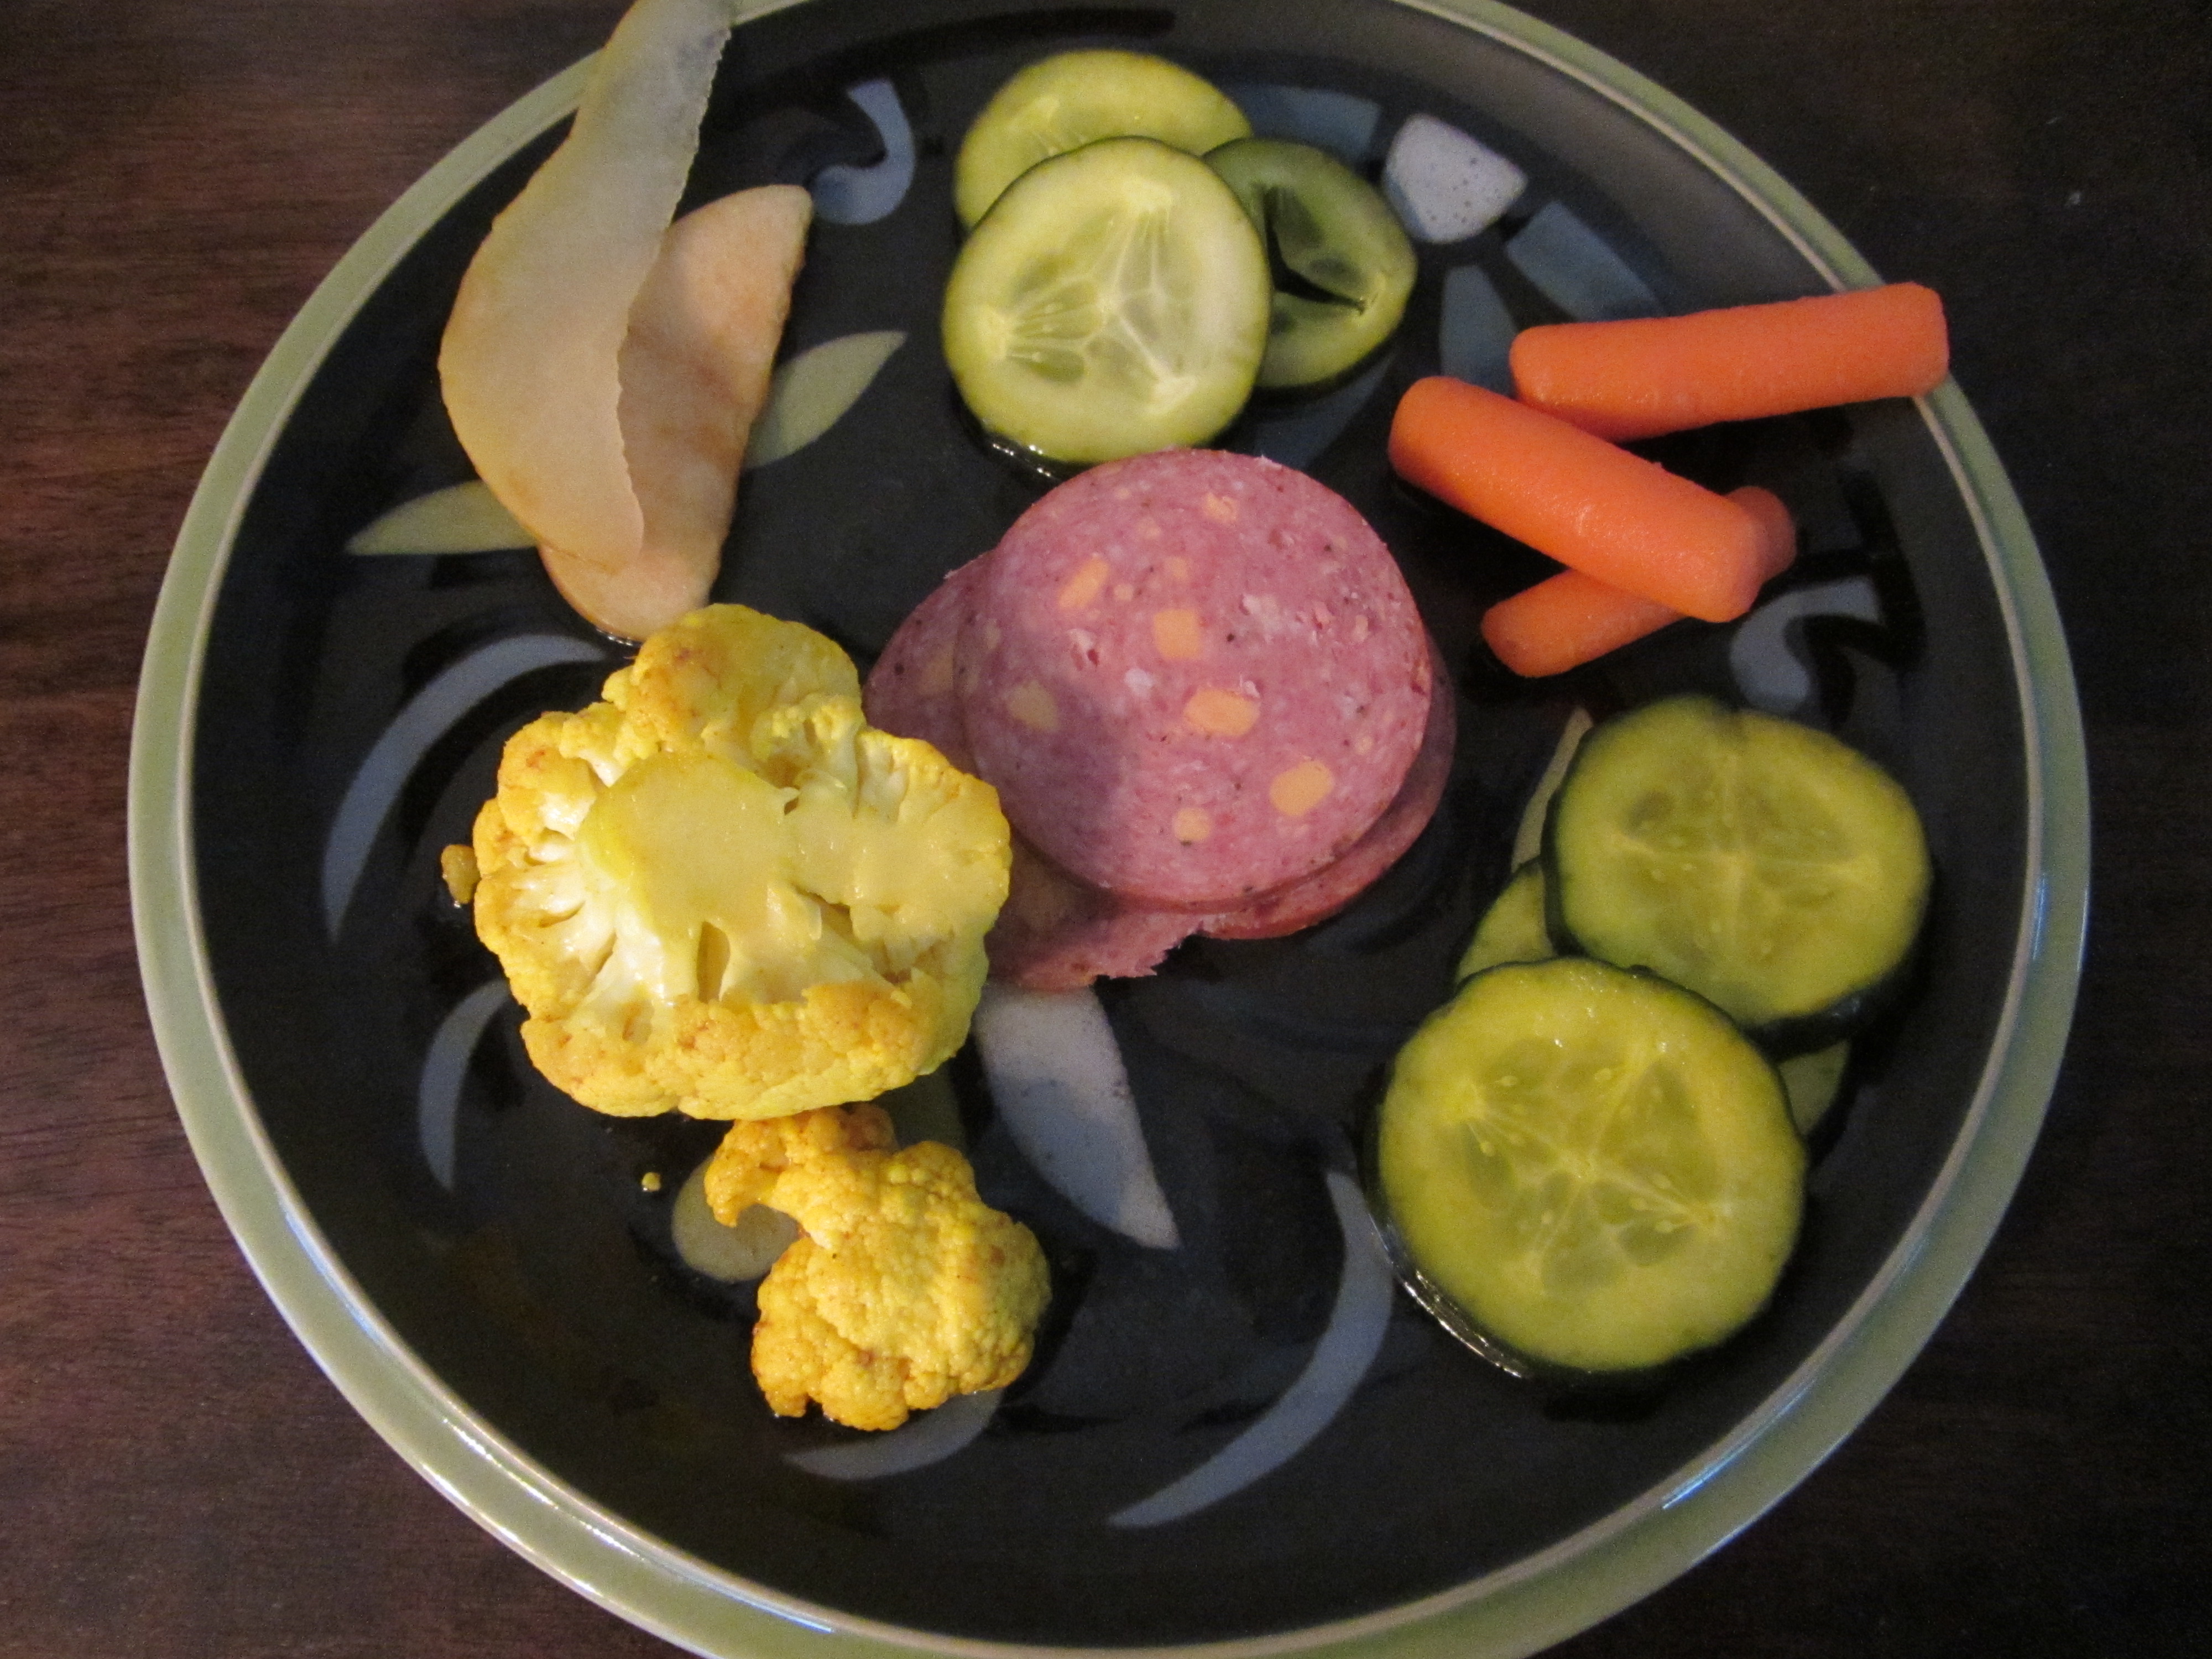
All five types of pickles on a plate, along with some summer sausage. Clockwise from the top: Kinda Sorta Sours, Firecrackers, AB’s B and Bs, Hurry Curry Cauliflower, and Summer Fruits.
After 10 days of pickling, Ted ranked the pickles from best to worst as: Firecrackers, B and Bs, Summer Fruits, Sours, and Cauliflower. I ranked the pickles as: B and Bs, Firecrackers, Sours, Summer Fruits, and Cauliflower.